
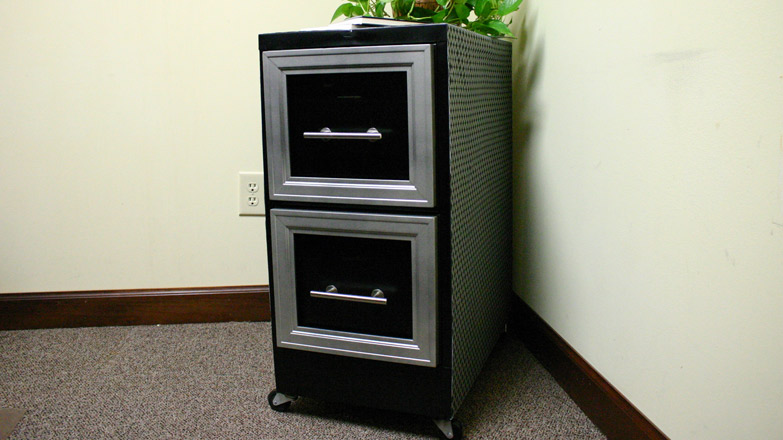
Dresser Drawer: Ugly No More
I teased the revamp of the inside of my “new” dresser drawers in my post last week about refurbishing a found dresser. And now I’m here to fulfill that promise.

The contact paper itself wasn’t terribly offensive, but there was a little bit of trash, a leaf or two, and some, ahem, bug parts in the 3 drawers that came with my dresser. Oh the beauty of used furniture!
To freshen it up and make it more my own, I started from scratch by ripping out the contact paper/shelf liner, vacuuming the unwanted leftovers, and wiping down the entire inside of each drawer.
Instead of going back with some sort of adhesive liner, I was finally able to use something I’ve had pinned for a long time. And that’s using fabric to line the inside of a drawer. I found it over on my friend Sheena’s blog, Bean In Love, before I even knew her. She used it on the inside of her desk’s drawers.
And it’s purely coincidence that we both used a gray Greek-style fabric print! I decided to use the gray Greek chevron fabric that was originally leftover from my wedding photo booth and then used for the DIY closet caddy shelf Christina and I built.

I followed most of her ideas by first measuring the bottom of the drawers and cutting the fabric to size.

Once my 3 pieces were cut, I used starch to iron them flat. I went ahead and sprayed and ironed both sides just to be sure it was wrinkle free and stiff!


I also thought it was a good idea to protect the fabric before installation. So I pulled out my Scotchgard leftover from when Mom and I refinished some dining chairs.

Since it’s hard to cover the entire surface of the fabric without over-saturating, I sprayed it lightly lengthwise to start.

While that first coat dried, I headed inside to work on a small issue in one of the drawers.

Since I was going to be applying a thin fabric, I wasn’t sure if this void would show through. To prevent any chances of that happening, I pulled out some wood filler and a putty knife to do the job.

I didn’t need it to be perfect, just a little more level with the rest of the drawer bottom. I put a small amount of filler in for the first layer, knowing I’d apply another layer or two to get it up to par.

Then I headed back outside to spray the fabric protectant in the opposite direction on all 3 pieces of fabric.

The fabric dried for a little longer outside and I applied a second layer of wood filler to the drawer bottom. That’s about all it needed.

Once the wood filler and Scotchgard had had ample time to dry, I ran a thin line of regular school glue around the entire edge of the bottom of the fabric before setting it in the drawer.

I smoothed the fabric out and pressed on the glue.

Then I immediately set the new tenants on top, China plates we received as wedding and Christmas gifts.

The top drawer I filled with various candles and votive holders to remove them from on top of my hot cable box where they were previously stored.

Since I had everything I needed on hand, this part of the dresser rehab was totally FREE! Sometimes those are the best kind of projects!

Would you use fabric to line your drawers or shelves? Have you used anything outside of the normal shelf liner in your house before? Share in the comments below!
Thanks for Checking In! ~Chelsea


7 Comments
Linda Todd
To line the bottom of my kitchen shelves where I put my glass ware, I used white non-slip waffled rubber that is supposed to be used under rugs to keep them from sliping. It protects the edges of the glasses. It has little open holes which allows any debris to fall down to the cabinet shelf, lays flat without any adhesive and is easily removed to wipe clean with a sponge (which is rarely needed). Also works well under spice bottles, under and between pots and pans or stacked serving pieces.
Chelsea Lipford Wolf
Great idea! You could line A LOT of shelves or drawers with an 8×10 rug pad!
Anne Zahn
I use left over wall paper — the washable kind. It cleans up spils easily. You can get out of stock rolls at a very reasonable cost.
JUDITH HENDERSON
I have used attractive wrapping paper to line drawers. To keep it in place you can use a light coat of spray-adhesive. There are some beautiful wrapping papers in stationary stores or card shops.
Chelsea Lipford Wolf
Great idea, Judith! Thanks for sharing.
Sheena
Whoa!! How did I miss this?! Great job! Love that fabric!
Debbie
If you wanted to you could have used a foam core board and spray glued the material on it to get a flat finish instead of filling the damaged part of the drawer.