Grouted in Place
That’s right, the fireplace hearth has been grouted. And it looks even better than before.
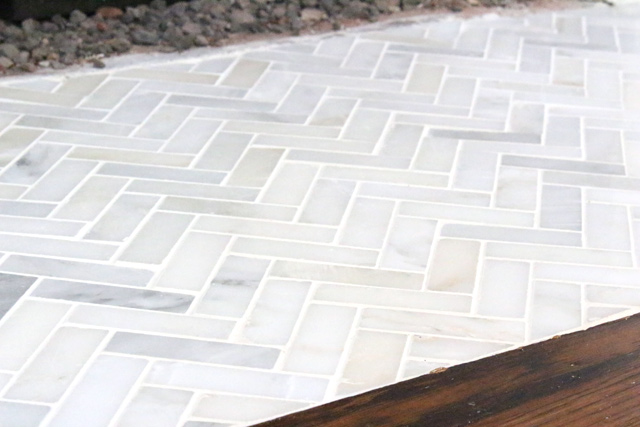
If I do say so myself. 🙂
I wanted to keep the overall feel of the hearth very light, so I chose a light-colored grout. I thought I was getting a grayish white from the looks of the color on the label. But it turned out “Alabaster” is more off white. I don’t hate it, but it’s not quite what I thought I was getting. I think it’ll grow on me though. (**Update~It has grown on me and I love it!)
While I was picking up my grout I also got a grout sealer. And since my tiles are marble, I got a sealer that will also seal them too!
The grout package had excellent directions for mixing and applying the grout. You mix water with the grout and stir. After letting it sit for 10 minutes, you stir again before spreading. I knew I wouldn’t need much grout, so I took the water to grout ratio and made a smaller amount. I think I used 2 cups of water with 1/3 of the bag of grout and I still had grout leftover.

Using a rubber grout float at a 45 degree angle to the tile, I spread the grout a little at a time.
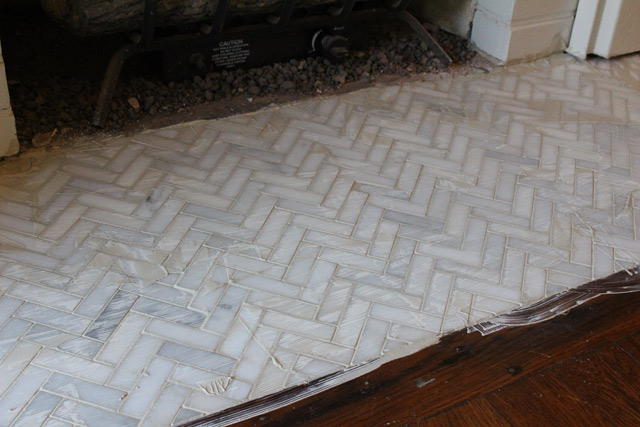
Then I went back with the float at a 90 degree angle to clean up the excess. And just like the directions, I waited 10-20 minutes after that before wiping the entire surface down lightly with a damp sponge. Don’t have too much water on your sponge or you’ll mop up the grout in the joints!
And if you’ve never grouted before, you’ll be discouraged when 10 minutes after wiping your tiles a light haze develops over them.
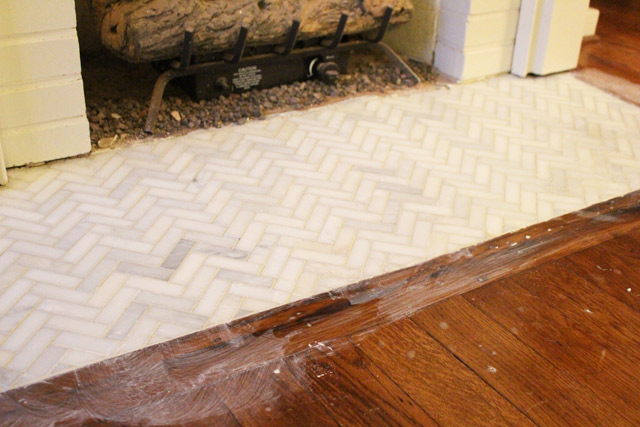
Nothing to be alarmed about. It’s what happens. 2 hours after wiping my tiles I went back with a soft rag (it’s preferred to use cheesecloth found in the paint department but I didn’t have any on hand) and buffed the haze away. It only takes a light swipe to get it up.
You can see I got grout on the surrounding hardwood. I guess you could say I prefer to cleanup after a project instead of prep before. Whoops. But it actually worked out since the grout filled in some nail holes which I then went back and touched up with leftover floor stain. Win win in my book.
Before I could call this hearth done, I needed to address the gaps under the mantel legs where I removed caulk during the demolition phase.

It really made a big difference to fill it in with caulk. Even if I used A LOT of it!
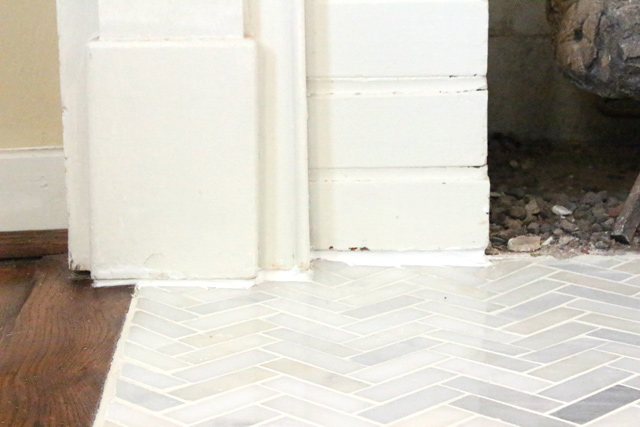
3 days after the grout was applied, I went back with my spray sealer to finish the job. I sprayed the tiles thoroughly and spread it with a dry Swiffer floor sweeper. You don’t want to wipe it up completely, but just make sure there aren’t any puddles. After 2-3 hours of drying time, the hearth was complete!
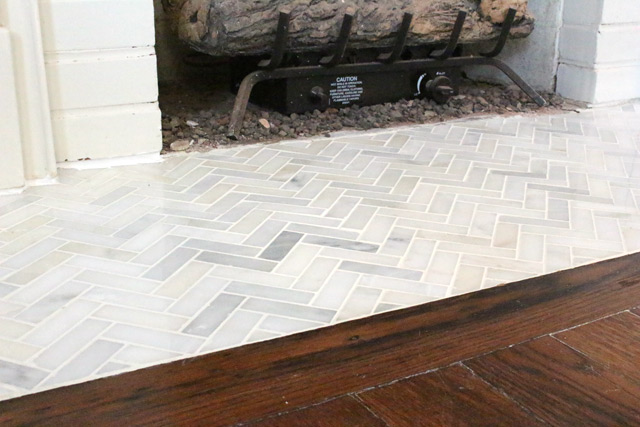
And my fireplace updates are too! At least until I decide to change the paint color! Ha!
Here she is before my “Fireplace February” updates and after!
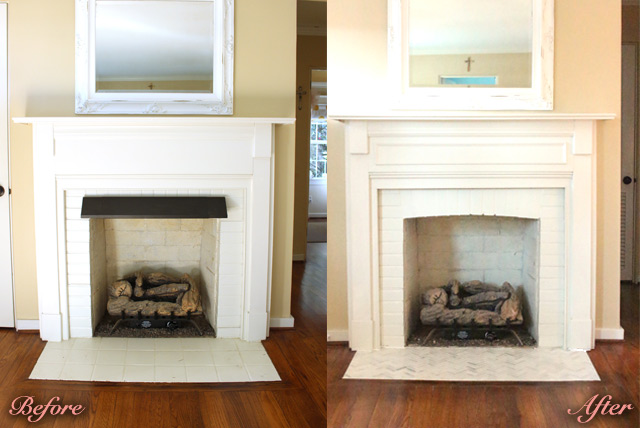
Hope you’ve been able to glean a tip or two (or at least a little entertainment) from my $5 fireplace update to my mantel repair and this here tiled hearth. Drop me a line in the comments below if you have any questions! Come back tomorrow for the March episode of my web show! You’ll love the Dutch-style shed door we make!
Thanks for Checking In! ~ Chelsea


