Checking In With Chelsea

DIY ideas, crafts, and tips for your home

subscribe and never miss a thing!

Receive Free Email Updates

  • About
  • Videos
  • Projects
    • Indoor Projects
    • Outdoor Projects
    • Craft Projects
  • House Tour

Backpack Drop Zone

October 20, 2016 By Chelsea Lipford Wolf Leave a Comment

One of the overall goals for the laundry room makeover I started several weeks ago is to help it function better for the family that uses it daily. Sure it’s fun to make it more beautiful, but what good is that if the family is having to make sacrifices in this space (or elsewhere in their house, for that matter) in order to live their everyday lives.

So, enter the backpack drop zone.
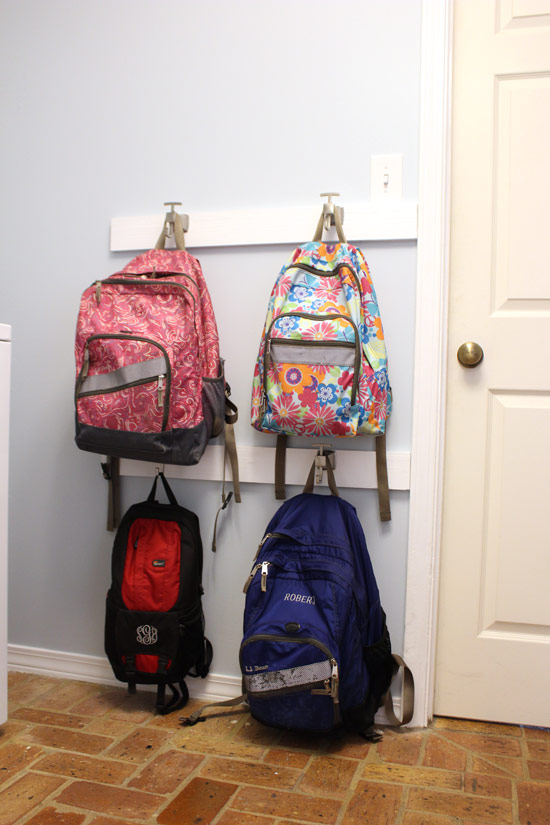
Backpack Hook and Rail System for Laundry Room

Previously the backpacks were dropped off on the floor as the 4 kids of the house entered the house through the garage.
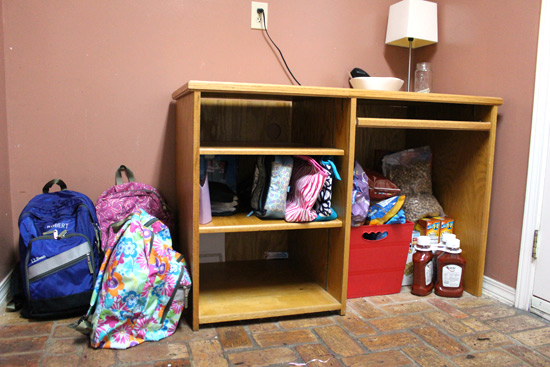
Laundry Room Opposite Washer Dryer Before

Not pretty and certainly not functional. But the solution is so easy. And pretty cheap too!

To make it, I started with a 1″x4″x8′ and cut it to the length I was going for. I didn’t want it to reach too far past the edge of the washing machine, so the two pieces, or rails as I’ve been calling them, are 32 inches each.
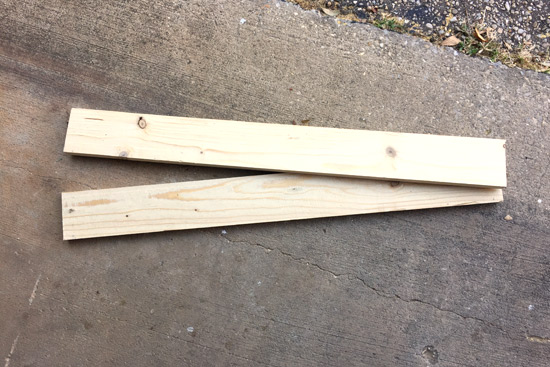
1x4 Cut to Length for Backpack Rail

Before I hung them up, I covered them with 2 coats of paint (after lightly sanding), leaving the back unpainted since it’ll never be seen!
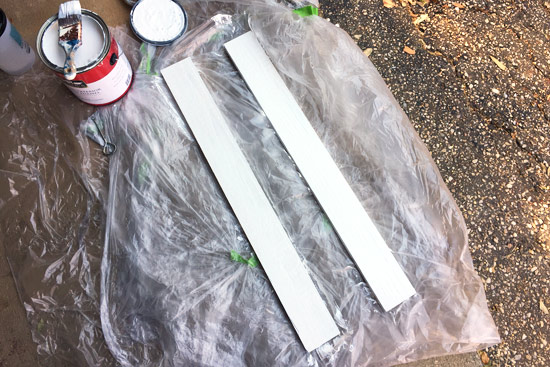
Painting 1x4 with White Hi Gloss Trim Paint

I just used a hi-gloss off-the-shelf white which is what the homeowner is slowly transitioning all of the trim in her house to.

To hang them, I marked where the studs where so I could ensure maximum durability. Then I drilled holes in the boards using a countersink bit which helps the screw heads recess below the surface.

1x4s Hung on Wall for Backpack Rail

I used 2-1/4″ screws since I had them on hand. Definitely lean towards a longer screw when hanging something in a stud that will have a lot of weight on it, like kids’ backpacks these days!

With the screws in place and just below the surface of the board, I puttied over them. While the putty was setting up, I got my hooks ready to install.
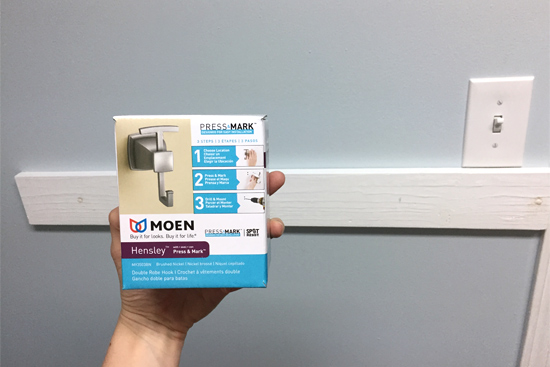
Moen Hooks Used for Backpack Drop Zone

I had seen these new hooks from Moen at the blogger conference I attended back in August. They have a stamp on the back that marks where you need to attach the screws for the bracket to make installation that much easier!

Stamp on Back of Moen Robe Hook

So I marked where I wanted the hooks to go, 8 inches from each end, held the hook in place and pressed down.

Holes Marked for Hook Bracket

If you’ve ever hung towel rods, toilet paper holders, or hooks before, you know it can be difficult to get the bracket exactly where you want it in order to have the rod/holder/hook where you want it when it’s all said and done. And having it just right was especially important for my backpack hooks. Since there are 4 that needed to match and they’re so close to each other, I didn’t want one slightly higher or lower than the other. (**Moen graciously sent the hooks for this project since I was so anxious to try them out. All opinions, though, are 100% my own!)
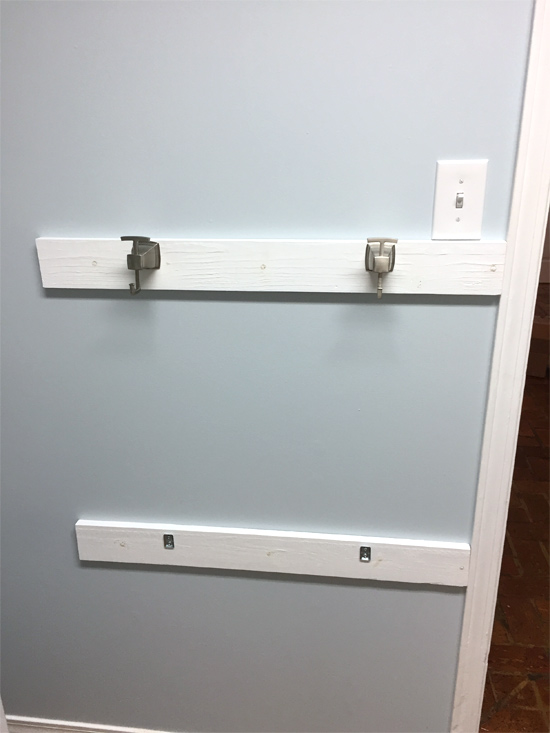
Hooks Hung on Backpack Rail in Laundry Room

Once all 4 brackets and then hooks were in place, I used the provided Allen wrench to tighten the hooks onto the brackets very well! Lots of torquing and twerking took place. Ok maybe not the twerking…

By this time I was able to lightly sand the putty smooth and touch up the paint. Then by the time the kids got home form school, the new backpack system was ready for action!
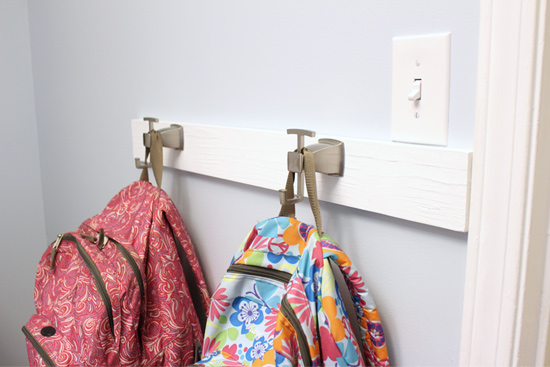
DIY Hook and Rail Drop Zone System for School Backpacks

There was some negotiations that took place to determine who got which hook. Oh the things I have to look forward to with multiple kiddos! Ha!

Backpack Hook and Rail System for Laundry Room

Since these are double hooks, there’s room for their backpacks and then the lunch boxes on the front, lower hook.
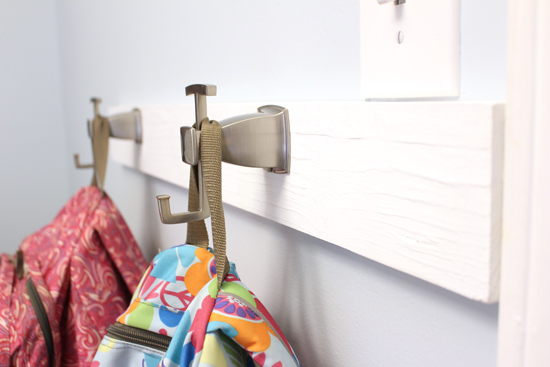
Moen Hensley Hooks with Backpacks Hanging

You just can’t beat function that’s also looks great! Next up on the laundry room to-do list is more function and storage above the lovely laundry sorter, which you can find a tutorial on how to make by clicking here.

Thanks for Checking In! ~Chelsea

Subscribe for Free Updates!

Stay up-to-date on Chelsea's latest projects, tips, useful resources and more.

Previous Post
Geaux Saints DIY Wreath
Next Post
Cleaning Up Yard for Winter

Related Content

Completed Wire Shelf Pantry UpgradeWire Shelf Pantry MakeoverSmall Laundry Room Makeover Facelift CompleteDivide and Conquer Laundry Room ClutterToday's Homeowner Episode with Tips for Creating a Room with Many PurposesDouble-Duty Homeschool PlayroomPlanning a Closet in Master Bathroom AdditionBathroom Planning: Closets

Please Leave a Comment Cancel reply

Your email address will not be published. Required fields are marked *

Welcome!

I’m Chelsea. DIY
enthusiast who loves
sharing my victories
and mishaps!
Learn more
here.

CHECK IN WITH CHELSEA ON INSTAGRAM

Thank Heaven for little girls!💕The best part of Thank Heaven for little girls!💕The best part of having daughters is getting to dress them up in clothes from my baby hood.😍🥰Not sure where Clara got her dark hair but it’s a fun change to have a baby with actual hair this time around! Doesn’t she look like a little baby doll?!
.
.
#newbornlife #changingtable #babygirl #thankheavenforlittlegirls #mommasgirl #allpinkallthetime
Welcome home Baby Clara! We love you so much alrea Welcome home Baby Clara! We love you so much already!💕
.
.
#welcomehome #familyofsix #babygirl #happybirthday #3girls1boy
Monogrammed washcloths and clear hooks was an inex Monogrammed washcloths and clear hooks was an inexpensive fix to a constant headache in my kids’ bathroom!🤯 As with many organization projects, hanging it on a wall makes all of the ugly go away!👏🏻
What simple fixes have you done around your house lately?Washcloths used here➡️ https://amzn.to/3bd9Gpv
Clear hooks here➡️ goto.target.com/zaGZ5x
She’s a Brick. House. Who went through mighty mi She’s a Brick. House. Who went through mighty mighty changes to get here!👏🏻Peeling paint was our nemesis on this project, but we eliminated it with persistence and determination. 👊🏻
.
.
We took it a step further by waterproofing these bricks to PREVENT paint from peeling in the future. A fresh coat of matching house paint and it’s like it was always meant to be🥰
.
.
All the details are in my latest blog post which is linked in my profile now! I know it’s not a project on everyone’s list but save it if you have a painted brick house or retaining walls around!
.
.
#brickhouse #paintedbrick #bricksteps #homemaintenance #homerepair #diyrepair #diyhouse #diyhouseprojects #diypainting #ironhandrails #wroughtiron #wroughtironwork
Still pregnant over here🙃Just finished up these Still pregnant over here🙃Just finished up these concrete spheres and will have a video to share soon! I first discovered them visiting my sisters in Mountain Brook, AL. They seem to be used to keep people from parking in the yard along the street. But I think they are so neat just as yard decorations! What other purposes could they serve?
.
.
#rainymonday #39weekspregnant #yardwork #paintedbrick #exteriorrenovation #cedarshakes #cornerhouse #lawndecor #yarddesign #yarddecor #yarddecorations
For my 4th baby, clothes become nursery decor. Bud For my 4th baby, clothes become nursery decor. Budget-friendly and practical. But how stinking sweet?! Most of these my sisters and I wore as babes 30 years ago😳Still trying to figure out the origin of the sweet blue dress though.🤔
.
.
What have you reused or repurposed as wall decor in a nursery or other space? I just love personal touches like this!
Load More... Follow on Instagram

Indoor Projects Outdoor Projects Craft Projects
Facebook Pagelike Widget
  • Contact
  • FAQs
  • Advertise with Chelsea
  • Media
  • Today’s Homeowner

Search This Site

Receive Free Updates Via Email

Copyright © 2022 Checking in With Chelsea • All Rights Reserved