
Front Door Intercepted
Since the beginning of time, my front door has not been able to open all the way. It hits the side of the mantel instead.

Ok maybe it hasn’t been that long. But it has been like that ever since I bought the house. Obviously it’s not a deal breaker and it’s something I’ve easily tolerated for 5 years now. It seems to me the mantel is not original to the house. It overlaps the brick surround in a way that doesn’t seem like it should. So I’m thinking they built the mantel without checking the path of the front door first.

But since I’m in the middle of updating our front living room, I thought I’d seize the day and fix this faulty mantel! The first step was to remove the trim on the edge of the mantel. I used a razor knife to score the caulk to make it easier.

Then I pulled out a crow bar and hammer to pry the trim off, carefully and gently since I was planning to reuse it.

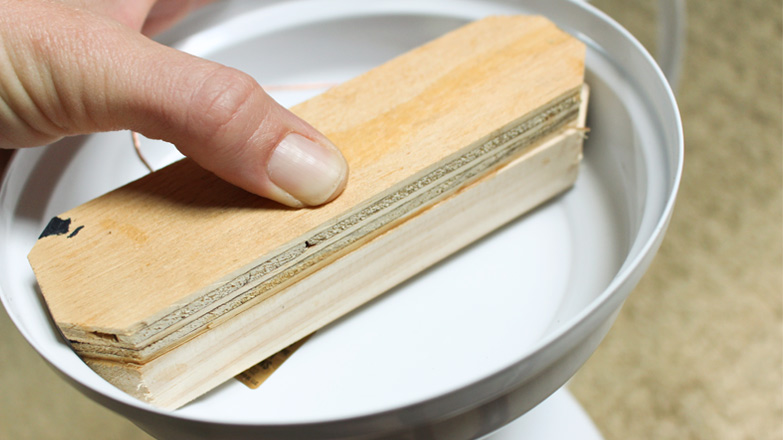
It came out easily enough and the nails were still in tact!

So then I had to figure out how much to cut. I opened the front door and set the trim right next to it. I butted the speed square up to it, removed the trim, nudged the speed square about an 1/8 of an inch to give the door breathing room and made my mark.

I knew I’d also have to trim the molding on the face of the mantel ledge, so I marked the 45 degree angle with the speed square as well.

Before I could make my cuts, I needed some room to work so I also pried the face molding apart, but not completely.

I decided to use the trim saw attachment for my Matrix instead of the full-sized circular saw.

Neither saw would have made the cut all the way to the wall, so I had to chisel a chunk that was left behind. But once it was done, I popped the trim piece back on! The holes from the nails were still in the side of the mantel ledge, so it just required a little light hammering. A few nails had to be set before I could putty over them, caulk the joint, and repaint!

The trim still has the indentation from the door hitting it all these years, but I just call that character! Of course, now that the door opens all the way to the wall, I had to add a door stopper at the baseboard. Just a quick pilot hole and it screwed right in.

All this was done just in time for a delivery of epic proportions…

A new living room sofa! The floor model was 33% off, so we snatched it up!

I doubt the inch or so would have prevented the sofa from getting through the door, but the timing was perfect and totally unplanned.
Since the modification was less than an inch, I didn’t bother evening it out on the other side of the mantel. It’s not noticeable, so it’s not worth the effort!
Doing small repairs like this are probably one of my favorite things to do around the house. Such gratification to walk by something that was a problem area for so long and know it’s all better now! Woot!
I’ve got another small update planned for the fireplace that I’ll be sharing soon! Until then, Thanks for Checking In! ~ Chelsea


2 Comments
Sheila
What a great job, your new sofa looks really nice.
Chelsea Lipford Wolf
Thanks, Sheila!