
My Achy Breaky Hearth
At the end of my last post about adding molding to my fireplace, I teased the re-tiling of my fireplace hearth. It took a while thanks to a few starts and stops, but I finally got the old tile removed and the shiny new tile in place. And I’m loving the more modern look of it!

Way back (5 years ago) when I bought this house, I never would have thought about retiling the fireplace. So I instead painted the tiles to freshen them up and match my decor a little better.
Now that I’m a little more knowledgable about the ins and outs of home improvement, it dawned on me I can lay new tile that I love instead of just tolerate. And I really, really wanted to remove the existing tile before laying the new tile so that the new tile would be nice and flush with the hardwood around it.
Easier said than done.
What I thought were average, everyday 5×5 tiles were actually what’s called “quarry tile”. They are incredibly durable and usually embedded in concrete instead of thinset, making them particularly difficult to remove. Oh and they’re thicker than regular tiles too. Before I realized their origin, though, I attempted to remove it with a pry bar and hammer. I thought I’d chisel away at the first tile and then pry them up one tile at a time. Ha! It barely scratched the tile. All it did was remove the paint.

After seeking advice from my Dad, he invited himself over and we attempted to do another tile removal trick. Drill a few holes in a line on the tile with a masonry bit, then chisel and pry. It made a dent, but we would have had to do that to each tile individually.

Probably not worth the effort. So on to Plan C. Dad brought over a chipping hammer, which looks like a mini jackhammer, to chip away at the tiles.

It was not pretty and dust was EVERYWHERE. But it did the job!
Only thing is that it did not leave a smooth surface behind.

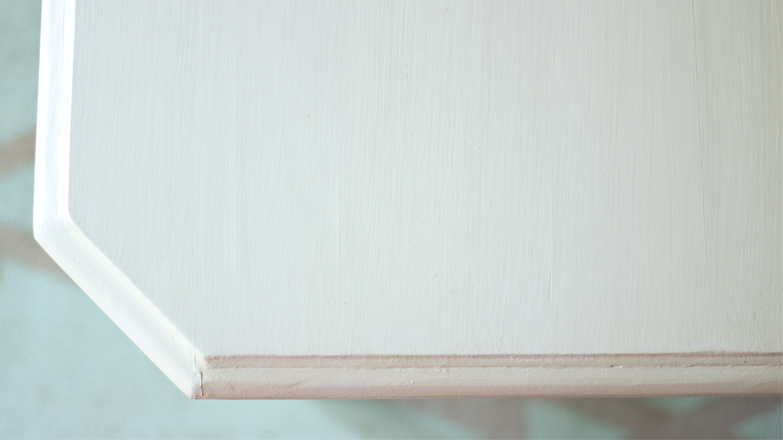
So I had to add a step to my project and semi-leveled the area before proceeding. I used some floor patch I found in the shop and the smooth edge of my trowel.

A few spots were deeper than others and required a second coat. After I ran out of the patch I had on hand, I picked up a different kind for my second layer.

But don’t go looking for it in the flooring aisle! For some reason our local home center had it in the paint department. Still trying to figure that one out…
If you have a few ridges that are taller than necessary, you can easily knock them down with a chisel and hammer. Or I even used 80 grit sandpaper to sand a few spots.

Obviously I don’t have a future in spreading cake icing because that ain’t pretty. But it did the job.
Since I wanted the finished tile to be even with the surrounding hardwood, I had to make sure the thickness of my new tile and the thinset that would be holding it in place equaled the depth of the hardwood.

But before I get carried away with the depth, I first had to cut the tiles to size. With a wet saw.

Love trying out a new things! Especially something like a wet saw that once intimidated me. And by once, I mean right up until I cut the first tile. Now we’re old friends 🙂
With my tile being in a herringbone pattern I couldn’t exactly just cut along a line. That is until I put a line there myself.

After turning 4 tile sheets face down, lined a straight edge up and marked with a permanent marker what would become the front edge of my hearth. Then I cut the tiles individually.
I then marked the edge of the tile that would be in the corner so it would have 2 straight edges and fit nice and snug.

Once all of the tile for the first row was cut, I spread some thinset. The easiest way to get my tile flush with the hardwood is to load up on the thinset, lay the tile and then knock the tiles down into place. So that’s what I did.

While I had and was using a notched trowel (which is the recommended way to spread thinset for tile) it didn’t really do me much good since I needed it pretty thick in some spots. I couldn’t level the space with a level because the hardwood was higher on the right than on the left side of the hearth due to years of aging and settling.
I cut a straight edge to the width of the hearth plus an inch or so. And after spreading the thinset and setting the tiles in place, I laid the straight edge on top, with a tiny bit hanging on the hardwood on either side and used a hammer to knock the tiles down until they were flush with the hardwood. (The hammer was hitting the straight edge, not the tile in case that’s not clear.) Of course this only works if you start with the tiles slightly above the hardwood. Don’t over or under do it on the thinset.

I moved the straight edge towards the fireplace in inch increments and hammered left to right and right to left to make sure every part of each tile was in line.
After the first row was all set, I let it dry before moving on to the second row. I didn’t want to shift the tiles around while trying to dry fit or mark the other tiles. I did however cut some bite size tile pieces to fill in what my 4 tiles didn’t quite reach on the left side. But it was hard and dangerous, so I won’t even tell you how I did it. I did, however, change things up a bit on the second row.
I laid a fresh piece of tile on top of the left edge tile in the first row so the individually rectangle tiles would line up. Then I used my straight edge to mark that straight line to cut it.

Since we couldn’t get up under the mantel legs with the chipping hammer very well, I also needed to make marks to cut the tiles that would be underneath on the right and left sides. I measured the width and depth and marked on the back with my permanent marker.

I also cut all tiles going across so they’d be flush without having to fill in tiny pieces along the firebox. And since my hearth is a little more than 4 tiles wide, I basically had 3 whole pieces and 2 partial pieces to make up the different without having the those tiny, partial pieces I mentioned having in the first row. And since one of the partial pieces went in between 2 full pieces and it didn’t have a straight edge on the side, I was able to just cut the mesh holding the tiles together to fit it to size. I only needed the saw to cut the edge that went against the firebox.

Then I did the same thing with the thinset and my straight edge as the front row. Only this time for the second row I also put it from the firebox to the front of the hearth as well so the tiles would be flush with that edge too.
With my unique method of leveling the tiled hearth, some thinset oozed out and got on the face of the tile.

But, again, not wanting to disturb the tiles while they were wet, I waited for the second row to dry and used a bucket of water, a sponge, and a slight bit of elbow grease to clean up the thinset that got pushed to the surface.

It really wasn’t difficult and was worth not having to worry about pushing too hard. And when cleanup was done, it looked great!
Fresh, new tiles for my fresh living room upgrade! Now our hearth is ready for grout. And while I’m at it I’m going to go ahead and seal the grout and tiles to keep them looking fresh for a long while! I’ll be posting about that next week to round out “Fireplace February”. And then on to some outdoor projects now that it’s getting closer to Spring! Can’t wait!
Thanks for Checking In! ~ Chelsea
*Update-I have since grouted the tiles! Click here to head to that post now!

6 Comments
Alison
I love this tile update! But my question is about the quarry tiles you painted originally. Did you find that the paint held up well? I understand that this wasn’t an area which received a lot of foot traffic, but do you think it would have held up to that? I’m looking at a whole room of quarry tiles and trying to judge my options.
Chelsea Lipford Wolf
Hi Alison! There were a few small spots where the paint had chipped away over the few years I had the tiles painted. So I’m not sure you’d be totally satisfied with the results on a floor with a lot of foot traffic. However, I recently found this post where Kris painted her bathroom floors: https://www.drivenbydecor.com/how-painting-bathrooms-ceramic-tile-floors-diy/ Maybe a heavy-duty primer like she used would be the difference in satisfaction? Depending on the expense and time to paint your floors, it’d probably be worth trying it out! ~Chelsea
Jo
Beautiful! Just beautiful, Chelsea. All that planning and hard work truly paid off. You must be so happy with it. Would you mind sharing where you purchased the herringbone tiles and what color/name it is?
Chelsea Lipford Wolf
Hi Jo! I believe this is the tile I used, purchased at Lowe’s several years ago: https://www.lowes.com/pd/allen-roth-Genuine-stone-White-marble-Scale-Marble-Mosaic-Wall-Tile-Common-12-in-x-12-in-Actual-314-96-in-x-274-32-in/50122017
Nico
Did you caulk or grout the outside edges where the wood & tile meet? I have about a 1/4″ gap in the front & back, just like the final result picture has a gap on the left side,
what would you recommend?
Chelsea Lipford Wolf
I believe I grouted mine. They also make caulks that are textured and color-matched to several different grout colors that would be a good option for the wood expanding and contracting. Here’s a commissionable link to the caulk: https://homedepot.sjv.io/c/1980335/456723/8154?u=https%3A%2F%2Fwww.homedepot.com%2Fp%2FCustom-Building-Products-Polyblend-381-Bright-White-10-5-oz-Sanded-Ceramic-Tile-Caulk-PC38110S%2F202520295
~Chelsea