DIY Peel & Stick Tile
After the washer and dryer were painted and the ledge was installed, the empty wall above the two was begging for something! So I decided to add a tile backsplash.
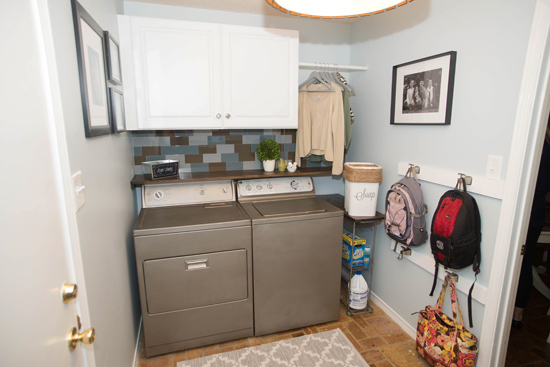
But what’s cool and different about the tiles I used is they don’t require thinset OR grout!! What?! They are peel and stick tiles from Aspect Ideas. I had heard about these tiles at the Haven blogger conference I attended back in August. I didn’t have a tile project in mind at the time. But I filed away the info for later. And here we are! (*Aspect Peel & Stick Tiles sent the tiles for this project. However, all positive opinions are 100% my own!)
To get started, I measured and marked the center of the wall to be my starting point. I wanted the partial pieces on either end of each row to be relatively equal.
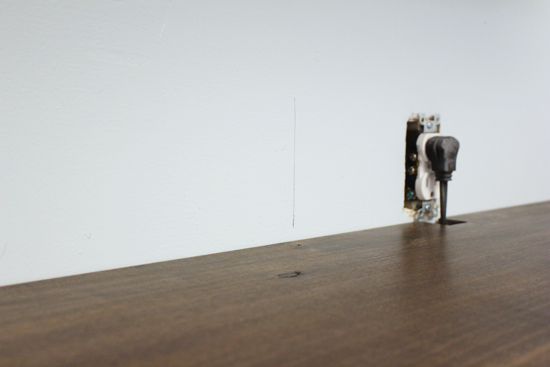
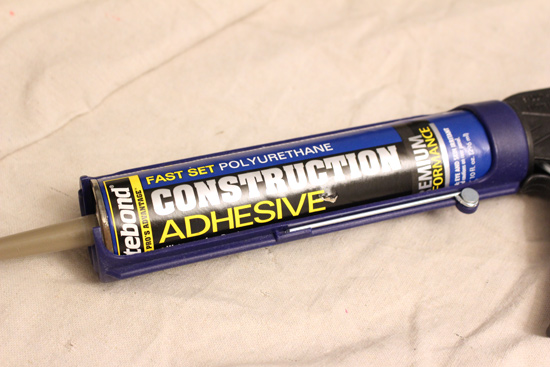
As with any tile project, prep is key. The manufacturer recommends priming a wall before application. Or you can use construction adhesive in addition to the adhesive backing of the tile itself. Since the homeowner had already painted the wall and I wasn’t sure how far I was going to carry the tile up the wall at the time, I decided to go with the construction adhesive option. Also I didn’t have any primer on hand and I was itching to get to work! 🙂
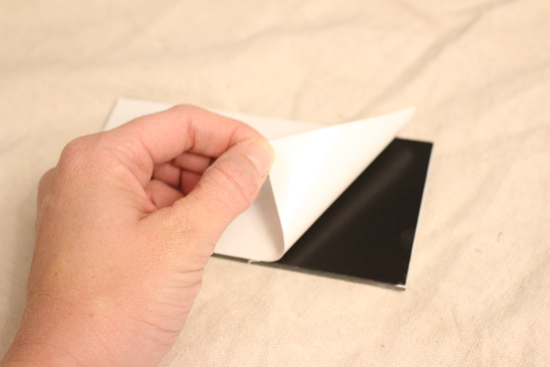
So I peeled the backing off my first piece of tile.
And applied the construction adhesive in the recommended pattern, a dot in each corner and one in the middle.
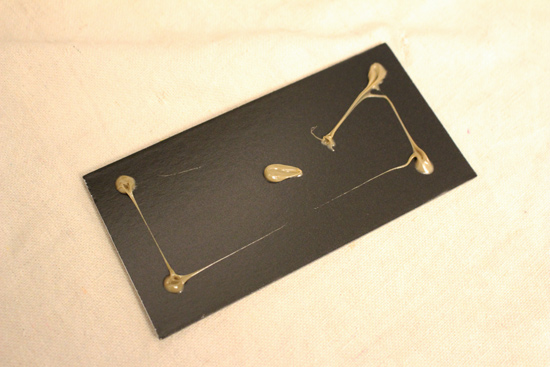
The style of tile the homeowner and I choose are 3×6 glass tiles. And we decided to mix and match 3 different colors for some fun!
I placed the center of the first tile on my center line and flushed it with the stained ledge. Then from there, I randomly selected different colored tiles, peeled off the backing, applied the adhesive, and adhered them to the wall!
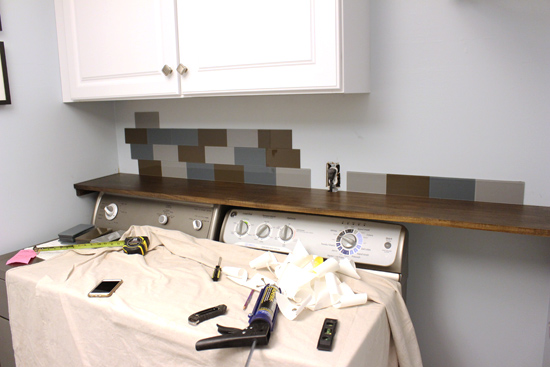
I attached all of the tiles I could without needing a wet saw, staggering each row so the joints didn’t line up. The very top row needed to be trimmed the entire length of the tile to fit under the cabinet. The pieces on each end and the ones surrounding the outlet also needed to be cut.
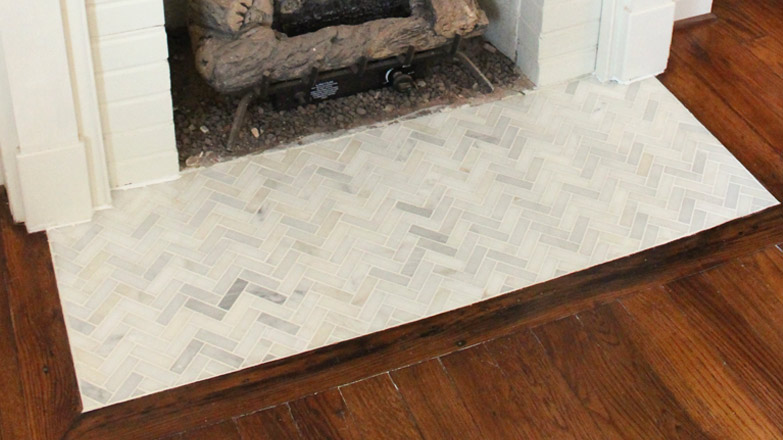
This is where it’s not any different from a standard tile installation. Since they are glass tiles, they needed to be cut on a wet saw. I used the same saw I used when I installed tile at my fireplace hearth.
To make the process as quick and concise as possible, I wrote down all of my measurements and the colors I wanted the tiles to be and headed outside. I cut everything I needed before heading back inside to put them up!
Before long all of the tiles were installed and done! No going back the next day to grout!
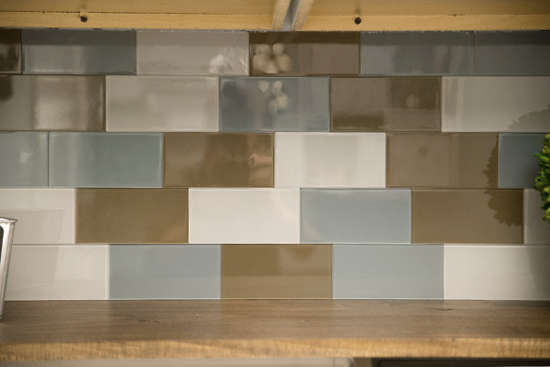
Now obviously a backsplash is not necessary nor does it serve a functional purpose in a laundry room like this. But does it ever improve the style and looks of this room!
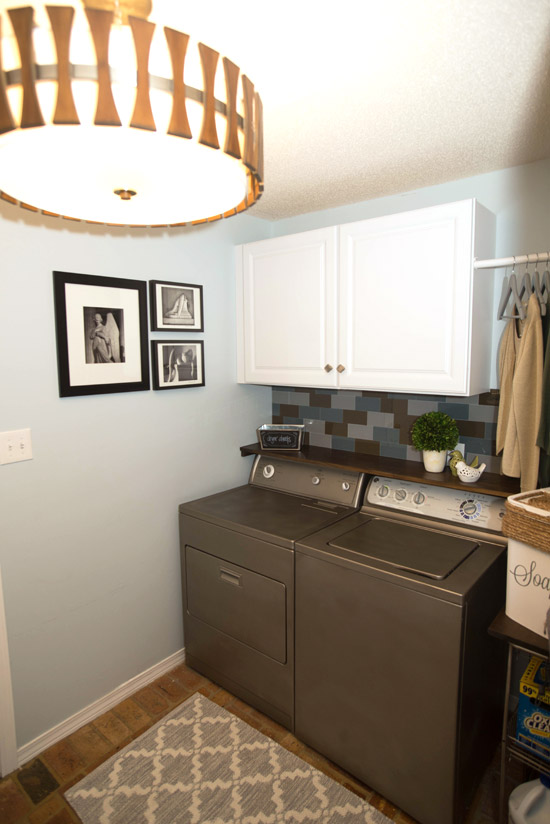
If it wasn’t for the ease of installation, I probably wouldn’t have opted for a backsplash for this project. I’m not one to want to get messy with thinset and grout unless it’s necessary! And since this is the last project I completed as part of this laundry room project, I was more than ready to be done! 🙂
Next week I’ll have some more ‘beauty’ shots of the entire room completed! Wahoo! With a source list for inquiring minds. Then it’s on to the new year with new projects and ideas to share!
Thanks for Checking In! ~Chelsea


7 Comments
Laurie
You are right, laundry rooms typically aren’t ones that you see backsplash in. However, it really looks great. Adds the perfect pop of color and captures interest. Great job, thanks for sharing!
Chelsea Lipford Wolf
Thanks, Laurie! ~Chelsea
Melanie savage
The tile being spplied with adheasive is so cool! Can itbe done in a bathroom setting also??? I love the no grout look! What are your thoughts on that?
Chelsea Lipford Wolf
Yes it can be used in the bathroom! The manufacturer just recommends using an oil-based primer on the substrate (drywall, etc.) before application. ~Chelsea
Sully
What about in a Kitchen behind stove – can it be used there?
Linda
I have an old pink sink in my bathroom with the
Pink and maroon 1950 tile. The sink is chipped and I cannot afford to remoldle right now. What is the best product to repair this sink?.
Chelsea Lipford Wolf
If it’s just a small chip, you can use something like this: https://www.walmart.com/ip/Homax-Porcelain-Chip-Fix-White/23810297 If it’s larger than the Chip Fix can help with, then I’m afraid I don’t have any ideas for you! Maybe you could buy a cheap replacement sink at a Habitat ReStore near you? Good luck! ~Chelsea