As Seen on TV: File Cabinet Makeover
If you follow me on Instagram, then you saw I was recently on a local lifestyle and news program showing different ways to make over file cabinets. Similar to the file cabinet I helped Toni make over in January, the goal was to create an accent furniture piece out of a very utilitarian piece of office equipment.
My finished file cabinet used on set was styled to look like an entry table.
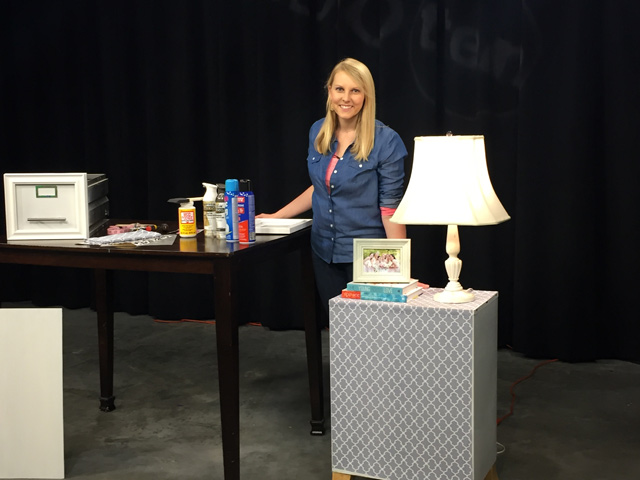
Unfortunately I don’t have a before, but I hope you can imagine a tan metal cabinet with “weatherstrip” written on the top…In its former life, it was storage for my dad’s construction company.
My first line of defense was to spray paint the drawer fronts and the edges of the sides and top. After, of course, cleaning and lightly sanding it. Well, roughly sanding the “weatherstrip” so it didn’t show through. I only painted the edges of the sides and top since I knew I’d be covering the majority of them with fabric later on.
Once the paint was dry, I measured the face of the drawers. For my drawers, they were roughly 13 inches by just shy of 11 inches. So I headed to the closest craft store to pick up 2 picture frames that measured as close to that as possible. I measured plenty of 8×10 frames while in the store, but found only one with the same measurements. I then used some heavy duty craft glue to attach the frames to my drawers, essentially trimming them out.
I also measured the distance between the screw holes on the handle and replaced them with modern cabinet pulls from the home center.
And while I had the cap of the glue sitting on the drawer, I noticed it looked like a smiley face. I couldn’t help but smile back!
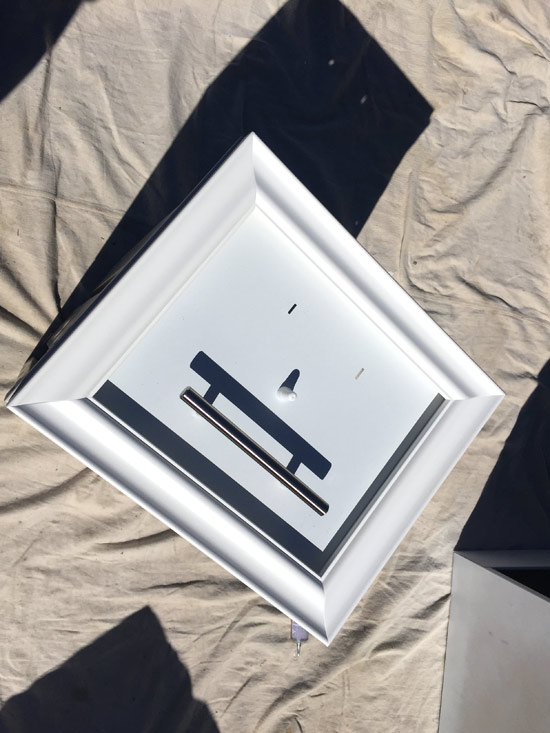
Before I decorated the outside of the file cabinet, I attached some wooden furniture legs to the bottom using construction adhesive. I ordered these online from Amazon. All 4 for only $10! The underside of the cabinet is open with only an inch of metal all the way around. So I just applied amble amounts of adhesive in the corners. I left the cabinet upside down while it dried so it wouldn’t disturb the placement of the legs.
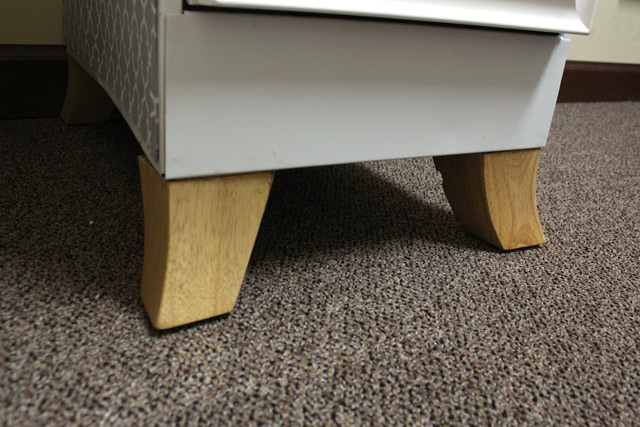
I think the furniture legs really makes all of the difference in turning this into an accent table. I would have loved to add these to Toni’s file cabinet, but the legs would have made it too tall to go under her counter.
To cover the sides and top, I cut a piece of fabric to length, adding an inch or so for a seam allowance. Then I used no-sew hem tape and an iron to “finish” off all four edges of my fabric panel.
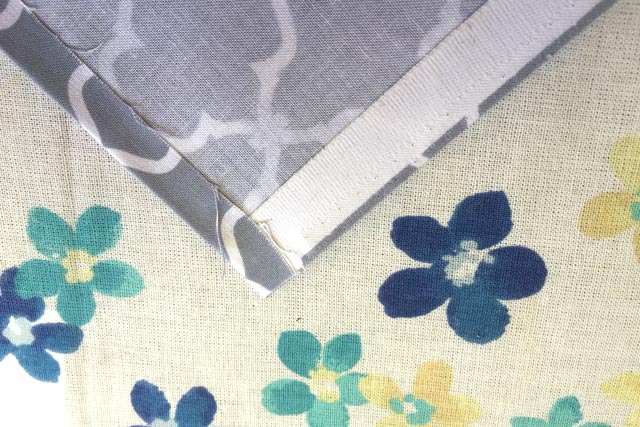
Using spray adhesive, I attached the fabric to the cabinet one side at a time. Make sure you use the spray adhesive outside or you’ll be sticking to your floor for quite some time!
You can coat the fabric with Mod Podge, spray polyurethane, or spray fabric protectant to protect it from stains and wear and tear if you foresee some abuse in its future. I left mine as is since it’s just going to reside in my office at Today’s Homeowner.
Some other ideas I shared during my Studio 10 segment are covering it in wallpaper or wrapping paper. You can also cover the drawer fronts in either of those options or fabric. If you’re covering the drawers instead of just painting, you can drill a new hole and use a single knob for a handle instead of the 2-screw pulls I used. Also if you’re covering the drawer that allows you to get rid of the label holders too.
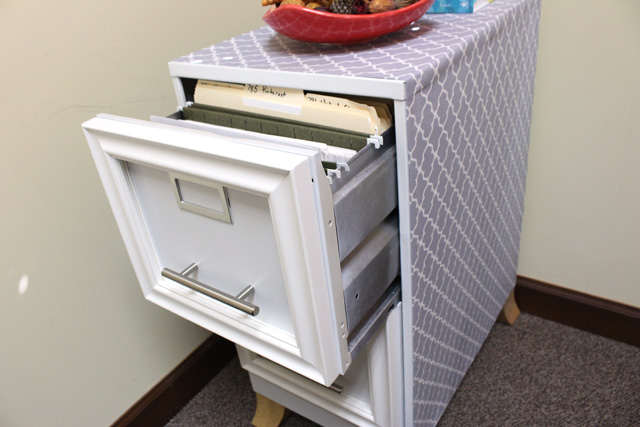
If you’ll be using your “new” file cabinet in an office setting, you can still take advantage of the magnetic metal no matter what you cover it in!
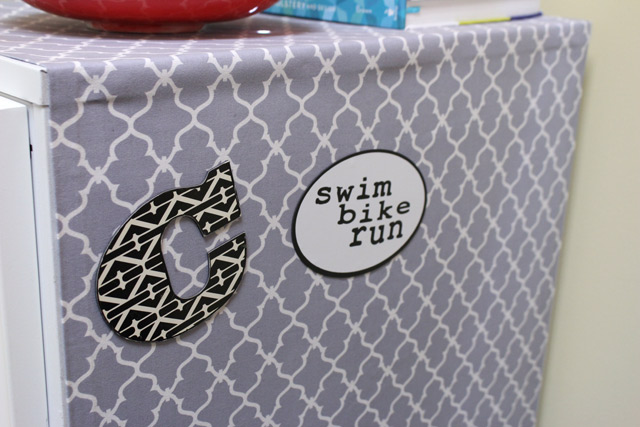
My office is certainly more cheery since this cabinet is positioned right as you walk in my door.
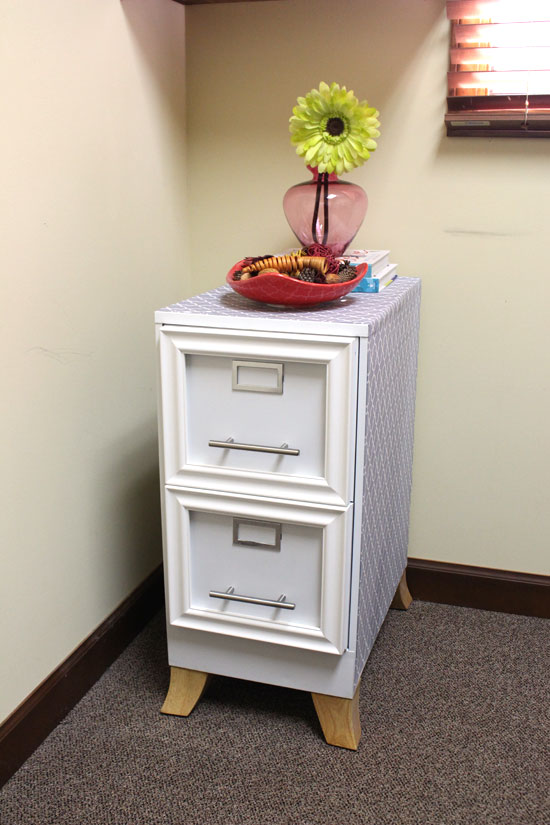
I wish I had a place for it in my house, but my furniture-hoarding tendencies mean I don’t have an empty corner in the whole place! I’m already dreaming up ways to make over a file cabinet for a male coworker. Something slightly less feminine. If we ever get around to it, I’ll be sure to share it here!
Thanks to Joe Emer for having me on Studio 10!
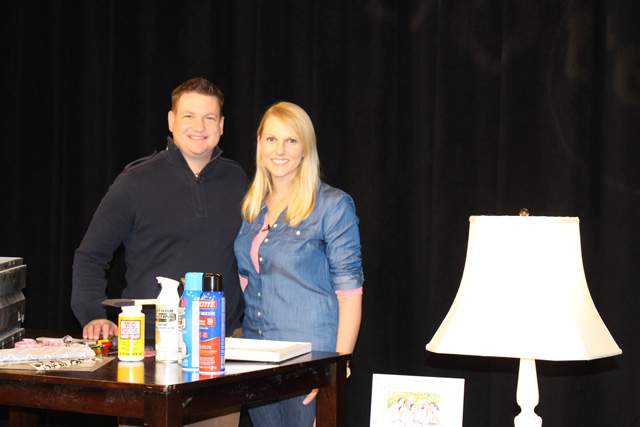
Click here to watch my appearance on the local Fox affiliate in Mobile, Alabama.
And thanks to you for Checking In! ~ Chelsea


2 Comments
Pebblies CRAIG
Hi Chelsea please post picture of the construction adhesive you used.
Chelsea Lipford Wolf
I don’t remember exactly which type of adhesive I used, but I’d be willing to bet it was Titebond’s Heavy Duty Construction Adhesive! https://www.homedepot.com/p/Titebond-10-oz-Heavy-Duty-Construction-Adhesive-12-Pack-5261/303527640?modalType=drawer