Checking In With Chelsea

DIY ideas, crafts, and tips for your home

subscribe and never miss a thing!

Receive Free Email Updates

  • About
  • Videos
  • Projects
    • Indoor Projects
    • Outdoor Projects
    • Craft Projects
  • House Tour
You are here: Home / Craft Projects / DIY Circle Garland

DIY Circle Garland

April 15, 2016 By Chelsea Lipford Wolf Leave a Comment

Ever since I completed my last project in the nursery, I’ve been wanting a cute print to hang next to the changing dresser that had more than just pink and white in it.
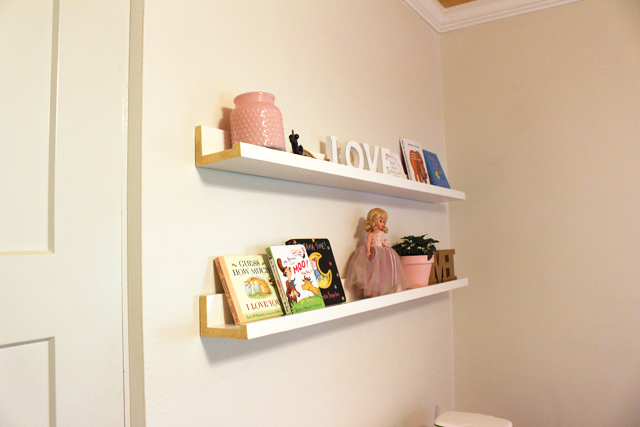
Picture Ledges with Gold Accent on Edge

So when I saw this canvas at HomeGoods, I had to have it. It was exactly what I imagined in my little noggin for this space.
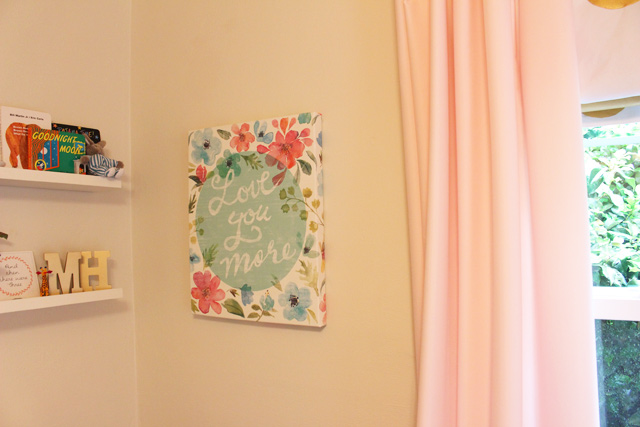
Canvas Print Hanging in Nursery

It also gave me the perfect opportunity to add some more colors into this very girly room. Not that I mind it being girly, mind you, but it’s fun to add some more depth and details.

Pulling the minty green from the canvas and the light pink and gold from the rest of the room, I created a simple and easy garland to hang above the crib.

DIY Pink, Green, and Gold Garland

I’ve seen similar garlands in stores, but of course never in the exact color combination I needed! Enter DIY!
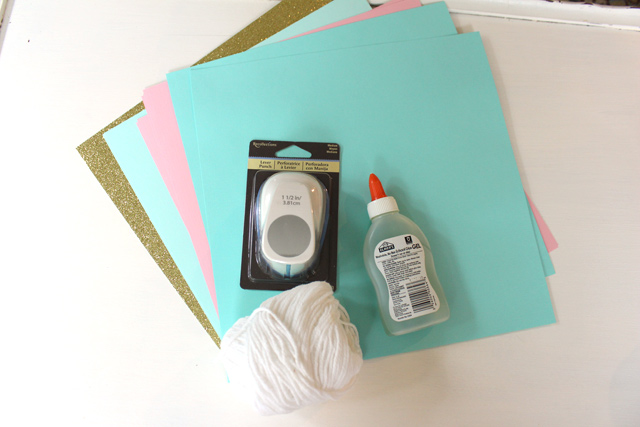
Supplies for DIY Garland

Supplies probably cost me around $10 (including the 1 1/2 inch circle punch on sale), so not a bargain for the project itself. But now I have leftover paper and the punch for more projects down the road!

I went around all 4 edges of each piece of scrapbook paper punching out the circles.
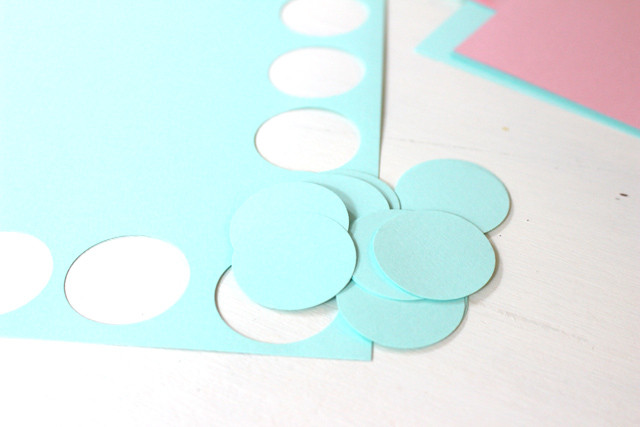
Blue Circles Punched Out from Scrapbook Paper

It took some effort to punch two pieces of paper at a time, so I just punched one until all 4 colors were done.

Colored Circles Punched for Garland

Then I cut a piece of white yarn to the length I wanted, found and marked the center of it. My first circle to assemble was a gold one on my center mark. I applied some school glue on one circle, placed it with the yarn on top and then sandwiched a second circle of the same color on top of that.
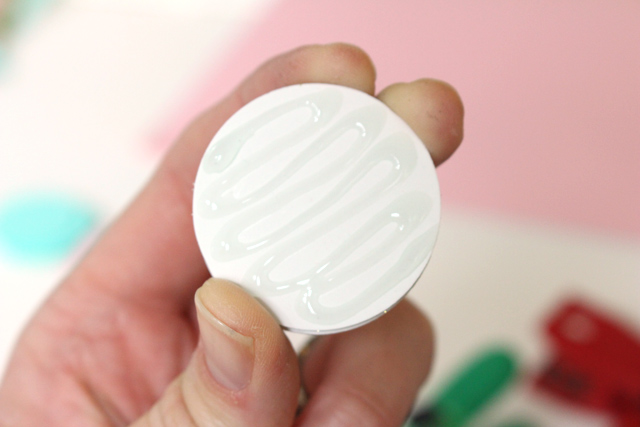
Glue on Back of Colored Circle

So I wasn’t stuck holding each circle while it dried, I used chip clips to hold them together.

Using Chip Clips While Glue Dries

Unfortunately it left an indentation on the circles made from thinner paper. So I reversed my plan and just took my time to hold each circle while the glue setup a bit before moving on to the next one.
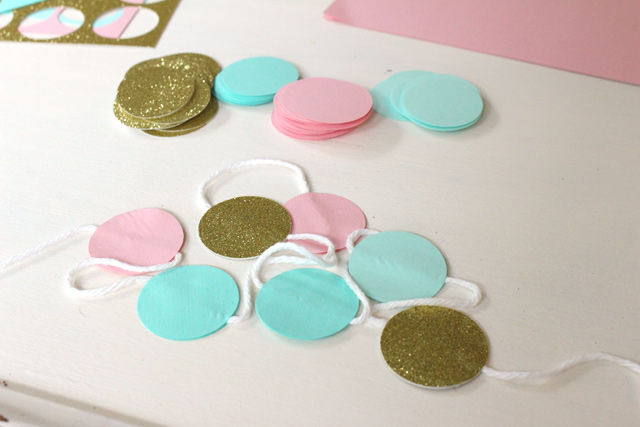
Colored Circles Glued on White Yarn

I alternated colors in random sequence until they covered the length of the yarn. To hang it I just used good ole tape to secure it to the window trim hidden behind the curtains on either side and on the ribbon holding my pom poms in the middle.

Garland Hanging in Place Above Crib

It’s just a tiny punch of added color in the white space above the crib and giraffe.

Nursery After Hanging Garland

And I love how it compliments my new favorite wall hanging across the room.

Complimentary Garland and Canvas

It probably took about an hour of my time while I was watching TV. Not bad. An easy DIY project for party decorations or just everyday home decor!
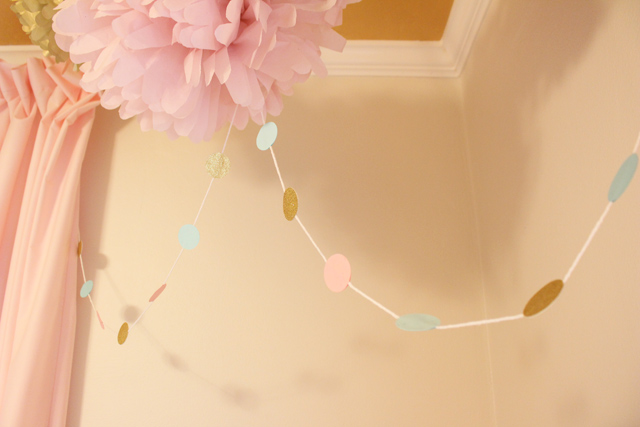
Circle Garland Hanging from Ceiling

Thanks for Checking In! ~ Chelsea

Subscribe for Free Updates!

Stay up-to-date on Chelsea's latest projects, tips, useful resources and more.

Previous Post
Weeds Be Gone
Next Post
Dining Room To-Do List, April 2016

Related Content

Completed Hand Painted Pennant Flag Banner Kid BedroomDIY Pennant Banner for Kids RoomCompleted Large Lighted Two and Zero NumbersDIY Lighted Marquee NumbersBrick Retaining Wall How to Waterproof and PaintWaterproofing Vertical Masonry WallSitting on Back Steps After Finally Sealing BricksStripping Paint from Bricks

Please Leave a Comment Cancel reply

Your email address will not be published. Required fields are marked *

Welcome!

I’m Chelsea. DIY
enthusiast who loves
sharing my victories
and mishaps!
Learn more
here.

CHECK IN WITH CHELSEA ON INSTAGRAM

Ask me how I know😑Whether you’re doing a smal Ask me how I know😑Whether you’re doing a small patch or a whole room, this drywall sanding hack will keep the dust at bay and keep the rest of your house looking good😎
.
.
#drywall #diyhack #tipsandtricks
A Spring Break to remember! Thanks to CeeCee and P A Spring Break to remember! Thanks to CeeCee and Pop Daddy for bringing the Wolfpack along on vacation! A long travel day ahead of us but it’s always worth it to spend time with family and get some r&r.☀️😴 Happy weekend!
9 years!✨Brandon and I will be celebrating 9 yea 9 years!✨Brandon and I will be celebrating 9 years of marriage this week. And how perfect we were invited to a wedding tonight walking distance from our home.🥰Sometimes reality is better than the movies and this weekend is one of those times. Enjoy, friends!☀️
What else do you use paper plates for besides eati What else do you use paper plates for besides eating?? Spray paint onto a paper plate and dab a small paint brush to do spot touch ups! Life hack when you’re working on a project but don’t need to paint the whole surface!👏🏻
.
.
#lifehack #diyhacks #spraypainting #painttips #paintprep #paintpro #shutters #craftsman #1940style
Didn’t mean for this to be #ASMR but here we are Didn’t mean for this to be #ASMR but here we are!🤷🏼‍♀️ I bought this orchid 15 months ago to use the flowers in our hair for my sister’s wedding. I’ve already repotted it once and it’s bloomed 3-4 times! Time to do it again with a pretty new pot that matches our new kitchen cabinets!🤩
.
.
Steps to repot an orchid:
1-large pot without drainage holes
2-plastic pot slightly smaller with holes
3-trim if needed so plastic pot is at or below outside pot
4-add layer of orchid specific potting mix (it looks like bark!)
5-add orchid, fill in around roots with more bark- don’t forget to add some mix under the leaves!
6-to water, soak bark and fill up outside pot, rinse the leaves too!
7-let sit for 5-10 minutes, then drain and dry the outside of your pot.
8-set in place and enjoy!🌷
New laundry, who dis? Our laundry room was a BLANK New laundry, who dis? Our laundry room was a BLANK slate after the kitchen renovation left it reconfigured too. So Dad and I tackled simple projects that make this space functional and of course visually pleasing too!👏🏻The full project airs this weekend on @todayshomeowner!
.
.
I love that the cabinets and hardware match what we have in the kitchen since the spaces are right next to each other! Synergy!
.
.
What do you love about your laundry room?
Load More... Follow on Instagram

Indoor Projects Outdoor Projects Craft Projects
Facebook Pagelike Widget
  • Contact
  • FAQs
  • Advertise with Chelsea
  • Media
  • Today’s Homeowner

Search This Site

Receive Free Updates Via Email

Copyright © 2023 Checking in With Chelsea • All Rights Reserved