Poofy Pom Pom Ceiling Mobile

Things are moving slowly, but surely in the nursery. Good thing since Baby Girl is expected to arrive in less than 8 weeks! Eek!
My awesome parents bought us a beautiful crib and comfy glider which completed the major furniture needed in the nursery after I spruced up my old dresser.
So now I’m starting to fill in the walls with pretty, shiny, girlie things!
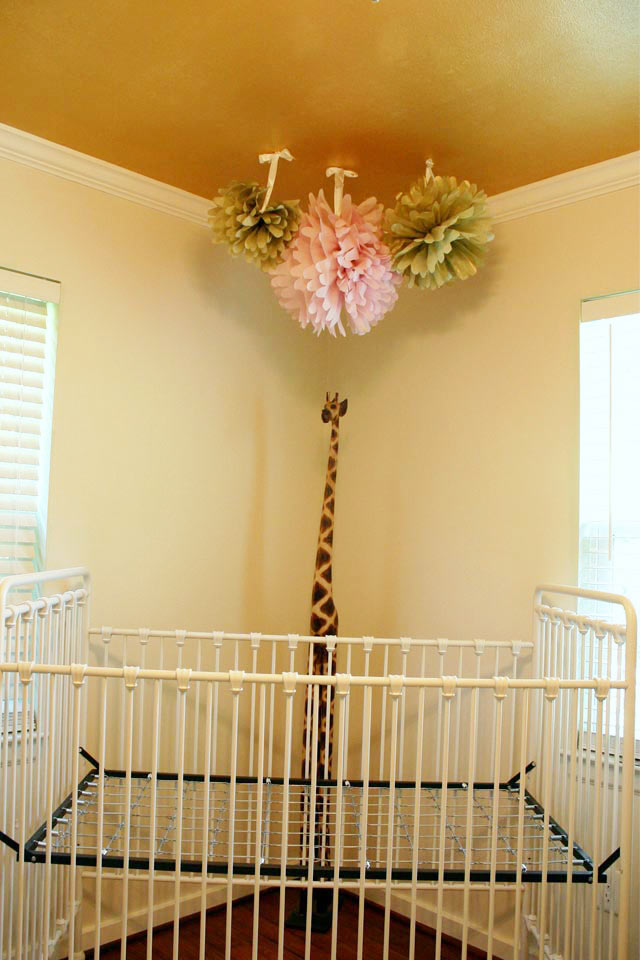
We positioned the crib in the corner opposite the door. It seems to work best for the particular configuration of doors and windows we have in this small room. But it leaves a big chunk of floor space empty behind it.
And in order to spread my love of giraffes to my offspring, I placed the giraffe from our sunroom in that space. Now Bernard can lovingly watch over her while she sleeps!

Now that space is just begging for something more. With the crib being where it is, I didn’t think a mobile directly above it would look right. My idea was to hang a cluster of pom poms made from tissue paper in between the crib and the corner.
And by mobile I mean immobile flowery things above the crib. Unless the ceiling fan is on, then maybe they will be mobile!
This is the first of many pink accents I’m planning to incorporate into the room to girl it up.
To get started, I picked up the biggest sheets of light pink tissue paper I could find. They are 20×20 inches. I also saw some gold paper (20×26 inches) and got a pack too. The pink came with 12 sheets, but the gold was only 5 sheets. And the gold was more expensive! Thankful for 40% off coupons at Michael’s!
When I got home, I started with the pink. Deciding it should be the biggest one in the center of 3 pom poms, I used all 12 sheets of tissue paper. (Spoiler alert, I’d recommend using 2-3 more sheets of paper than 12. Mine seemed a little thin when it was all said in done.)
You’ll also need some wire or a few pipe cleaners and scissors.

I happened to find some pipe cleaners at my parents in the perfect shade of pink. Only they weren’t pipe cleaners…

Who comes up with this stuff?! Though I’m not complaining…it’s cute and funny!
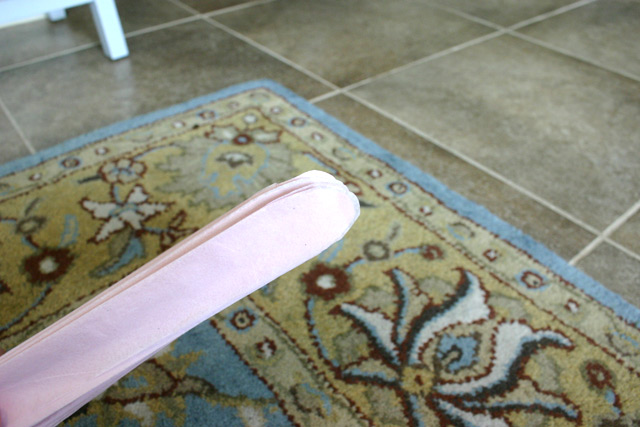
To start, fold the entire length of tissue paper like an accordion. My folds were about 1.5 to 2 inches wide.

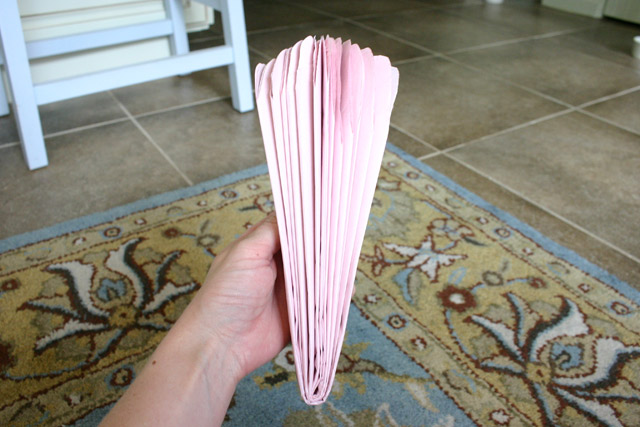
Then to get the flower petal look, you’ll want to use the scissors to round the edges of each end. I cut a few folds at a time by cutting a slit down the 3rd or 4th fold about 2 inches long.

This just gave me more room to maneuverer the scissors. Slowly work your way down one side and then repeat on the other side so everything has rounded ends. Another option is to cut them into points instead. To each their own!
Next, fold it in half to get a crease in the middle for your wire/pipe cleaner.
Then wrap your pipe cleaner or wire around the center. Create a small loop before you cut excess to hang with later on.

Once you’re satisfied your center is bound adequately, start carefully pulling each layer apart. Try and hold it close to the center so you don’t rip the petals off. Slowly, lightly, and carefully “fluff” each piece of paper until you’ve gone all the way around.

I went back and touched up my fluffing after my poms were hung.
At this point, I repeated the process with my gold paper. Since it was longer than it was wide and larger than the pink paper, I trimmed about 10 inches off before starting.

Of course it still wasn’t square, so I chose to fold the shorter end.

With #2 down, I moved on to the third and final pom pom and the 2nd gold one. This time I used the remnants to make it even smaller. I cut about 6 inches off of the longest side making my tissue about 10 x 14 inches.
I still only had 5 sheets. And knowing my 12-sheet pink one wasn’t quite as full as I had imagined and my 5-sheet medium-sized gold one was even less so, I didn’t have high hopes for the fullness of the baby one. But I also didn’t want to run to the store in the middle of the project. Plus I knew that they really only needed one pretty side. :O
My baby gold flower pom actually looked pretty good.

Until you turn it around… 🙂

It really doesn’t bother me, but I’m writing it here in case you’re making some for a party or where all sides will be seen. Buy more tissue paper than you think you’ll need!
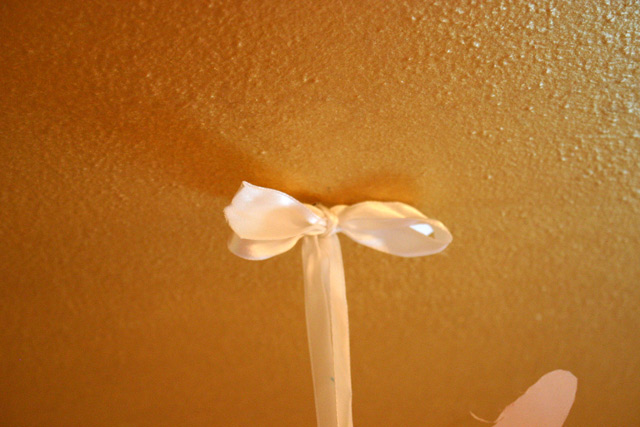
Now to hang them, I found some white ribbon in my craft stash. They are actually from the packaging from a Tiffany & Co bracelet I received as a Christmas present one year. Gotta love that little blue box!
I ran the ribbon through the pipe cleaner loop and then tied a bow at the end of the ribbon. I started with the big, pink one since it was going in the middle. After eyeballing where to hang it, I got out a few carpet tacks since they have a taper to them I thought would work well with the plaster. Plus I’ve used them throughout my house to hang various things on the wall.

It was hammered into place and then I was able to hang the pom from the knot on the back side of the bow. The black carpet tack was visible at first. But once the ribbon was tightened on the tack, I hammered it a little more to secure the ribbon better and then was able to fluff the ribbon over the tack head.

Next I hung the medium-sized pom to the right of the middle.

And finally I hung the third pom. I tweaked and fluffed them once they were all place so they look great from the front and underside before our little princess arrives.
I think they fill the space adequately without overwhelming.

Plus they’re kind of whimsical and sophisticated at the same time.

Now if only Baby Girl had a crib mattress to come home from the hospital to… Hopefully that will come before she does!
Thanks for Checking In! ~ Chelsea
You May Also Like

Crafty Closet Makeover

Repurposing A Tidy Cats Container