This is probably the most revealing thing I’ve shared on this here blog, but I know I can’t be alone! When it’s cold outside (i.e. Winter), yard maintenance is practically nonexistent at my house. No weeds are pulled, no beds edged, nor any grass mowed. Add in a newborn and I’m embarrassed to claim my yard as my own.
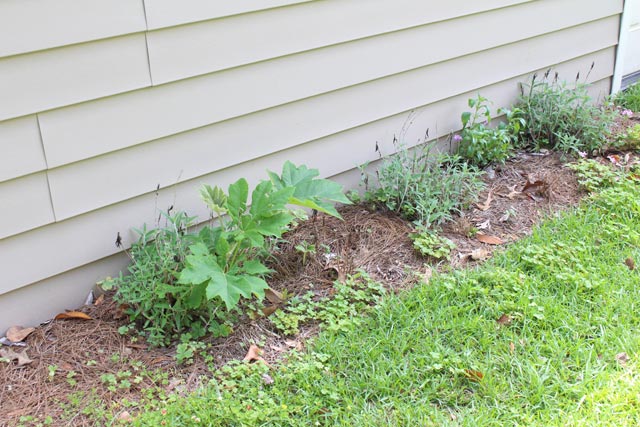
But that’s why we have Spring! A season of renewal. You see, when I first bought my house it had sat vacant for over 3 years. So the yard was just gross and overgrown. After we pretty much demolished and rebuilt the landscaping, I took it as a personal goal to regularly maintain my yard by pulling weeds, etc. to make it look “kept” all the time. Easier said than done sometimes, but I knew it was way easier to maintain it than to overhaul it after a period of not doing anything.
It’s also always nice to have a fresh, clean slate to start a new season. So I broke up my yard to-do list into bite-sized pieces to make this post-winter clean up pill a little easier to swallow. And I’m hoping by sharing how I did it, you’ll be able to apply it in your yard for a fresh start to Spring and Summer. Of course you can use these tips and tools all season long if you don’t get it done right away!
Getting rid of weeds is no easy feat, any way you look at it. The best way to do so, though, is to pull them up by their roots. Some are easier than others. For example, weeds in a landscaped bed are easier than clovers in the middle of grass.
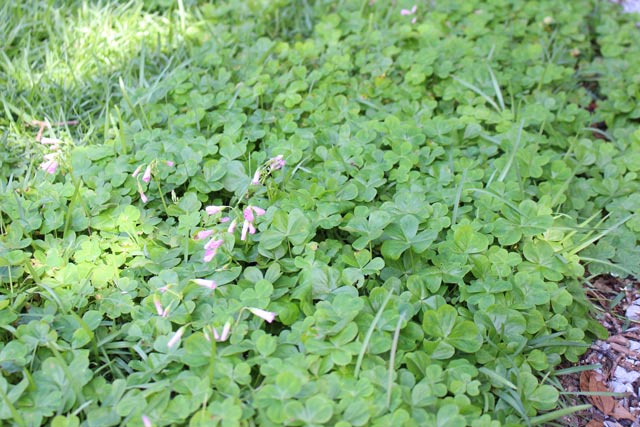
I like to pull the weeds I can, then spread a weed and feed over the grassy areas to kill the weeds, like clovers, that are nearly impossible to remove on your own. But before I do that, I like to define the natural bed areas, so I know where to stop pulling weeds. For my small bed areas, I used my Landscape Edger from Ames along the border to cut the grass runners and separate the “to-pull” weeds from the “let the weed killer get these” weeds. (This post is sponsored by Ames Tools. All opinions are 100% my own.)
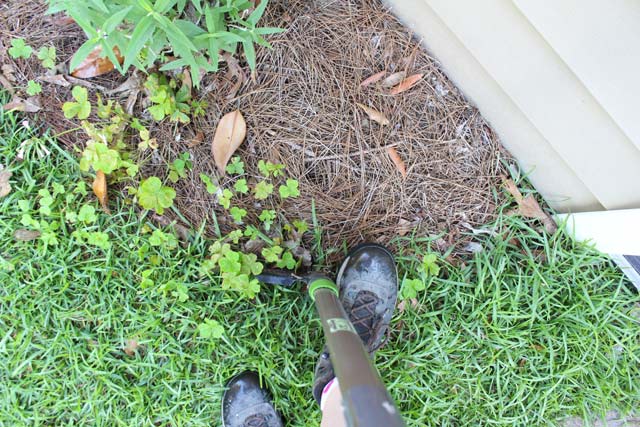
The edger cut right through the grass and made a nice, clean line between the pine straw and grass lawn.
Next I walked in circles in the yard looking for weeds sticking up calling my name. If your weeds are blooming, then you know it’s time to pull them!
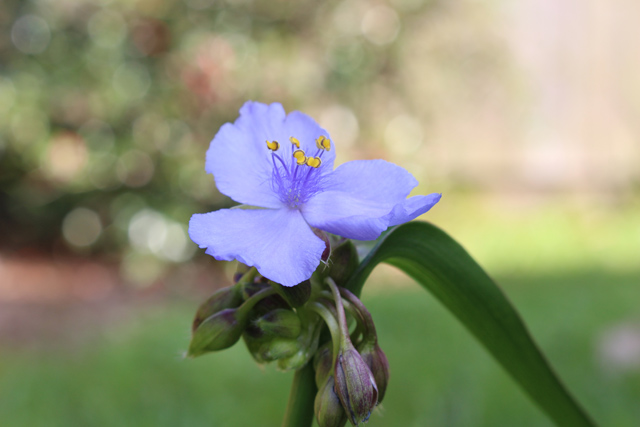
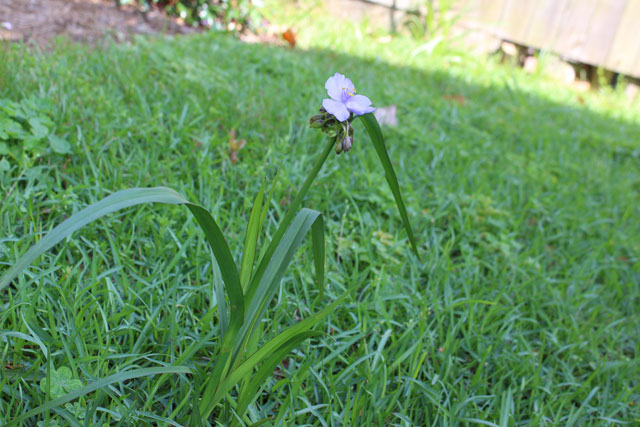
Now there are some weeds you can pull but never get to the root (like the purple one). They drive me nuts because you can never get rid of them without getting the root!
So this year, I changed things up a bit and used this Stand-Up Weeder. Seriously, it’s changed the way I feel about weeds. It’s almost fun to have them now!
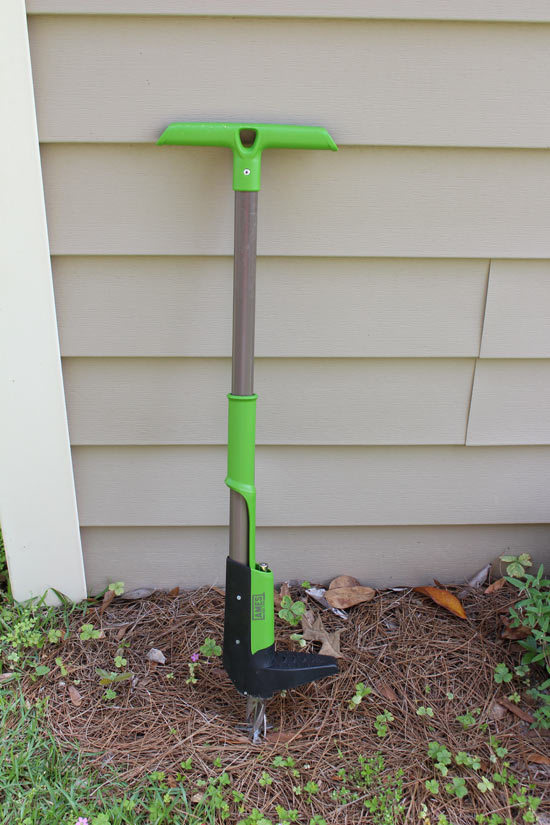
With the plunger positioned over the weed, I stepped on the foot platform, twisted the handles and pulled it from the ground, minimal strength required. Then to release the weed over my 5 gallon weed bucket, I pulled the handle in the middle and voila! No more blooming weed. And I didn’t have to bend over which can be the worst part of pulling weeds of any kind!
Once all of the weeds in the grass were pulled, I mowed. Ahh, the first mow of the season is so refreshing. I know it won’t feel like that come August or September, though! Ha!
Then I was able to tackle the other weeds in the beds. I used this handy, dandy rake with a clip-on hand rake to move pine straw to get to the roots.
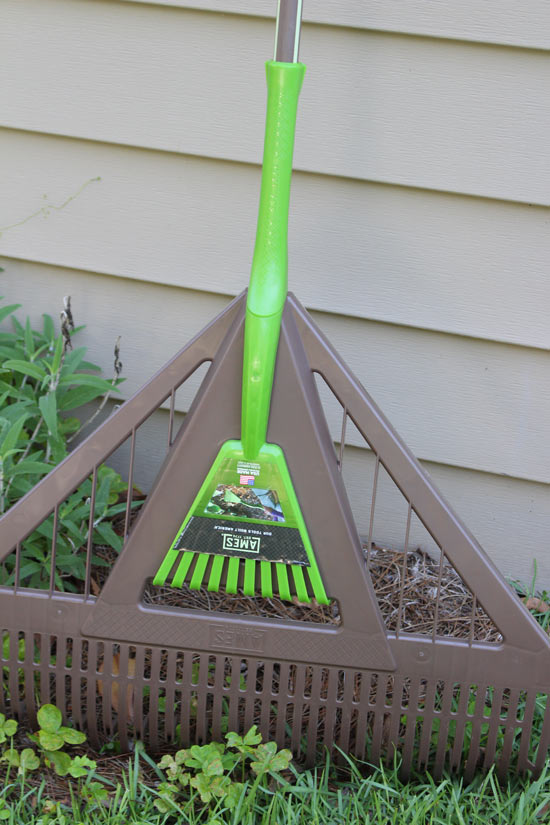
With the weeds gone, I raked the pine straw back into place. Now my salvias just need to start blooming again!
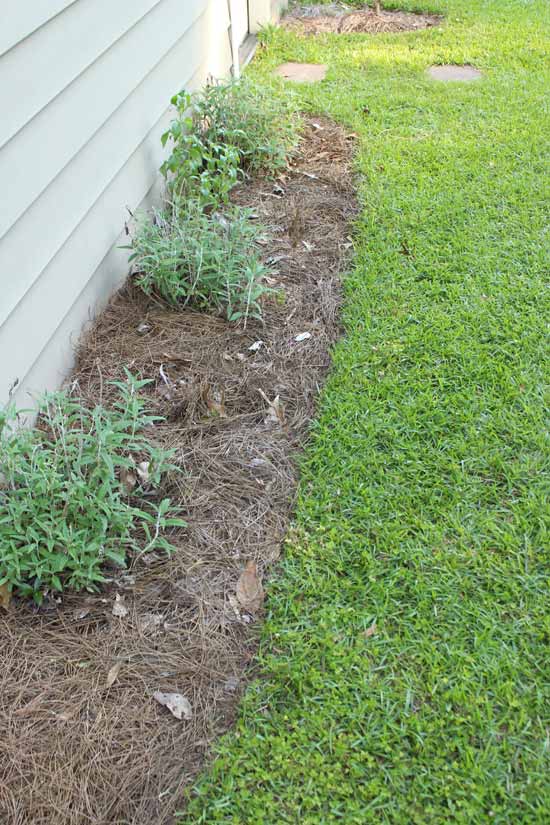
I tackled one bed before moving on to the next one.

Whew! It’s hard to tell where the flower bed ends and the grass begins!
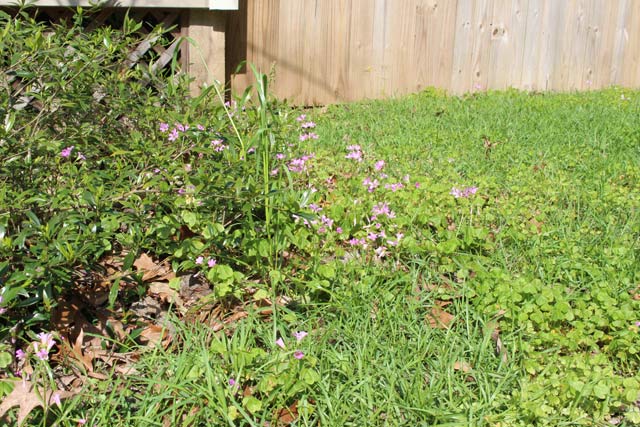
Until I worked my magic, of course!

After all of the flower beds were weed-free and tidied up, I loaded up my True Temper wheelbarrow with my mulch of choice, pine straw, to sprinkle everywhere.
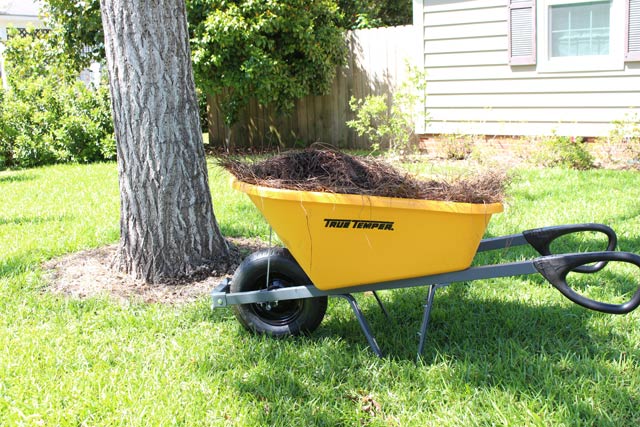
It really makes such a big difference in making the yard and beds look “finished”! A flower bed with fresh pine straw makes my heart go pitter patter like a high school girl seeing her crush walk down the hallway. Like seriously, y’all.
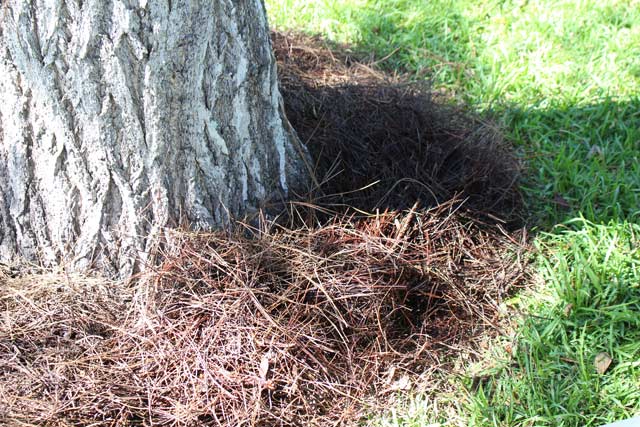
The best part is how cheap it is to spread pine straw versus the amount of joy I get from it. Priceless.
A day or so after mowing, I spread a bag of weed and feed formulated for my type of grass (centipede) with a broadcast spreader. The instructions specified not to spread it if it hadn’t rained in a while. Fortunately we get plenty of that down here, so that wasn’t issue. Also have to make sure it’s not forecasted to rain within 24 hours after you spread it. Don’t want your hard work washing away!
Now I can sit back, relax and let the weed and feed do it’s job on those stubborn clovers over the next month or so. I’ve got plenty of fresh pine straw to stare at to keep me occupied in the meantime! 😉
A quick recap of how I tackled my weeds and yard clean-up at the beginning of Spring:
- redefine flower bed edges
- remove weeds in grass
- mow grass
- pull weeds within flower beds
- spread mulch
- spread weed and feed
- relax
Just take it one step at a time and your yard will be tagged “Yard of the Month” in no time!
Thanks for Checking In! ~ Chelsea


Great tips! May have to pick up that rake with the small attachment.
Thanks for stopping by, Andy! ~Chelsea