Checking In With Chelsea

DIY ideas, crafts, and tips for your home

subscribe and never miss a thing!

Receive Free Email Updates

  • About
  • Videos
  • Projects
    • Indoor Projects
    • Outdoor Projects
    • Craft Projects
  • House Tour

Re(a)d All Over

Indoor Projects •  April 8, 2016

As promised, I’m back with the details on painting the lattice background from my bookshelf makeover.
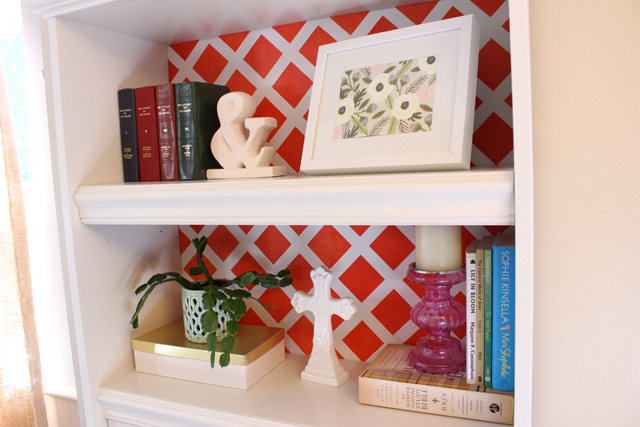
Top Half of Bookcase with New Molding

My instinct was to do a solid color, again, but then I thought I’d add a little drama to the back of the overstuffed bookshelf. After stenciling an accent wall in my living room, I thought stenciling would be the way to go to get a neat pattern.

First I set it up in my garage with some plastic behind it so I could spray paint it white.
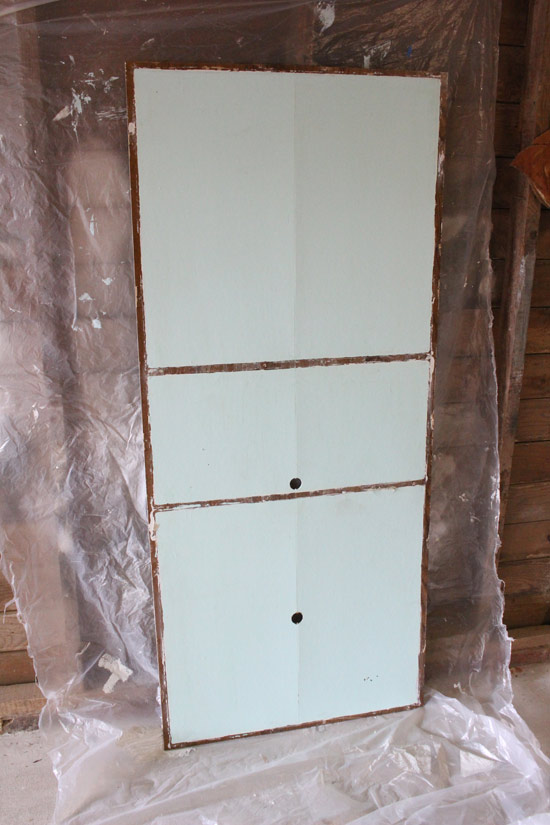
Back of Bookshelf Removed and Ready for Paint

I used flat primer since I had a few cans on hand. It really only required 1 coat to cover the blue with a 2nd coat for touch ups.
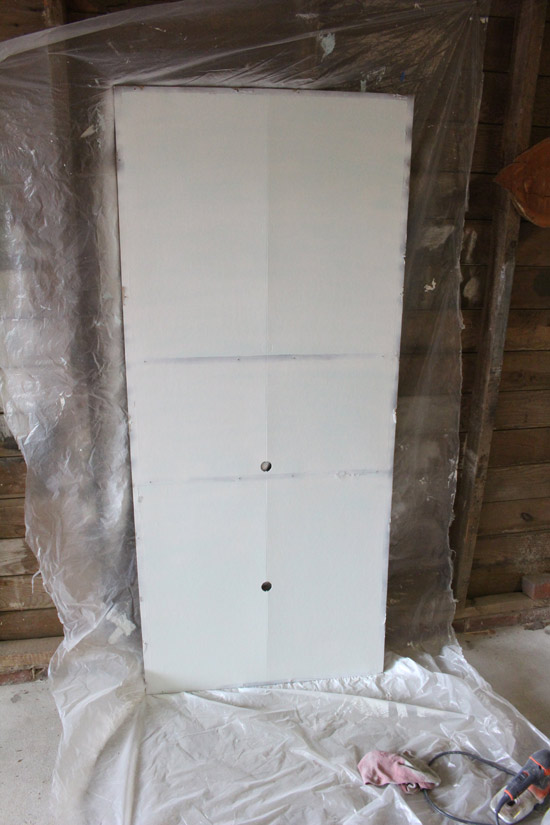
Back of Bookshelf After Spray Painting

Once it dried, I picked up my supplies and set the stencil in its first spot in the corner.
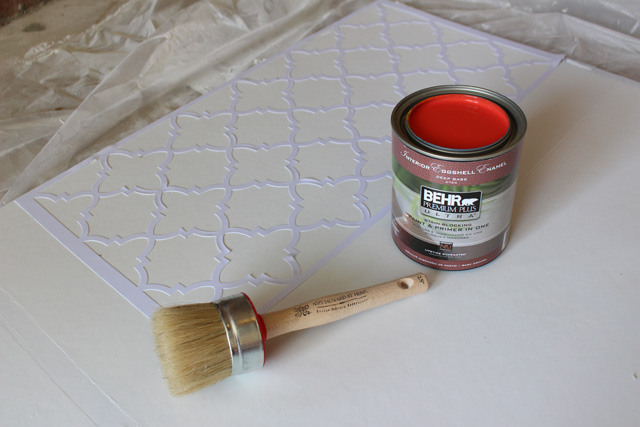
Stencil Paint and Brush for Background

You know the saying, “You get what you pay for”? Yea, that applies here. It was a cheap stencil. And it worked cheaply. It was self-adhesive which was nice. But it was very flimsy. So after I painted the first repeat, it was nearly impossible to get the wet stencil laid out for the next repeat without messing up the wet paint on the background or without spreading paint on the next area to be stenciled.

Plus it didn’t leave clean lines either.
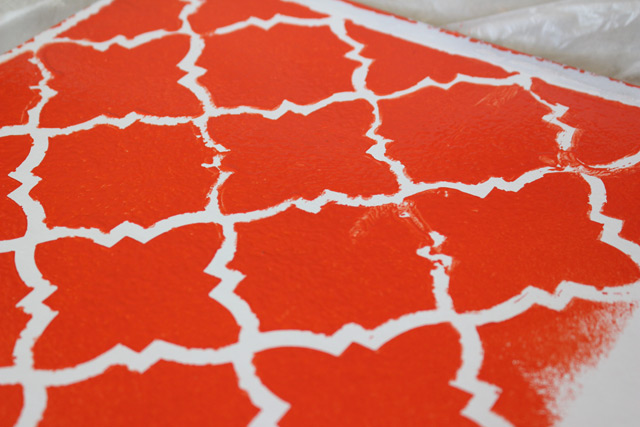
Messy Background After First Stencil

So I wiped off as much wet paint as I could and sprayed that area again with white paint. I wasn’t too concerned with the red paint showing through since only a little white would be showing in my next idea for this background.

To create the lattice pattern seen in my “after” picture above, I used 1-inch painter’s tape. I started in one corner by putting a piece of tape along the edge of my speed square.

Using Speed Square to Tape Lines

Then I went to the left of the tape and down on the right side marking every 5 inches. These would be the marks for where each new piece of tape would start. I eyeballed it as I laid my next piece of tape from one side to the other, trying to have it hit the background at the same time along the entire piece of tape. Again, I wasn’t too concerned with it being an exact straight line since I knew you’d never be able to tell once the background was in place.
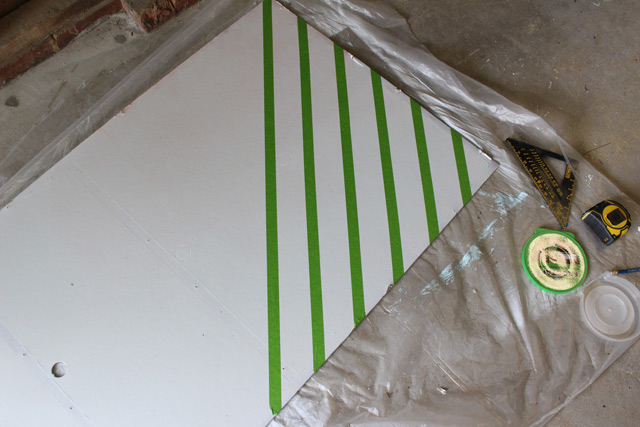
First Few Taped Lines

Once I ran out of marks to line up my tape along the top, I measured the distance between the tape lines to make the first mark around the corner. Then I went from there marking every 5 inches again.

When I completed the tape lines in one direction, I used my speed square again to make the first line going in the opposite direction.
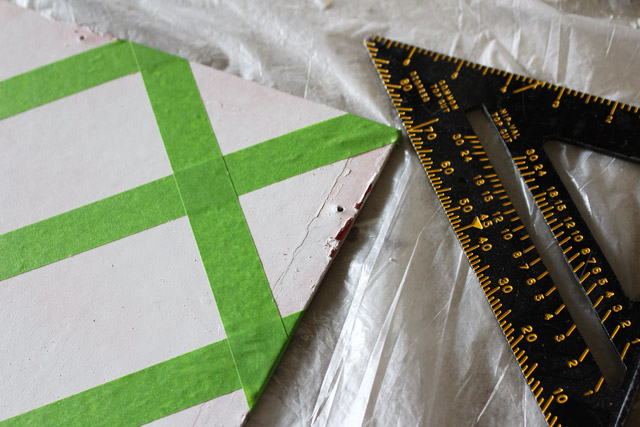
Using Speed Square to Tape Opposite Corner

Then I did the same thing marking every 5 inches and laying one tape line at a time until I was done. Not a long process at all.
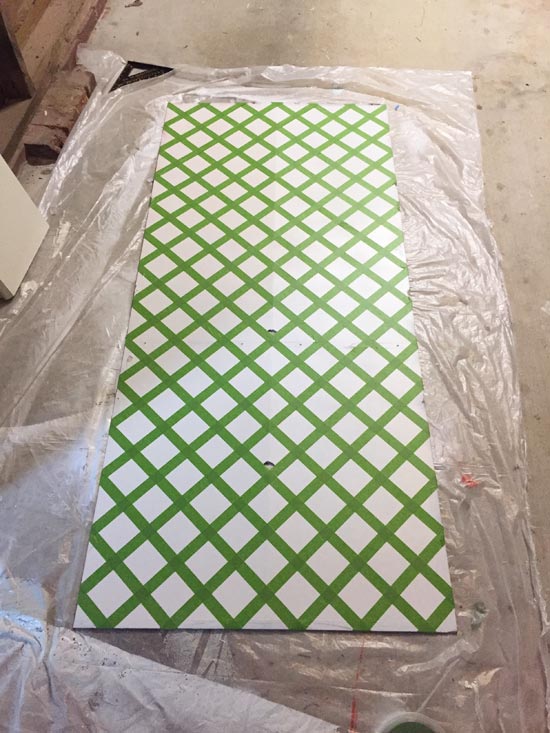
Background with Completed Painter's Tape

I used my stencil brush to apply my poppy red paint (Chili Pepper by Behr) in a pouncing fashion.
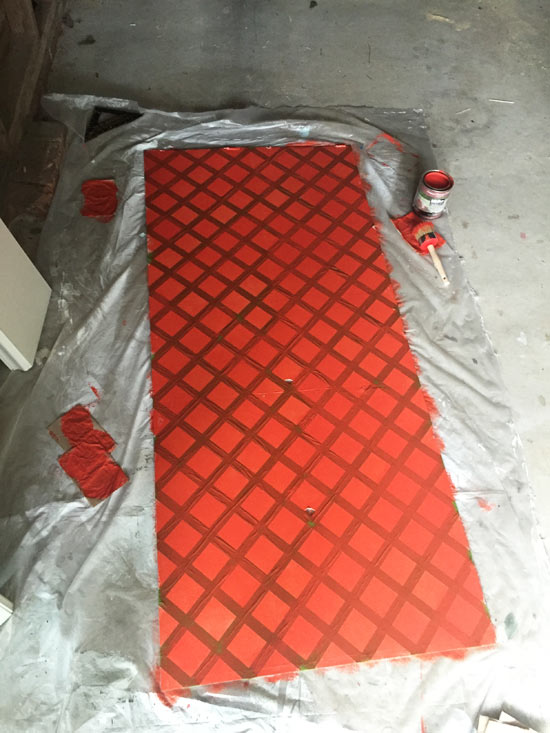
Background Painted Poppy Red

While the paint was still wet, I removed the painter’s tape at a 45 degree angle. I let the bookcase background stay flat on the floor while it dried.
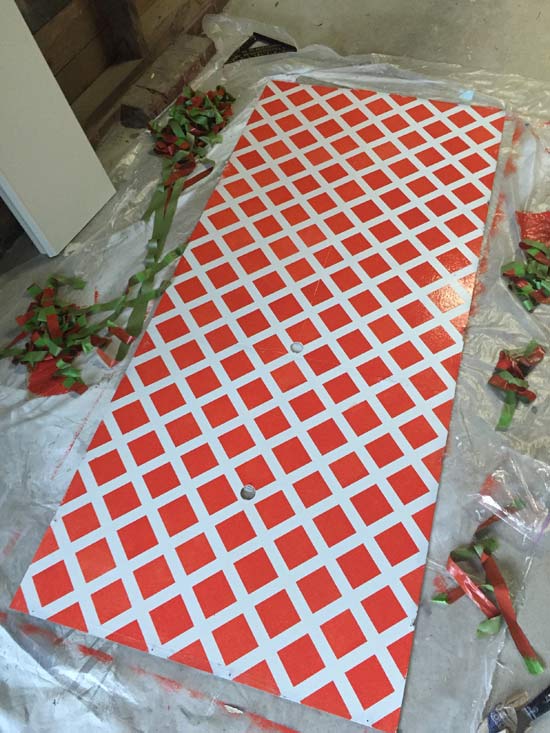
Back of Bookcase After Removing Tape

Using the same nails that held it in place before, I reattached the background to the freshly painted bookcase.

Bookshelf with Red Pattern Background

It’s the perfect amount of color pop that this bookcase needed. It reminds me of a picnic blanket, which is perfect for a room made for eating! 🙂

Decorated Bookshelf After Upgrades

In hindsight, I wonder how laying a piece of actual lattice over it and using spray paint would have worked. If anyone tries it, let me know!

Top Half of Bookcase with New Molding

Thanks for Checking In! ~ Chelsea

Subscribe for Free Updates!

Stay up-to-date on Chelsea's latest projects, tips, useful resources and more.

Previous Post
Bookshelfie Makeover
Next Post
Weeds Be Gone

Related Content

Rear View of Tan Vinyl House and Wood DeckHow to Refresh Your Wood Deck for a New Look2x6 White Painted Handrail on Front Porch with Pink Flowers in Planter BoxHow I Made My Porch Happier with PaintWood Queen Headboard with White Duvet Navy Green PillowsHow To Update Your Master Bedroom NowHoney Oak Wood-Look Front Door Painting KitHow to Paint a Door to Look Like Wood

Comments

  1. Kim says

    May 7, 2016 at 9:51 am

    I like how this dresses up a basic bookcase and I love the poppy color.

    Reply
    • Chelsea Lipford Wolf says

      May 9, 2016 at 10:27 am

      Thanks, Kim! I love the poppy color too! ~ Chelsea

      Reply

Please Leave a Comment Cancel reply

Your email address will not be published. Required fields are marked *

Welcome!

I’m Chelsea. DIY
enthusiast who loves
sharing my victories
and mishaps!
Learn more
here.

CHECK IN WITH CHELSEA ON INSTAGRAM

Successfully transformed our birthday cake wagon f Successfully transformed our birthday cake wagon float from last year into a tractor for this years’ preschool Mardi Gras parade.🎉SO happy our sweet school found a safe way to keep this cute tradition alive for the kiddos!
.
.
The theme was Storybook Characters, so Mary Helen and Gus chose their favorite character, Tractor Mac by @billysteersauthor. Check them out next time you’re in the market for illustrated books with a good storyline.🥰
.
.
Happy Covid Mardi Gras! #partyanyway 💜💛
I’m crazy excited to be diving into my first who I’m crazy excited to be diving into my first whole room makeover in our new house, the dining room!! And it all starts with these boxes from @armstrongceilings. Some of you guessed flooring in my stories but it’s actually planks that clip together to form a floating ceiling. I’m sharing more of the process in stories!
I’ve never done a decorative ceiling before so I’m so stoked to share it with you.🤩
.
.
Watch my stories today and then let me know what questions you have! I can answer in my video that will be coming out March 1st!
.
.
#doitherself #armstrong #armstrongceilings #decorativeceiling #5thwall #diningroomdecor #diningroominspiration #sponsoredpost #inspiredtodomore #diyyoutuber #youtubevideocomingsoon
I feel like I’ve been keeping a secret!🤫My te I feel like I’ve been keeping a secret!🤫My team and I have been working on an ALL NEW STYLE for my videos and the first one just got posted to my website! (Click that link in my bio to watch it!) It is so fun to watch even if you don’t need to know how to remove wallpaper. (Trust me!🤣)And it is so much more me! A little bit silly but still got you covered with the goods (how-to info that is😉).
.
.
Let me know what you think!! We’re starting on the next video tomorrow and it’s a dream project for me, so can’t wait to show you details in stories on Tuesday!
HAPPY BIRTHDAY🎉to my beautiful little boy who c HAPPY BIRTHDAY🎉to my beautiful little boy who could wear pajamas, eat, and run around in circles all day long if we let him. And today we let him because he’s 4 years old!😱We love you buddy!💙🎈
I’ve been busy making plans for our exterior ren I’ve been busy making plans for our exterior renovation...windows, doors, shutters, PAINT colors...can’t wait to install a front door with 3/4 glass. It’ll make this little spot shine bright all year long.🤩
.
.
Would you want me to share the process in stories of planning and getting things all lined up for our curb appeal makeover? Let me know!👊🏻
.
.
#foyerdesign #welcomehome #workinprogress💪 #tipsandtricks #tipsandtrick #helpalongtheway #makingahouseahome #diyupdate #diyhomemakeover #homemakeovers #renothishouse
Very excited to make a last minute trip to witness Very excited to make a last minute trip to witness my middle sister’s engagement!😍Nevermind bridezilla, this sister of the bride is taking over.😉
Load More... Follow on Instagram
Indoor Projects Outdoor Projects Craft Projects
Facebook Pagelike Widget
  • Contact
  • FAQs
  • Advertise with Chelsea
  • Media
  • Today’s Homeowner

Search This Site

Receive Free Updates Via Email

Copyright © 2021 Checking in With Chelsea • All Rights Reserved • Site Design by Archer Creative