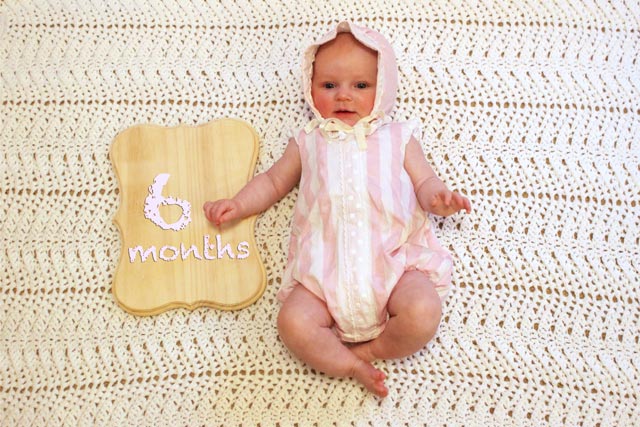
Today is my baby girl’s half-birthday! While not a big milestone for adults or even older children, it really feels like a giant stepping stone during her first year of life!
But before I get carried away bragging about how awesome my kid is, the real reason I’m checking in today is to share a fun bookshelf makeover I just completed!
This bookshelf was handed down to me from my grandparents when they were purging a lot from their house. It was originally brown with a faux wood look. Not my style. So I had caulked all of the joints and painted it white. Then I painted the back of it blue to coordinate with the blue guest room/office where it originally resided in my home.
A few months back it was moved into the dining room when we were shifting the guest room into a nursery and the office into a guest room. And that’s where you can find it today.

The biggest thing that stood out about it to me was the rounded molding on the ends of the shelves and at the top.
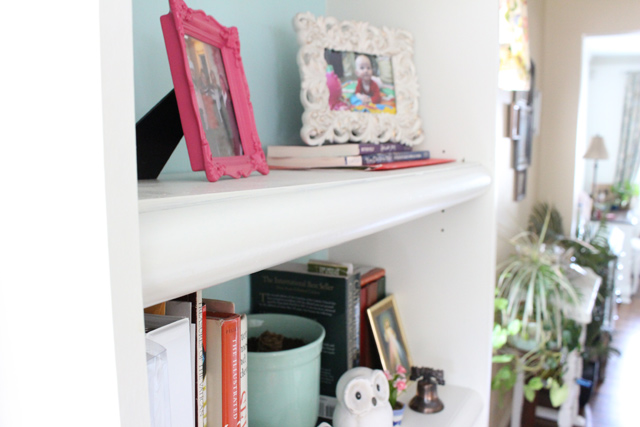
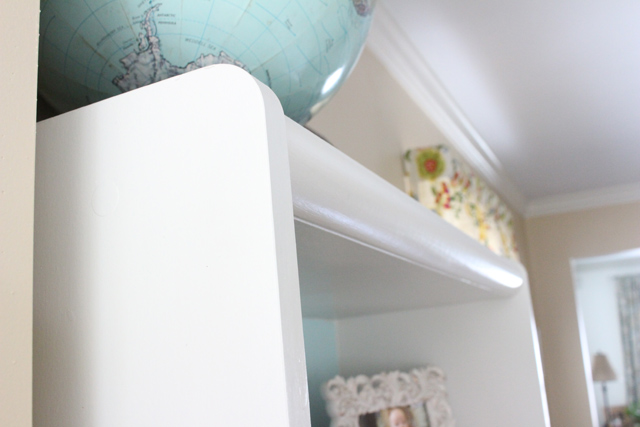
I’m not sure what style you’d call it but it feels very 70s to me.
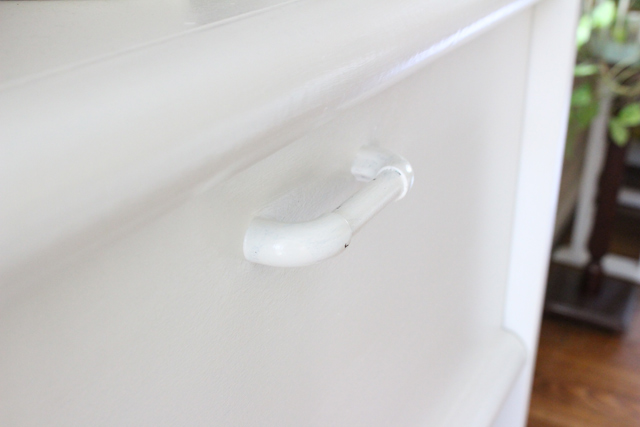
So I thought I’d dress it up a bit with new molding on the shelves and some crown at the top. I walked the molding aisle at the home center to find what I was looking for and found a nice chair rail.
Fortunately for me, the round ends were attached with L-shaped brackets, making it really easy to remove them!

Had it not been that easy, I could have used a circular saw to rip the rounded edge off.
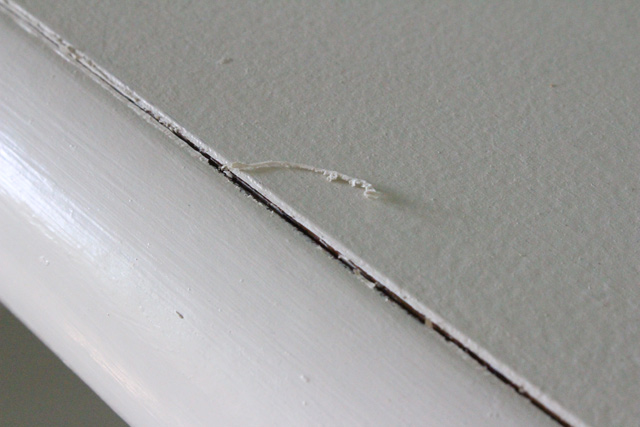
Before I detached the edges, I scored and removed the caulk I had applied a few years ago.
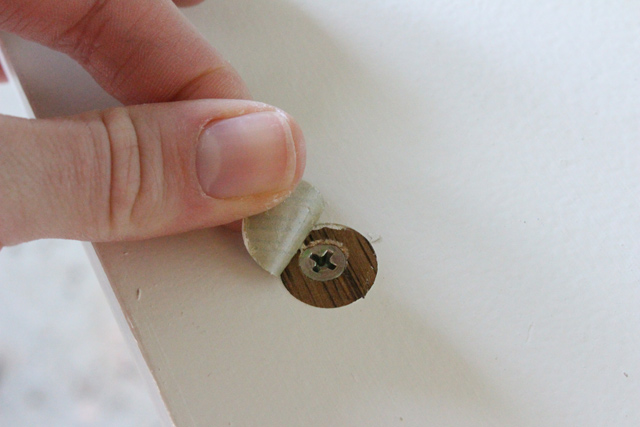
While I was deconstructing the case, I removed the stickers that were covering the screws for the handle and removed it as well.
It was looking worse, and I was getting overwhelmed with the steps to complete this task that lay before me.
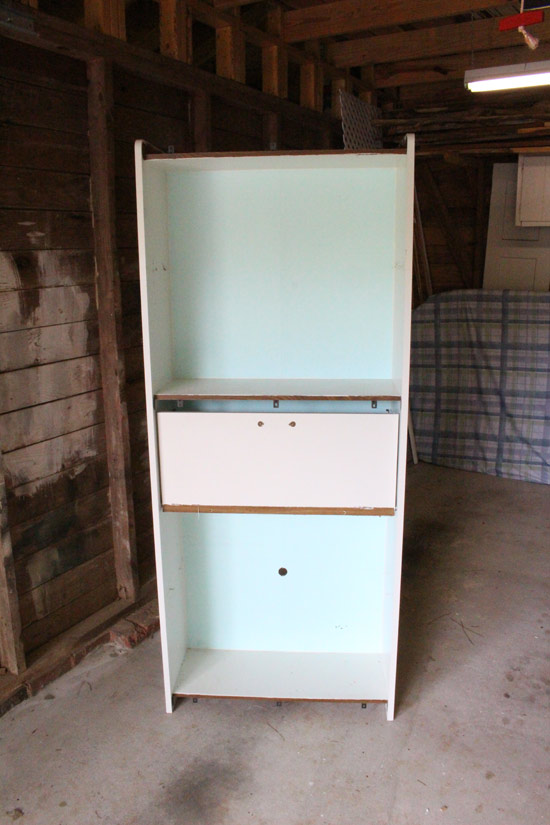
And then I decided to add something else to the list and remove the back of the case to refinish it too!
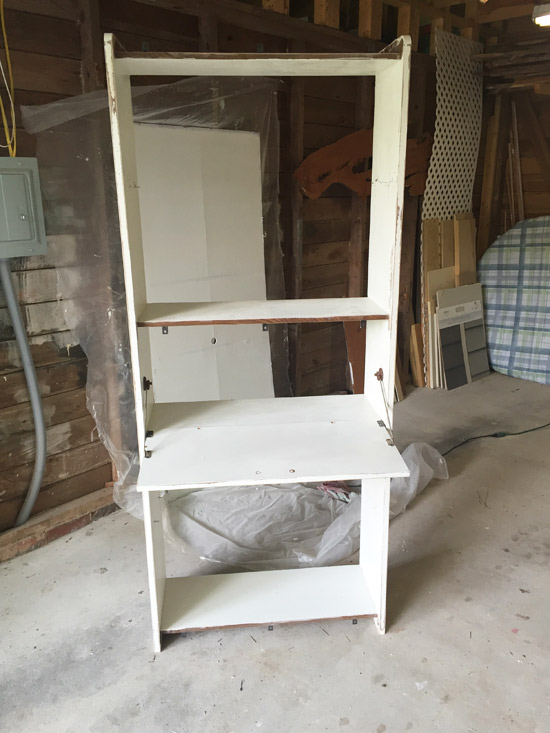
But it is always an exciting step when a project turns from the deconstruction phase to the building and reconstruction.
At this point, everything got a good sanding with a palm sander and 100-grit sandpaper.
After I cut my chair rail to the various lengths needed, I bought some shorter screws to attach it to the shelves using the same “L” brackets. The chair rail is a lot thinner than the round molding was. And for good measure I ran a bead of glue along the front of the shelf before joining it to the chair rail.

The very top of the bookcase was a little tricky because with the molding removed, the shelf was not flush with the front of the case and therefore I did not have anything to adhere my new crown molding to. So I found some scrap wood that I clamped to my workbench to rip a 1-inch piece from with my circular saw.
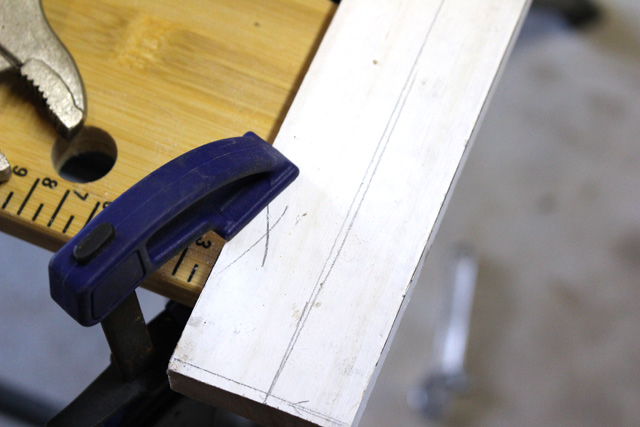
Then I glued and screwed it in place before cutting my crown molding. I used the same technique to cut the crown that I demonstrated with bed molding when trimming the windows in our living room.
To attach the crown to the top, I used the same glue from the shelves. It’s really thick so it doesn’t run down a vertical surface which is exactly what I didn’t want happening at this stage in the game!


I clamped the front piece of crown in place while I hammered a few wire nails through the face of it. I would have preferred to use finish nails since they have a smaller head, but I have so many wire nails and no finish nails on hand. In the end it didn’t matter much since I puttied and painted over the holes anyway!
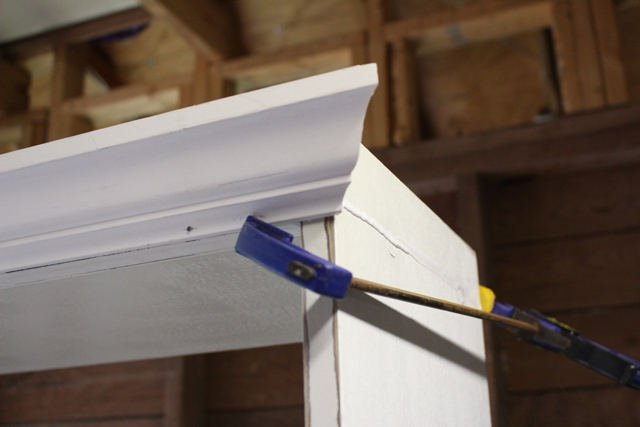
The side pieces of crown were tricky since I couldn’t clamp them in place. I started the nails with the crown laying on my workbench, and then called in my husband Brandon to help hold them while I finished the nails off.
While I was puttying the nail holes on the crown molding, I also puttied the holes from the old handle. I couldn’t find a 3.5 inch handle that I liked to replace it, so I instead drilled a new hole between the two old ones to use a single knob.
I filled in all of the joints between the new molding and the shelves with white painter’s caulk to give it all a seamless look.
After a good coat of the same paint as before, my bookshelf was ready to be put back into action.

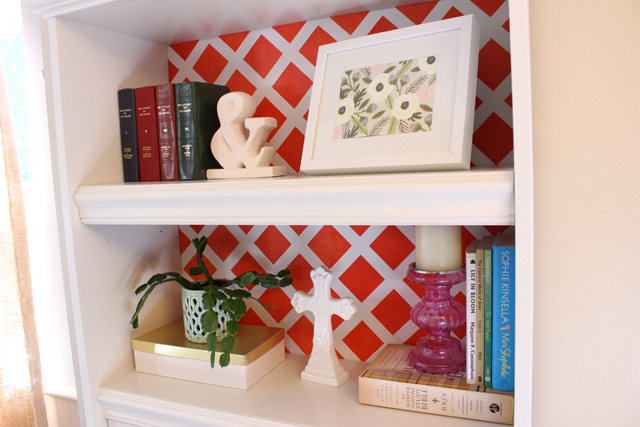
I used some painter’s tape and a lovely poppy red paint to transform the back of the bookshelf. It really makes it pop! Click here to see those details.
For funsies, I decorated the bookshelf to see what it would look like without all of our junk back on it.

The shelves are glossy and look so much fresher than their predecessor.

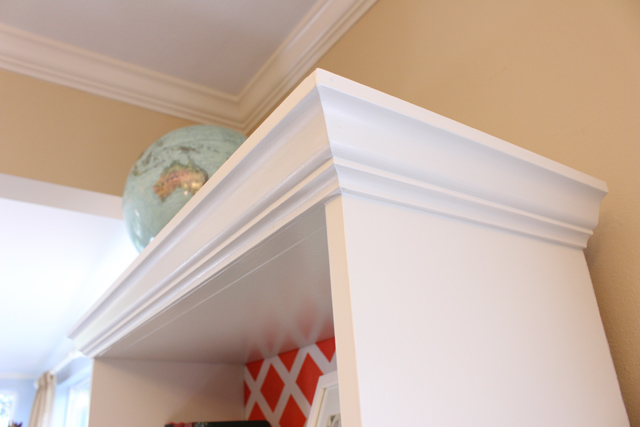
And the new gold and glass knob is definitely more modern than whatever that was before.
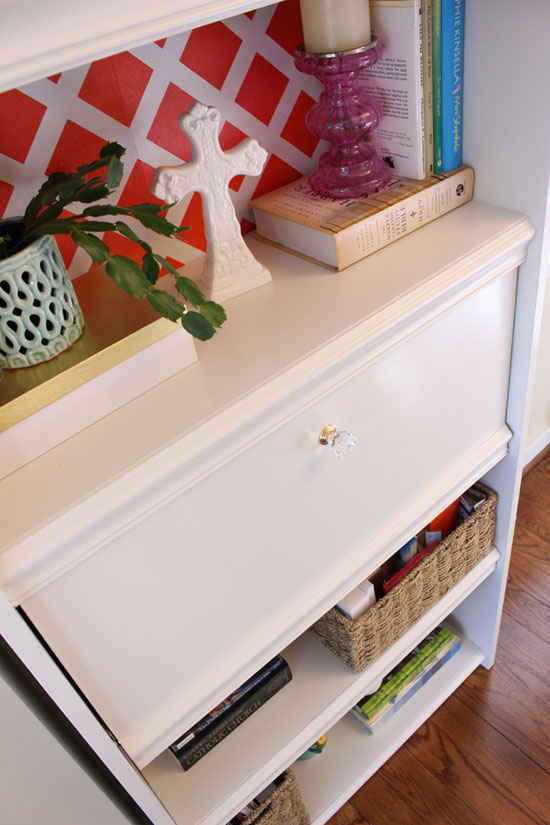
What the bookshelf really looks like now with most of the same stuff piled back onto the shelves.

The bottom half is a little more “full” than my dream version of the shelf.
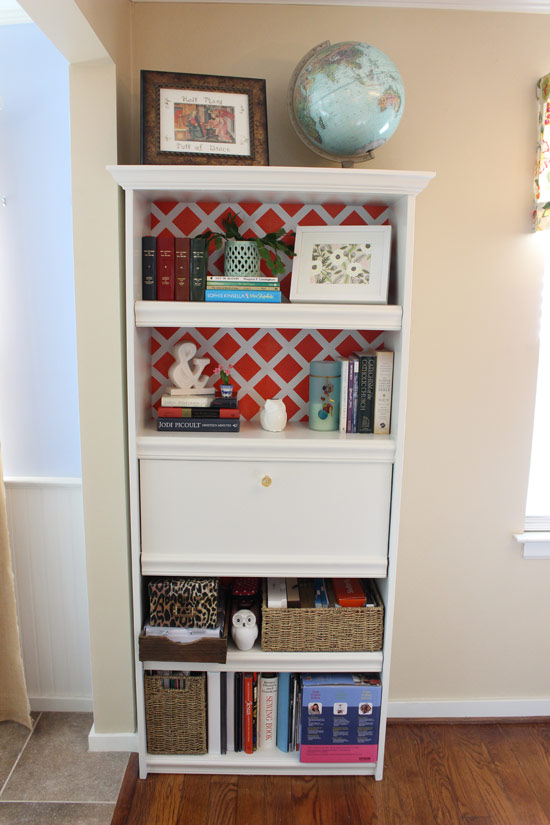
But that’s #reallife in the Wolf household!
Thanks for Checking In! ~ Chelsea



Have U documented Your first remodel of this bookcase? From the faux wood to white with the blue background. I have a book case that is very similar to yours it has the faux wood finish that I would really like to paint white
Hi Sandy, unfortunately I did not document that initial makeover! But it’s pretty simple! Use 220-grit sandpaper to lightly sand the entire surface, apply a primer (I use Bulls Eye 1-2-3 or spray paint primer) and then your white paint in a semi-gloss sheen. It would look best if you used a thin high-density foam roller like I used to paint a closet door, but a paint brush will do too! Good luck! ~Chelsea