Now here’s something I honestly thought would never happen.
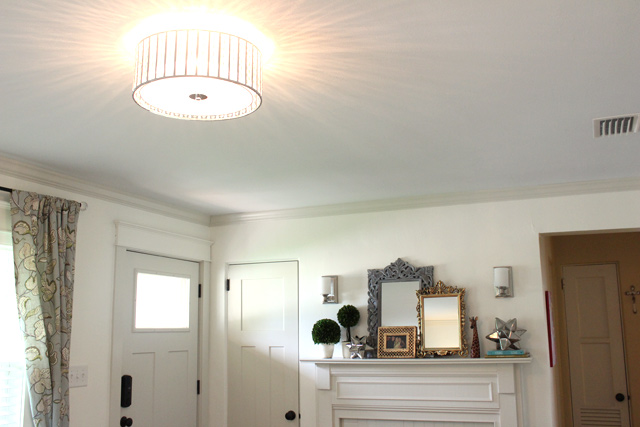
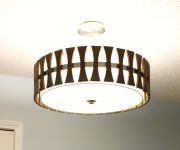
I got an overhead light fixture installed in my living room!
It’s been on my living room to-do list, but I thought I’d never have the monies to hire an electrician for fun. (As opposed to hiring one for a necessity, that is.) Because as most people know, there’s always something more important that pops up for the money to be spent on.
But I’ve slowly been saving since January of last year and finally hired the electrician who does a lot of subcontracting with my dad’s construction company here in town. He came out, gave me an estimate, and then we set up an appointment a few weeks later.
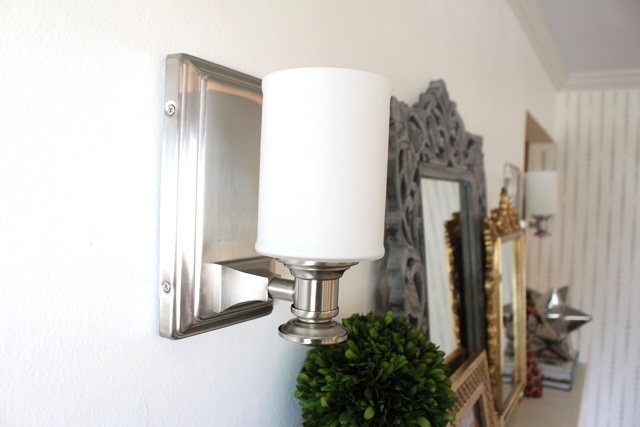
You may remember that part of my to-do list also included incorporating some wall sconces I received as a birthday present almost 2 years ago. (They’re similar to this gold one.) I originally planned to have them over the couch, but after completing so much work on and around my fireplace lately, I thought, “Hey! That’d be a great place for some wall sconces!”
So since Wayne was coming over anyway, those were installed as well!
My living room setup has the couch opposite the front door. The outlet on that wall was connected to the light switch by the front door. So we left our 2 lamps plugged in and always turned on. When we walked in, we hit the light switch on the wall and the lamps came on. It worked fine, but there was never enough light. And all of the light was on one side of the room.
With this complicated scenario, it was no doubt in my mind this wasn’t a DIY project I should tackle. But to save a few pennies and to be able to share a few tips with you, I had him run the wires and complete the light switches. Then I installed the fixtures themselves.

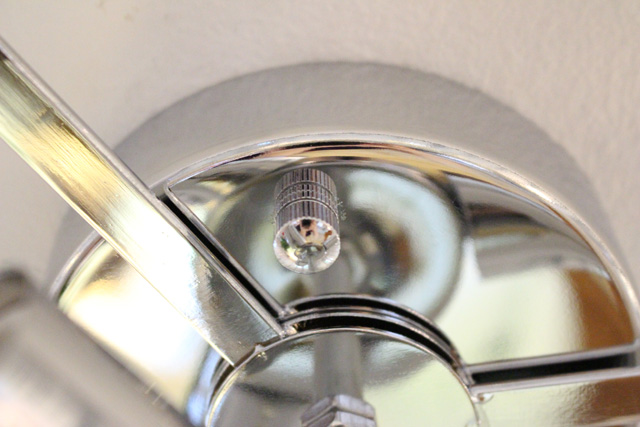
I don’t have any pictures of the install process of the ceiling fixture since I was only one woman standing on a step ladder. But once the wires were in place, the fixture attached to the crossbar with 2 decorative nuts.
Since I can’t resist anything shiny or sparkly, there were a few crystals that were part of the fixture that needed to be installed as well. 40 to be exact.

It actually came with an extra one. That’s impressive since companies usually under-deliver those types of things these days!
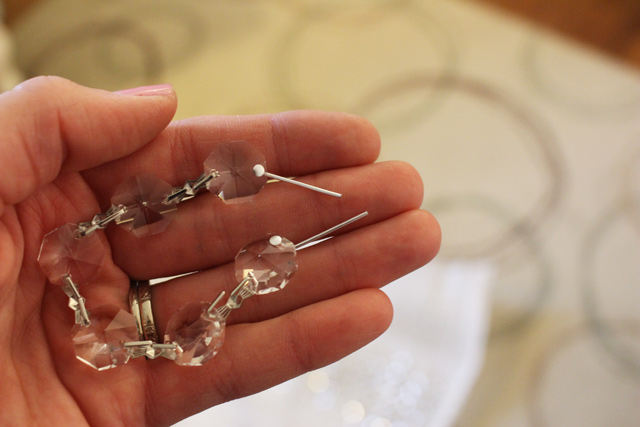
But the little extra time was worth it.
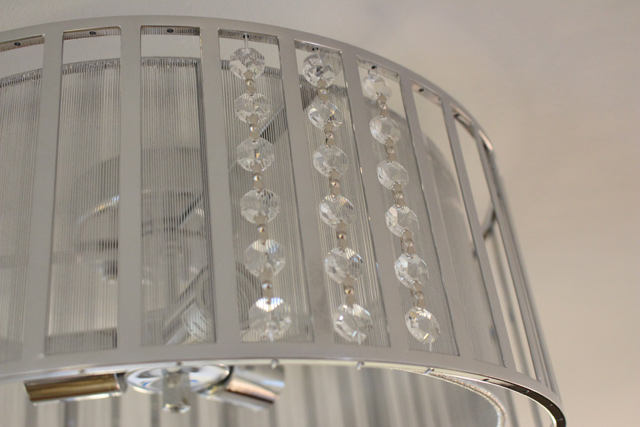
Besides the bling, I selected this fixture from Lamps Plus because I really needed a flush mount light. Since we only have 8-foot ceilings, I didn’t want anything too big, even though I would have LOVED a chandelier! But I also desired something a little, dare I say, “cuter” than the typical dome-shaped flush mount fixtures. (This post is sponsored by Lamps Plus. All opinions are 100% my own.)

It holds (3) 40W bulbs. So it’s the same amount of light as (2) 60W lamps, but coming from above makes ALL the difference!

And as you know, I didn’t stop there. There were sconces to install!
The plate that came with the sconces attached directly into the boxes the electrician installed in the wall. I made sure they were level before wiring and attaching the fixture. Because if that ain’t level, ain’t nothing level.
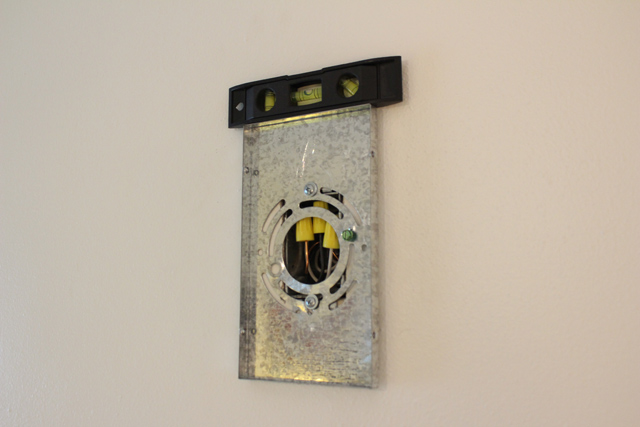
Then, pulling the wires through the hole in the plate, I wrapped the black wire with the black wire from my fixture. Make sure you twist the wires together clockwise. That way, when you go to screw on the wire nut, you aren’t untwisting the wires, but rather tightening the connection.
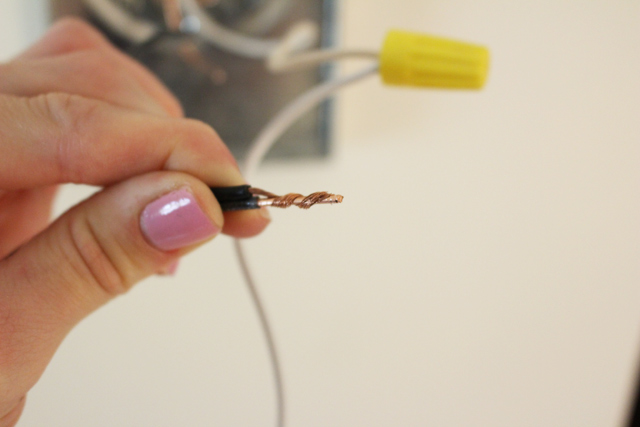
Also, make sure that the ends of your wires meet after you’ve twisted (before the wire nut) to get the maximum amount of “connection” between the two.
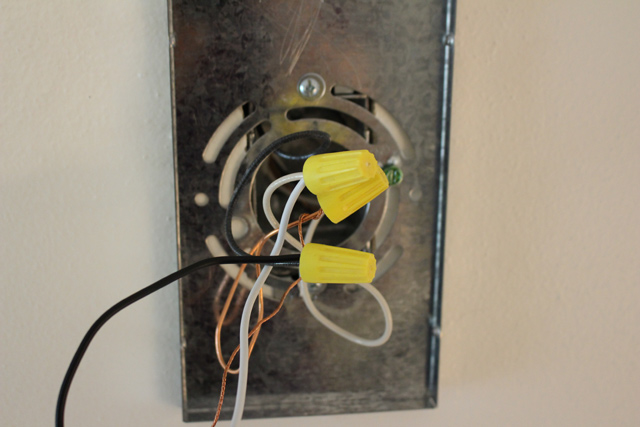
Once all 3 wires were twisted together (black to black, white to white, and copper to copper), and the ground wire was twisted around the green grounding screw, I pushed the wires back into the hole and slipped the fixture onto the mounting plate.
This particular fixture had 2 small screws on either side that held everything together.

To attach the shade to the fixture, they came with a giant nut.
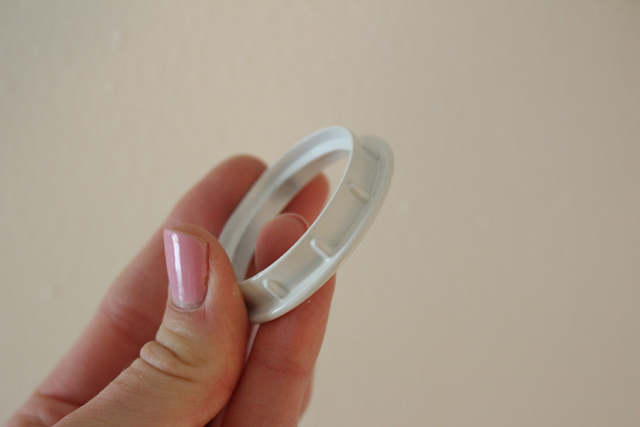
But adult hands and slender shades make it difficult to screw it on properly. Thankfully, these fixtures came with their own tool that does just that!
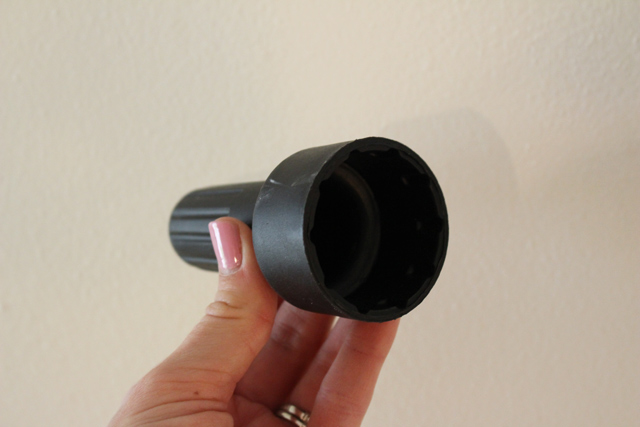
All fixtures like this may come with those nowadays, but I know my bathroom fixture did not. It wasn’t impossible to screw them on, but this black thing would have been nice!
In total it probably took me about an hour to install all 3 fixtures (and those crystals!).

But I’m very pleased with the results!

I was waiting to get the sconces in place to finish hanging things on the walls around the living room. I’ve gotten a few things up, but there’s still some to go!
My mom suggested I turn my blue chairs in towards my new table to make them look more “styled”. (Sweet Santa sent that as a Christmas gift.) And I think it does help! They were squared up with the couch.

The red flower print above the chair was stolen from the dining room since I’m currently working on new wall hangings in there too.
And there’s my little family corner above the mirrored chest.
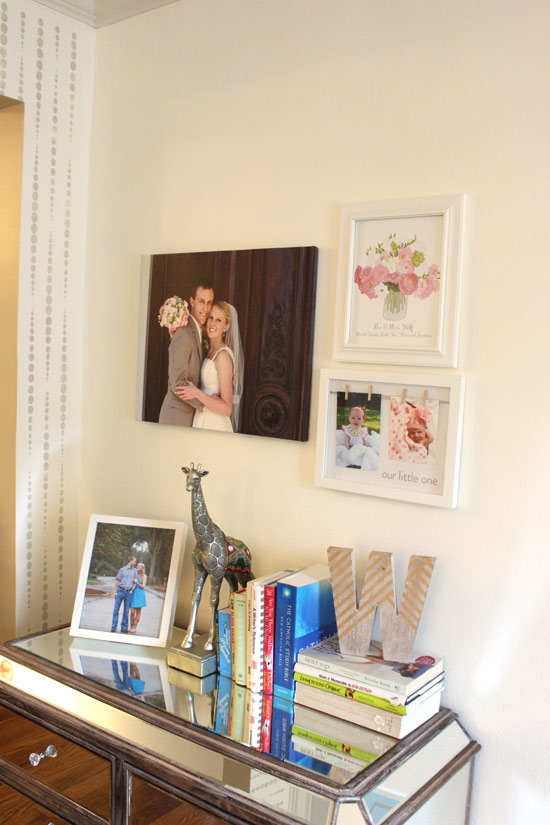
I’m no decorator or designer, but this little entry room of ours is coming together! And I like it!
Thanks for Checking In! ~ Chelsea
PS The new episode of my web show premieres this Sunday (new episode on the 1st of each month). So please come back to watch it then! My old neighbor from childhood, Elizabeth, and I create a beautiful moss-covered initial for her new house!

Please Leave a Comment