Checking In With Chelsea

DIY ideas, crafts, and tips for your home

subscribe and never miss a thing!

Receive Free Email Updates

  • About
  • Videos
  • Projects
    • Indoor Projects
    • Outdoor Projects
    • Craft Projects
  • House Tour

Fireplace Molding Update

Indoor Projects •  February 15, 2016

About the same time I was helping Sheena build her fireplace mantel for my February episode, I was also working on updating my mantel and fireplace area.

I can’t remember if it was working on her mantel that inspired me to update mine or if it just happened coincidentally at the same time. Either way, great minds think alike! And with all of these fireplace projects taking place on my blog during the month of February, I’ve dubbed it Fireplace February! (Not that other things won’t take place here, there are just several fireplace-related projects happening at the moment!)

While I was repairing my mantel to keep it from interfering with the front door, I also added some molding to the breastplate to dress it up a bit.
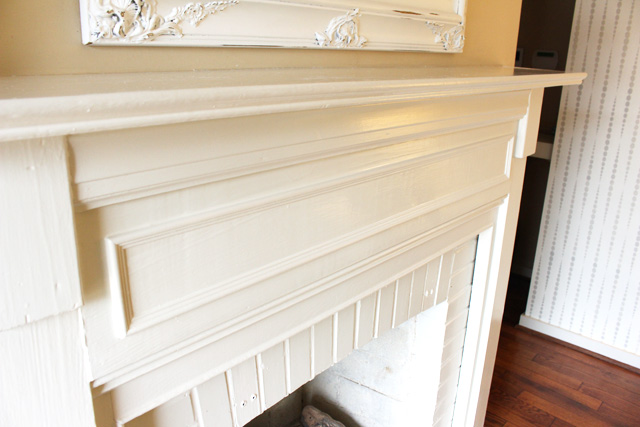
white fireplace mantel with decorative molding

My dad has used this technique to dress up kitchen cabinets and create a faux wainscoting before. Pretty easy with great results!

First I just got an 8 foot stick of some stock molding at the local home center. It cost about $5. Essentially I created a rectangular picture frame with it by cutting 45 degree angles on each end.

To get the lengths for each side of my “frame” I measured the overall distance of the breastplate of my mantel. I wanted the distance outside of the frame to be the same all the way around. But I didn’t want it to look squashed vertically, so I used that measurement to determine my margin. It is 7 3/4 inches, so I went with a 1 3/8 inch margin so there’d be enough space in the middle of the frame to make it look right. Then I subtracted 2 3/4 from the overall length, both horizontally and vertically, to get my cut measurements.
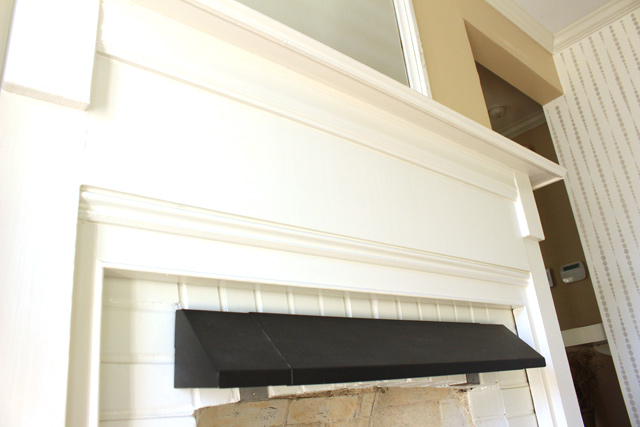
Fireplace Breastplate Before Molding

To start, I cut one end to 45 degrees by marking with my speed square. I knew I wanted the smaller profile edge of the molding to be the inside part of the frame, so my long ends were on the larger profile edge.
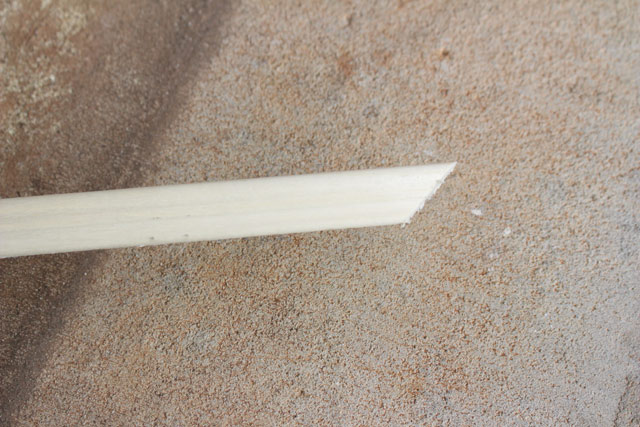
Small Colonial Molding Cut at 45 Degrees

Then I turned the molding over to mark my length from long end to long end, using my speed square, again, to mark the angle.
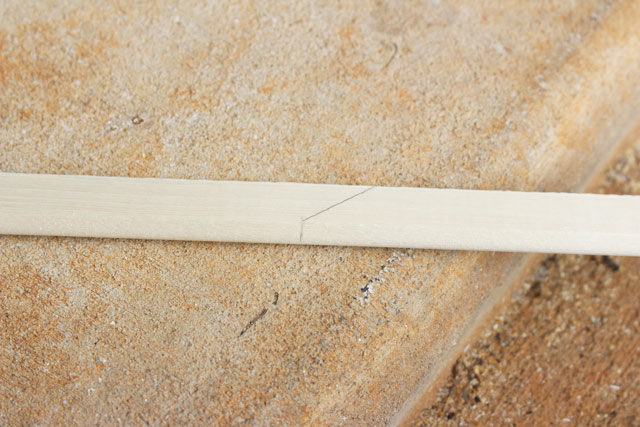
Molding Marked for Cutting

After cutting one angle, I had to cut the angle going in the opposite direction before marking a new measurement so everything would match up.
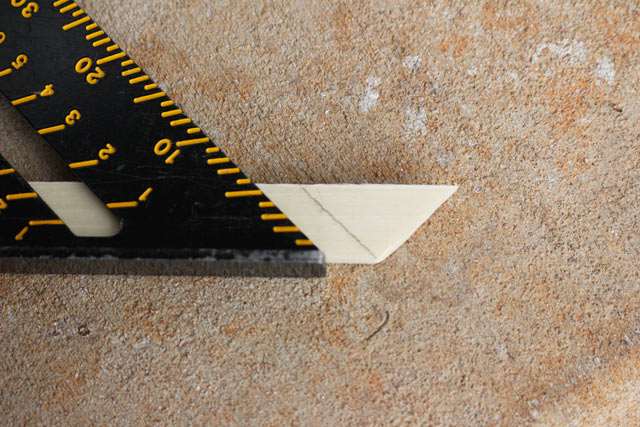
Speed Square Used to Mark Angle

Before assembling the 4 pieces together, I lightly sanded everything to get rid of the jagged ends.
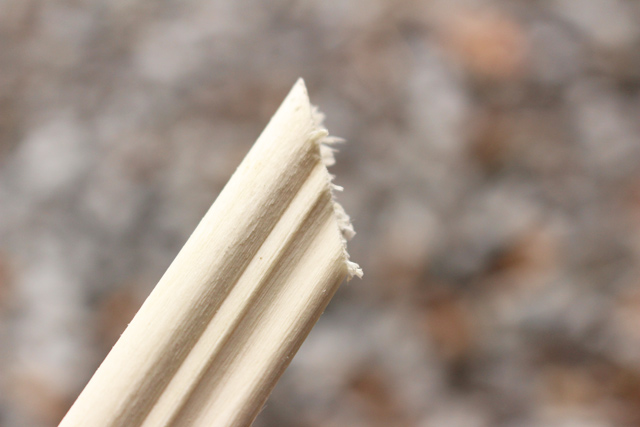
Small Molding Edge After Cutting Angle

Then I put a dab of glue on each joint and held them together. I lined the speed square up to make sure the corners were at 90 degree angles. I just eye-balled it, making sure the same amount of molding was showing up and down.
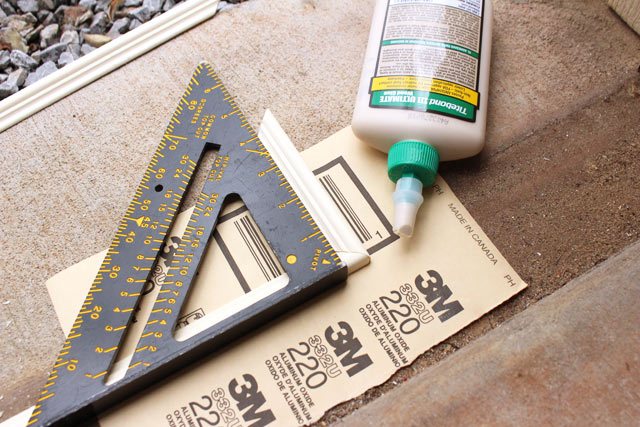
Using Speed Square to Square Molding Frame

After the glue dried in the corners on one side, I repeated the process on the other 2 corners before bringing it inside.
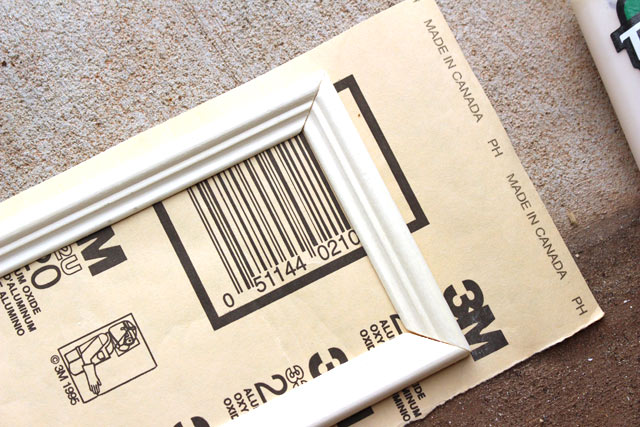
Corner of Molding After Gluing

Since the molding was so light and thin, I knew simple, ole wood glue would hold it in place. Before I glued it up, though, I marked 1 3/8 inches from the top, from the right, from the bottom, and from the left. That way when I applied a thin line of glue along the entire back side of my frame I could find where it was supposed to go without smearing glue all over the place and without getting out my level. I just had to keep it inside the marks!

Then I secured it with some lightweight painter’s tape until the glue had dried.
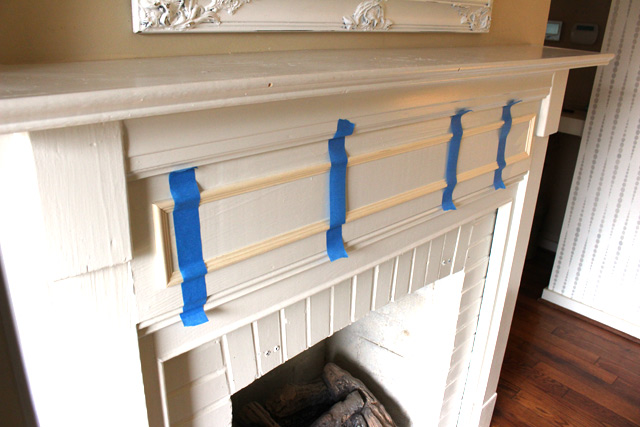
Molding Glued and Taped in Place

To finish her up, I applied caulk at every corner, and along the inside and outside of the molding frame against the breastplate to really make it look seamless!
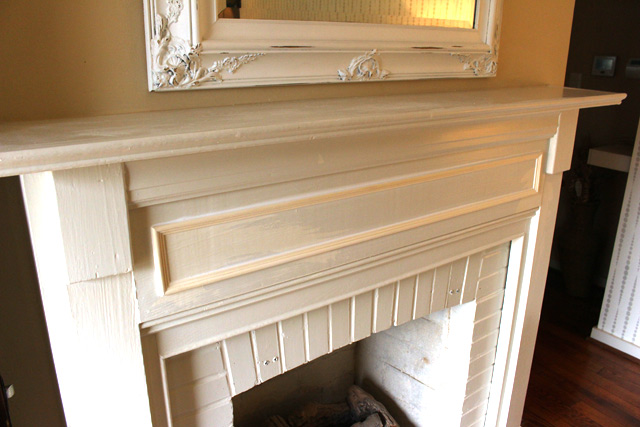
applied molding on fireplace mantel breastplate

I topped it off with 2 coats of paint, and it looked like it had always been there!
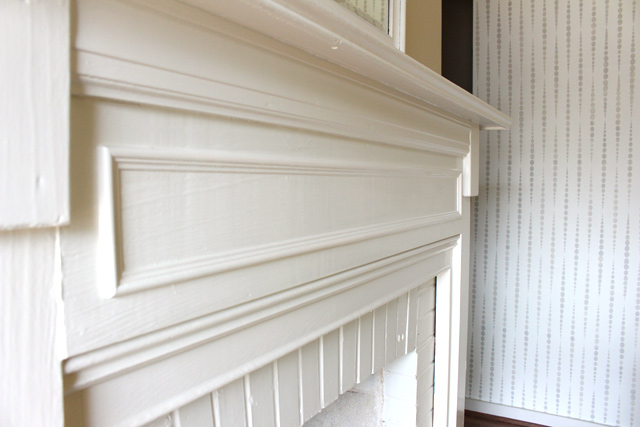
Completed Molding on Mantel Breastplate

Such an easy (and cheap!) way to upgrade the look of an otherwise plain mantel. The next step in my fireplace update is a 2-parter involving getting rid of this hearth and putting some pretty, fresh tiles in its place.

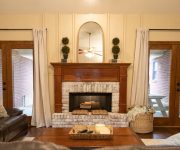
Painted Quarry Tile Fireplace Hearth

This little living room of ours is coming along! We’ll be painting the rest of the walls soon so the accent wall can really stand out! Until then…

Thanks for Checking In! ~ Chelsea
Subscribe for Free Updates!

Stay up-to-date on Chelsea's latest projects, tips, useful resources and more.

Previous Post
Featured on Today’s Homeowner: Lipford Family Condo
Next Post
Featured on Today’s Homeowner: Upcycle/Recycle

Related Content

How to Update Firebox and Hearth with Paint3 Ways to Update Fireplace with PaintHow to Cover Fireplace and Mantel with Wood Veneer to StainEasy Way to Update a Painted FireplaceShaker-Style Fireplace Mantel How To PlansFireplace Mantel Printable PlansGrouted in Place

Comments

  1. Sheena says

    February 16, 2016 at 9:17 pm

    I love it! This would be great to dress up flat doors too, no? A lot more work but worth it in the end.

    You’ve also made me realize that I really need to get a speed square. Pronto.

    Reply
    • Chelsea Lipford Wolf says

      February 17, 2016 at 8:41 am

      Yes, it’d be a cheap way to update flat doors! Yesterday I was thinking I sure do use my speed square for a lot of projects!

      Reply

Please Leave a Comment Cancel reply

Your email address will not be published. Required fields are marked *

Welcome!

I’m Chelsea. DIY
enthusiast who loves
sharing my victories
and mishaps!
Learn more
here.

CHECK IN WITH CHELSEA ON INSTAGRAM

Even though there won’t be any parades this year Even though there won’t be any parades this year and @toomeysmardigras was heartbreakingly empty (when it should be bustling and busting at the seams), we will still carry on the Mardi Gras spirit and represent the birthplace of MG in America in this house! We stocked up on decorations, moonpies and apparel for the kiddos this weekend. Now bring on the king cake!👑🎂💜💛
.
.
Have you ever had a moon pie or king cake?! Some of my favorite local sweets! Mmmhmmm! Happy Sunday!✨
.
.
#mardigrasiscoming #mardigras2021 #anotherholidayruinedbycovid #covidsucks #partyon #pardigras #mobilealabama #westartedit #decoratetheseasons #celebratelifeeveryday #godblessamerica
Something I never thought I’d do? Measure shoes Something I never thought I’d do? Measure shoes on TV.🤷🏼‍♀️Yet here we are...a quick behind the scenes of the shoe rack I built for an episode of @todayshomeowner is in my stories if you want to check it out! You can see the TV circus in action.🎪🤪
.
.
#reallifeandstyle #behindthescenes🎬 #behindthescene #shoerackdesign #dayjobproblems #rollcamera #ladybuilder #diy #customclosets
Merry 5th Day of Christmas from my sweet and wild Merry 5th Day of Christmas from my sweet and wild Wolfpack!🎄🥰 I hope your Christmas Day was filled with your favorite people and things.
We had the best weekend getting in the Christmas s We had the best weekend getting in the Christmas spirit!🎄Hope you’re feeling the magic of Christmas at least a little bit too!✨
Thanks, Josh, for helping me build a column today! Thanks, Josh, for helping me build a column today!😍We’re on day 3 in my dad’s hometown helping to #buildlafayettelanding, a community service project he dreamed up to build up the community after Hurricane Michael devastated the area in 2018.
.
.
A lot more work to do before we wrap Thursday afternoon!🛠
Have you ever used spackling in a unique way? A ho Have you ever used spackling in a unique way? A homeowner I worked with recently used a stencil and spackling on her foyer wall to add some subtle interest! It was so fun! I love this neat contest that sparks creativity. Tag a friend who you think could win this contest with their ideas! It closes Feb 1st!
Load More... Follow on Instagram
Indoor Projects Outdoor Projects Craft Projects

Popular Posts

Frosted Windows in Blue Tiled Bathroom

How To Install Beautiful Privacy Window Film

posted in Indoor Projects

Completed Lattice Trellis to Cover HVAC Unit

Hide Your AC Unit with a Trellis

posted in Outdoor Projects

Dining Room View from Living Room Ready to Sell

How to Sell Your House Fast and Cheap

posted in Indoor Projects, Outdoor Projects

1950s Ranch Brick Home on Corner Lot Pristine Condition

Our Ranch Revival Introduction and Before Tour

posted in Indoor Projects, Outdoor Projects

Chelsea Lipford Wolf on Deck with Small Bug-Repellent Container Garden

Easy Way to Keep Mosquitos Away

posted in Outdoor Projects

Facebook Pagelike Widget
  • Contact
  • FAQs
  • Advertise with Chelsea
  • Media
  • Today’s Homeowner

Search This Site

Receive Free Updates Via Email

Copyright © 2021 Checking in With Chelsea • All Rights Reserved • Site Design by Archer Creative