Apparently this week was Teacher Appreciation Week. And this Sunday is the mother of all holidays, Mother’s Day. So I felt it was a good time, even if it is (very) last minute, to create a little something for my daughter’s caretaker at daycare. I mean she does take care of my little nugget like a second mom. And I’m so grateful that Mary Helen is happy to go to “school” everyday while I take care of business creating projects for this here blog, co-hosting Today’s Homeowner TV show, and taping episodes of my web show.
I wanted something that was a tad sentimental and tied into Mary Helen, but not something that her teacher wouldn’t want in her house after Mother’s Day is over. Here’s what we made:
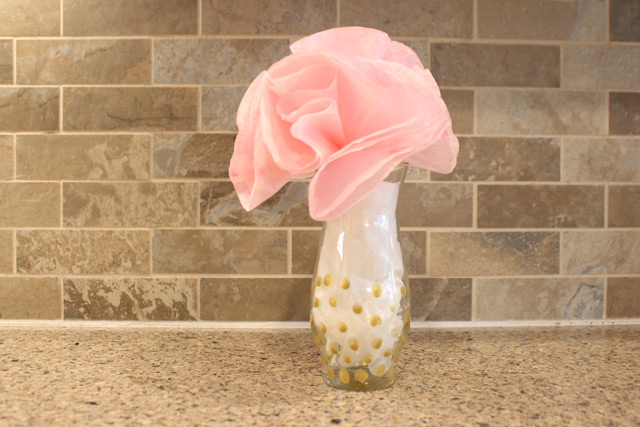
It’s a pretty quick project, so you still have time to make one for your mom, sister, gram, or godmother before Sunday!
Materials I used:
- coffee filters (1-4 cup size, about 20)
- acrylic paints (gold, pink)
- wire
- glass vase
- plastic container
- school glue
First, I recruited MH to help me paint the gold polka dots onto the vase. (By the way, I picked up this simple vase from the Dollar Tree for $1.) I poured a little gold paint on a paper plate, dipped her finger in the paint, and created a random dot pattern on the bottom half of the vase. I had to re-dip for every dot, but it still went pretty fast.
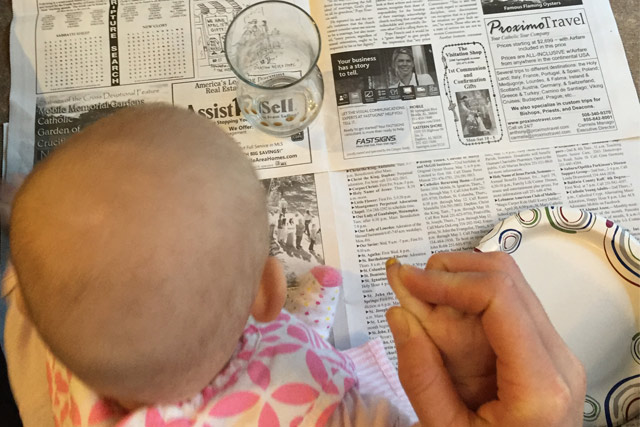
As you can imagine, it’s fairly difficult to capture a picture while holding a 7-month old captive. She only lasted a couple of rows of dots before we had to take a break.
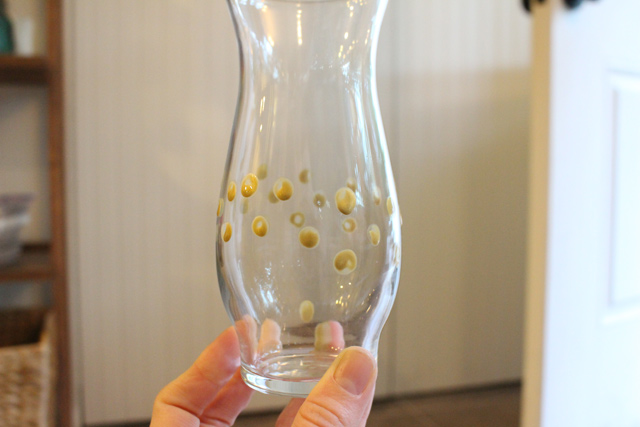
But I like that it has her “touch” in a way that’s still cute. When we were done with the dots, I took the tip of a ballpoint pen and dipped it in the paint. Then I wrote her name and the year on the bottom of the vase. (She’s not quite ready to write her own name! Yet! job)
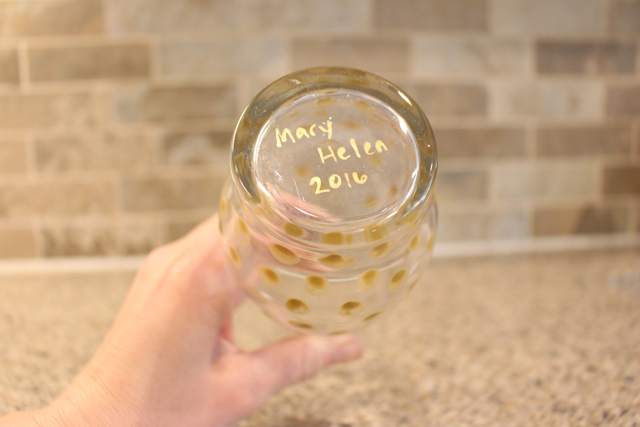
It’s way easier to write with a pen then try to do so with a small paint brush!
While the gold paint was drying, I got to work on the flowers. Because what good is a vase without flowers in it! I’ve made paper flowers before out of tissue paper. But this time my medium was coffee filters! Yep!
I shared this post on my Facebook page a few months ago and kept it in the back of mind for later. I used The Bold Abode’s method of dying coffee filters.
Using a large plastic container, I added about an inch of water. Then I poured in some pink acrylic paint.

Whatever color you want your finished product to be, start with a color much darker. I wanted a pale pink, so I went with this hot pink. Stir it really well and then stir again. When you’re satisfied with your stirring job, dip about 10 coffee filters in at a time, letting them soak for a few seconds.
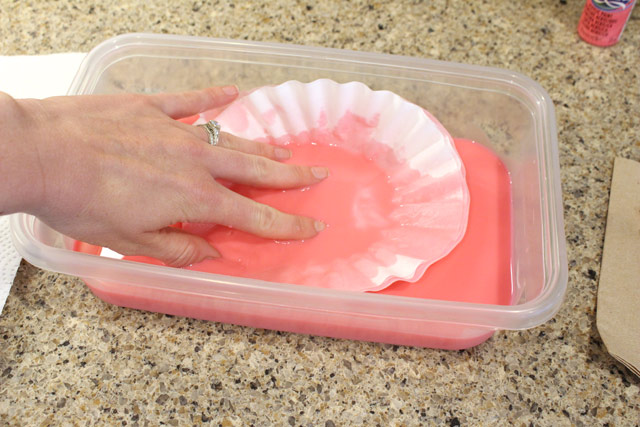
At first I was nervous about dipping a flimsy paper product in water, thinking it would disintegrate or become weak and easy to tear. But then I thought about it, and it’s what coffee filters are made for! They get soaked while a pot of coffee is brewing without falling apart. Duh!
I set them on a stack of paper towels when I pulled them out and dabbed as much water out as I could.
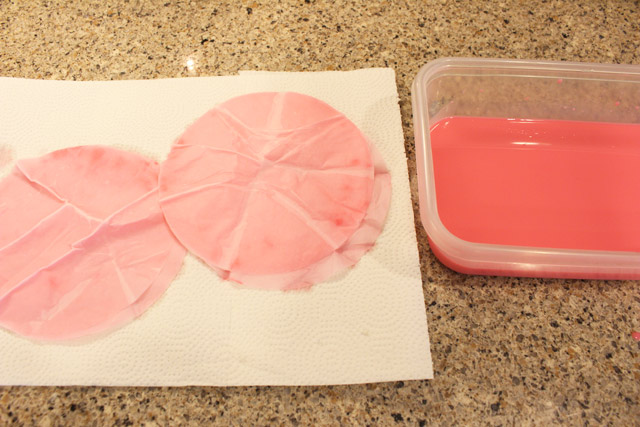
Then I did something crazy. I dried the dyed coffee filters in my clothes dryer! I read this as a suggestion on Sweet Pennies from Heaven and decided to give it a try! And it worked! It took less than 10 minutes in 3-minute increments to dry my 20 filters.
Once they were dry, I stacked them in sets of 2 and glued them together with a tiny dot of glue in the middle.

To make them into flowers, I folded each set in half like a taco.
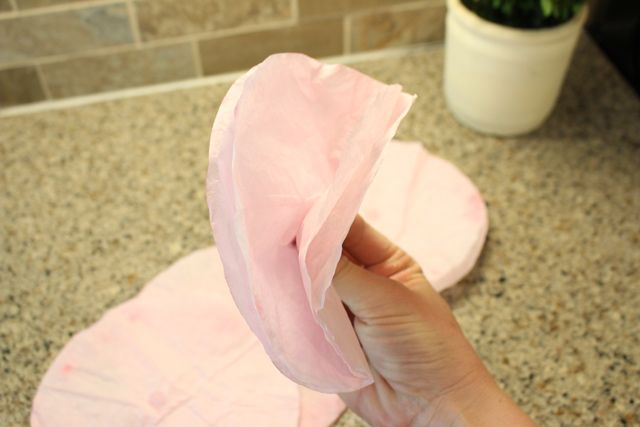
Then folded it again.
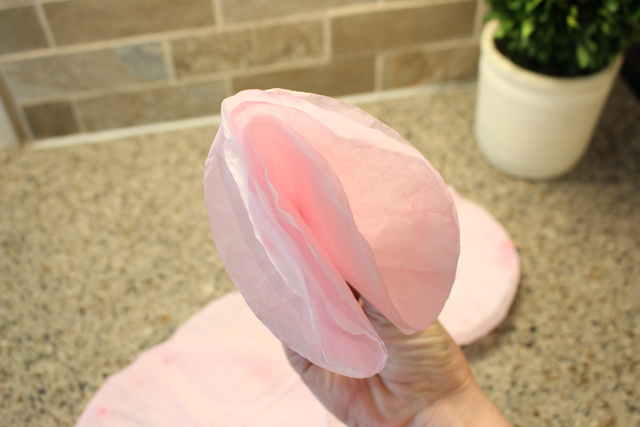
I pinched the bottom of the flower, poked a safety pin through followed by some thin wire to hold it together.
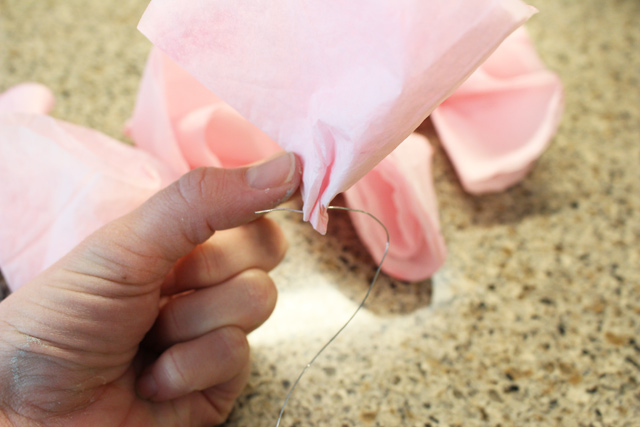
(Please excuse my messy hands, I was jumping between these flowers and painting my dining room chairs. More on that next week!)
It’s not modeled after a specific flower, but still looks flowery and dainty.
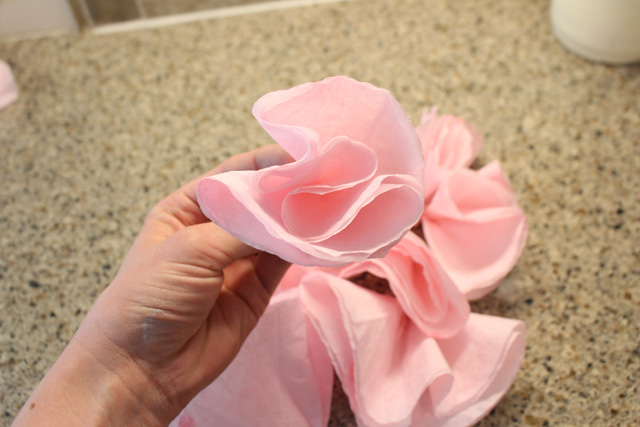
I made a total of 8 flowers. I was shooting for 9 (my favorite number), but messed one up and had to throw it out.

Once they were all wired, I “arranged” them, twisted the wires together, and set them in the now-dried vase.

The gold polka dots weren’t very visible, so I stuffed some white coffee filters around the wire in the vase. It also helped conceal that silver wire too!

And there you have it! A personally impersonal Mother’s Day gift. I like to think the vase could be used to decorate a bookshelf (with or without the paper flowers) beyond Mother’s Day. Of course that may be because I’m currently obsessed with anything gold right now! Maybe I should get Mary Helen to help me make another one for myself. 🙂
Happy Mother’s Day to all the mommas out there! I know I’m excited to celebrate my first one!
Thanks for Checking In! ~ Chelsea



Please Leave a Comment