Projects are moving slow in the Wolf household. But it’s for good reason. We were away this past weekend celebrating my youngest sister’s graduation from Auburn University. Mary Helen got into the War Eagle spirit too!

Her father may disown her since he’s a diehard fan of the Notre Dame Fighting Irish, but she’ll redeem herself with all of the ND gear she’ll be sporting come football season this fall! Go Irish!
Before we headed north to the plains of Auburn, Alabama, though, I put the finishing paint touches on my dining room chair repairs! And I’m so glad I did.
A little history about this dining room set. I used my parents’ hand-me-down set for a few years before I was ready for something different. I found my set on Craigslist. When I went to look at the table and chairs, I was so distracted by the cute spindles and blue painted accents I didn’t notice the less-than-stellar shape the furniture was in.
See these pretty spindles?!

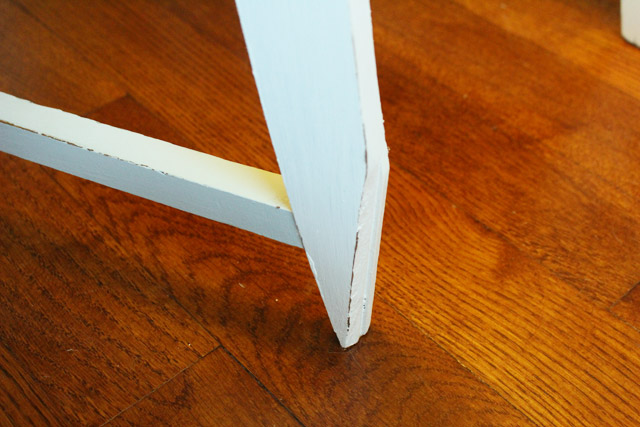
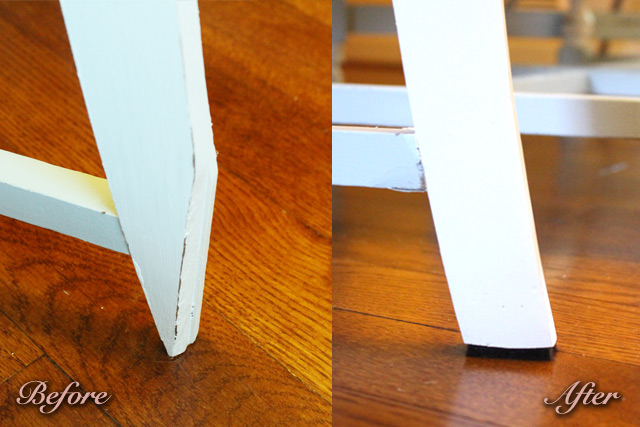
A few of the things I overlooked include giant chunks of the legs missing,
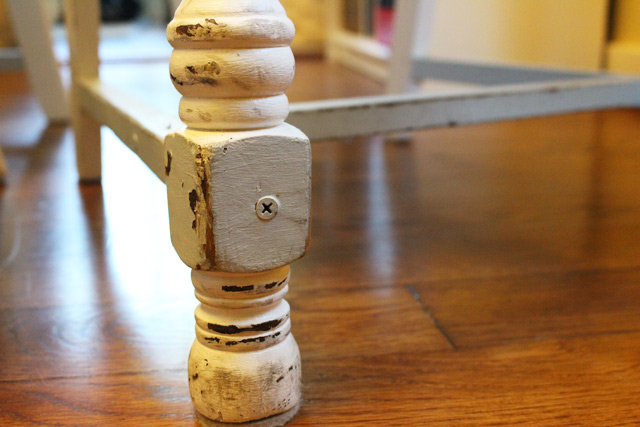
unsightly screws used to attach the cross support to the legs,
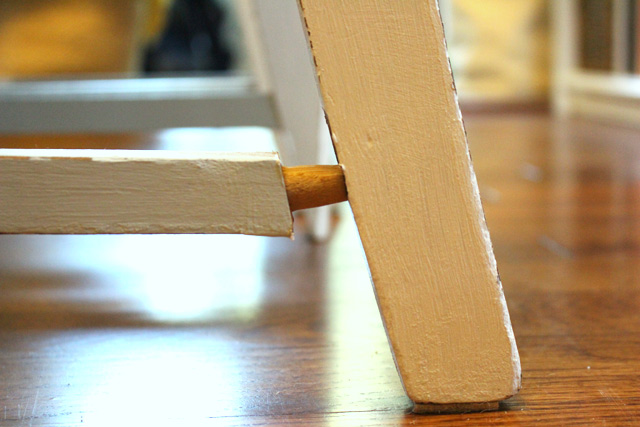
and some supports not even intact.
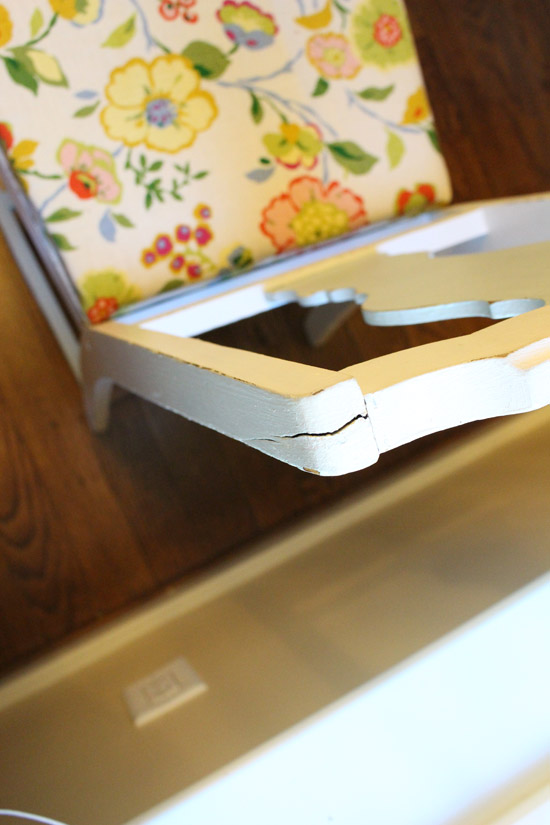
Also a few cracks here and there.
Immediately upon purchasing it, I added more padding to the seats and recovered the fabric. (The fabric you see in photos above.) And now I’ve had enough of switching chairs around so our guests don’t sit in a “bad chair” that I’m fixing what’s wrong with them!
The first thing I attacked was the bottom of the chair legs. We’ve used auto body filler (Bondo) on many occasions on Today’s Homeowner to replace rotten wood. So I picked up a fresh can. I also used a plastic spreader, paper plate, and sandpaper (not pictured).
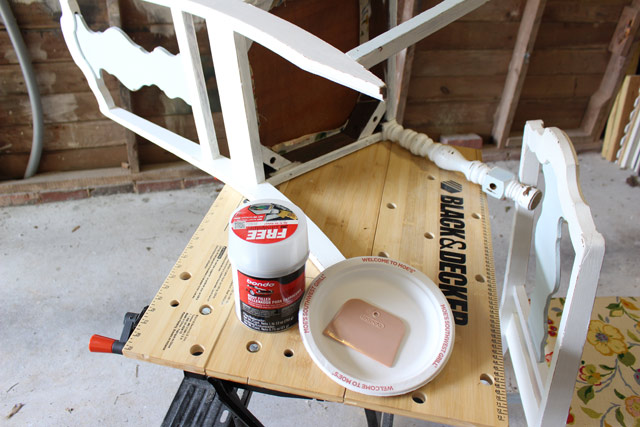
Lightly sanding the surface you’re applying Bondo to gives it a little something to stick to. A smooth surface will not do you much good. In my case, the chair legs had some ridges, I guess you’d call them, that were a perfect bonding surface for the filler.
To mix the Bondo you scoop out a golf ball sized amount of the gray stuff in the can with 1 and 1/4 inch of the red cream hardener that comes in a separate tube. (Check the cap before you buy any Bondo or similar product to ensure yours comes with a tube of the hardener. Sometimes they seem to grow legs and disappear off the store shelves…)

Only mix up what you can apply within a minute’s time or it will harden before you can use it! I used the same ratio to mix up a slightly smaller amount for my first go round. I used a plastic spreader (Bondo brand right next to the filler in the paint department) to butter the mixed filler onto my largest repair.
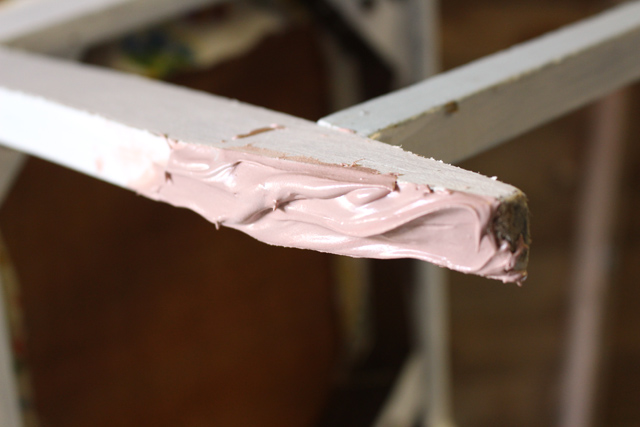
I knew this would require several layers, so my first layer was as much as I could apply without it falling off. You don’t have to shape it and make it perfectly smooth since it’s very sandable.
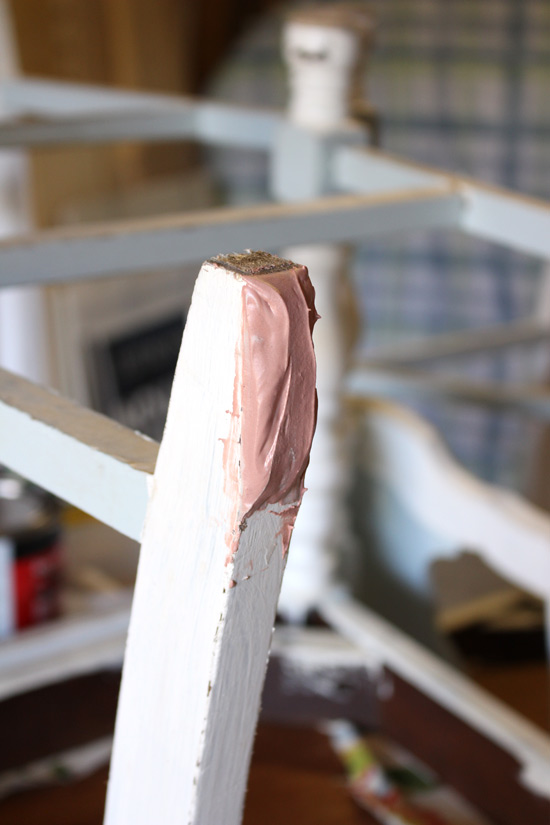
It takes it about 30 minutes to harden and dry enough to sand it. I used a palm sander with 80-grit sandpaper to run along all 4 edges, making sure the new filler was flush with the existing part of the leg.
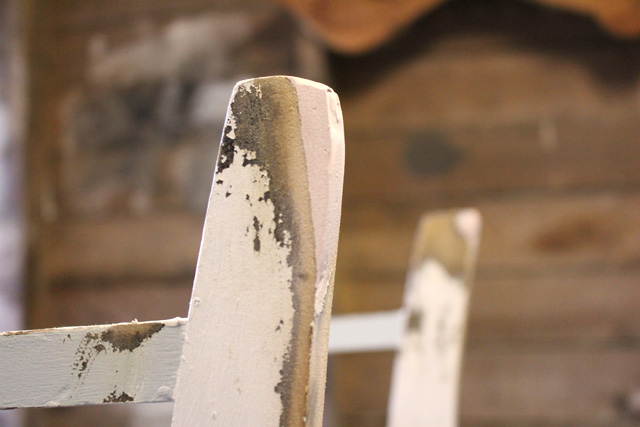
Then I mixed up some more filler and applied a second layer. In total I probably did 4 layers on the small repairs and 5-6 layers on the biggest repair, sanding in between layers. There were 4 legs in total that required attention.

I measured a good chair leg to see how wide it was so I could match the same width on my repairs. Once the repairs matched that 1 1/2 inches, they were ready to be painted.

Before I painted, though, I wanted to complete my other repairs. For the supports that weren’t attached, I dripped some wood glue down in the holes the best I could. Some were easier than others.
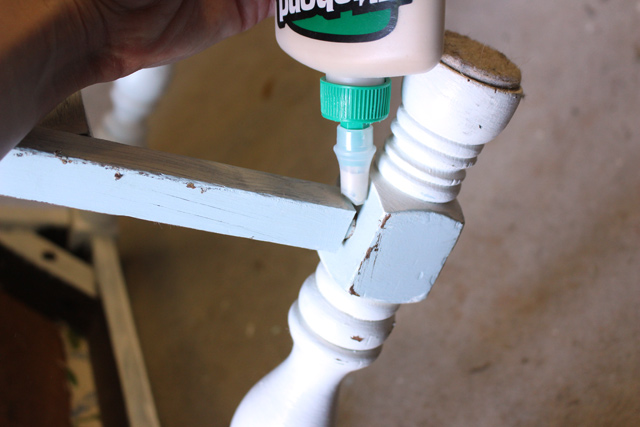
Since the width of the chairs was wider than my largest clamps, I used alternative means to hold them together while the glue dried. I turned the chair sideways and used a fairly full can of paint on top of a piece of scrap plywood. It seemed to close the gap just fine.

While that dried on one chair, I worked on sinking the screws on another chair. I used my countersink bit I also used to build my end table/shoe rack to create a recess for the screw head to sink into. Then I used some more Bondo to fill the hole. After a little drying and sanding, the hole and screw had disappeared and this repair was also ready for paint.
The crack on top of that one chair got a little wood glue and clamp time. No painting was required there, thankfully! Once all the other repairs were dry, I painted them with color-matched paint. I used the paint with primer to make sure the red tint of the Bondo didn’t show through my white paint once it dried.
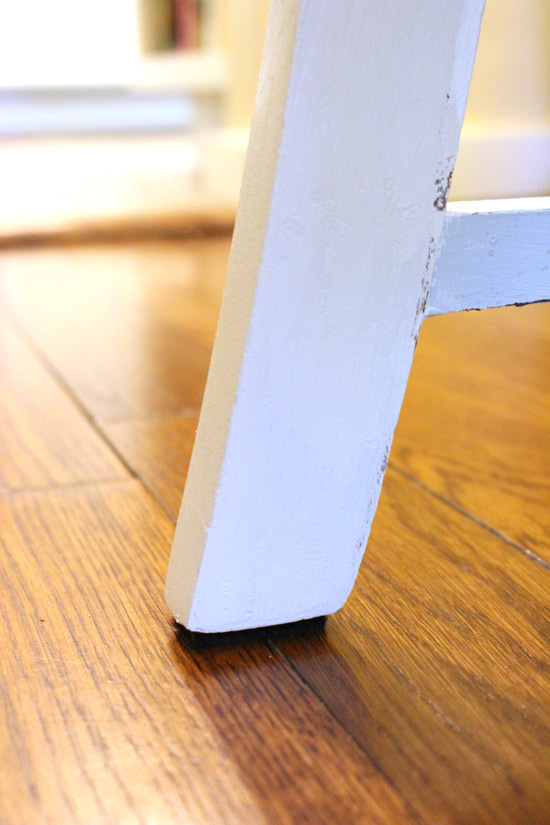
The time I took to shape the Bondo layer by layer paid off because even I can’t tell which legs are original and which ones have been repaired. Well I can tell, but only because they have new protective pads on the bottom!
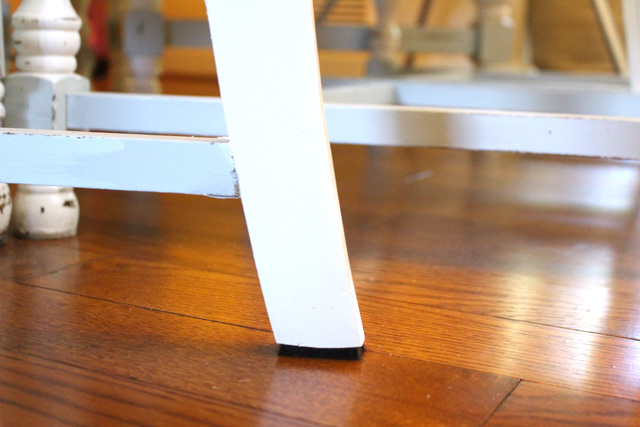
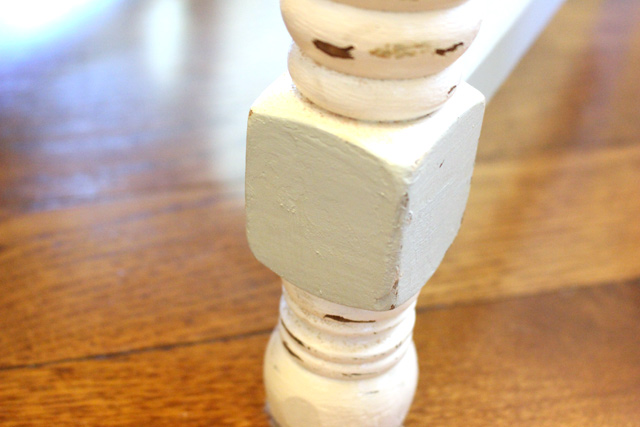
I’m still not sure why the screws were there in the first place, but I left them because I didn’t want to find out the hard way! Now no one will even know they are there!
With the extra work put in to making my chairs what they should have been in the first place, I’ve learned my lesson when it comes to purchasing items secondhand from Craigslist or VarageSale! Gotta look closely! Although it’s kind of nice to get to take the credit for this one. 🙂
Next up on my dining room to-do list is to hang some art n’ stuff on the walls before I repaint the top of the dining table that’s all scratched up.
Thanks for Checking In! ~ Chelsea


Please Leave a Comment