Free Plans for DIY Shoe Rack Table
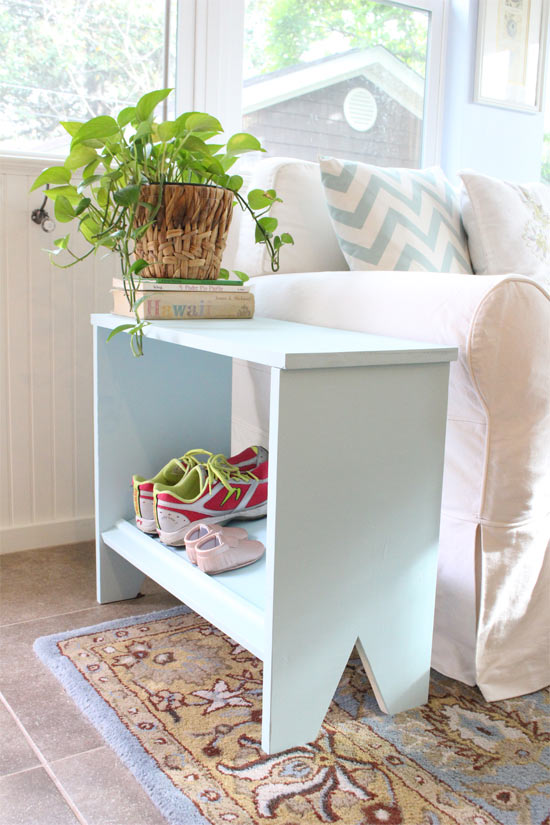
I’ve mentioned before my desire to be a shoe-free home. And now that Mary Helen is getting closer to crawling every day, it’s even more important to me to significantly reduce the amount of dirt and grime brought onto our floors.
I made a wine cork shoe tray for the living room a few months ago. But I needed something else for the back door. The end table and floor lamp there keep me from just setting a similar tray on the floor.
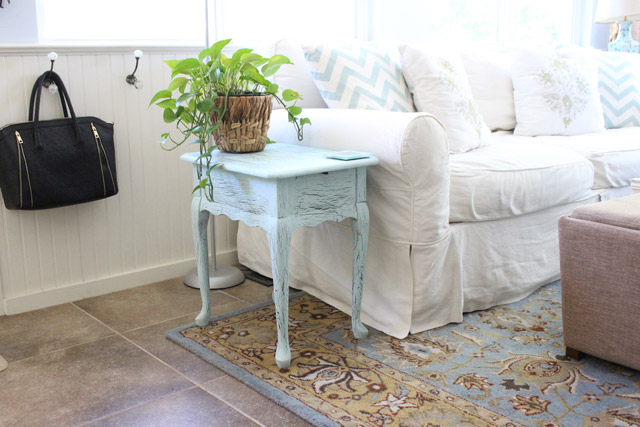
So I decided to build a new end table for the space that also includes a shelf for shoes.
A two-for-one special, if you will! It’s a pretty simple farmhouse style that was inspired by an image I found on Pinterest years ago when the social media platform was just getting started.
And now my Pinterest dream is a reality! Ha! Here’s the break down of how I made it:
Materials
- (1) 1″x12″x8′
- circular saw
- jigsaw*
- sander*
- wood glue*
- wood putty
- drill*
- trim screws*
The only material I bought was an 8 foot 1×12 for $23.
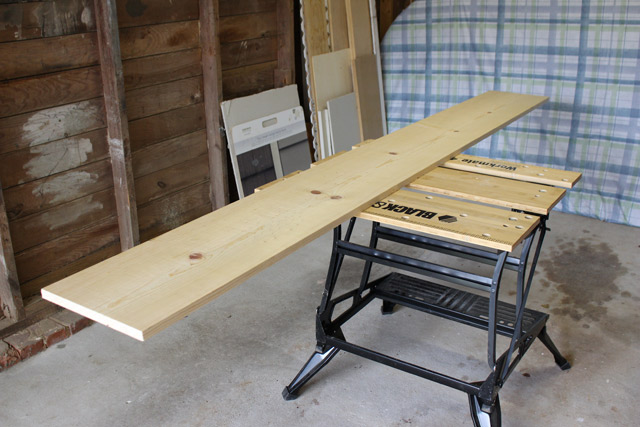
Everything else, like the saw, drill, wood glue and screws, I had on hand.
Measure and Cut
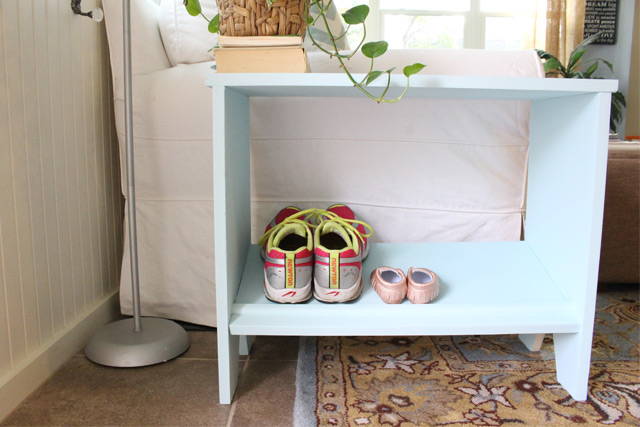
I wanted to fill up as much space as I could with the table lengthwise so it wouldn’t need to be as wide as the existing table. I went with my tabletop at 26 inches long. But at that length, one leg would be off the rug. So I decided to add half an inch to one leg to compensate for the thickness of the rug and leave the table level.
Here’s my cut list:
- (1) 26 inches
- (1) 23 inches
- (1) 22 1/2 inches
- (1) 22 inches
The 23 inch piece is the shoe shelf, subtracting from 26 inches for the slight overhang on either side plus the thickness of the legs. I used my trusty tape measure* and speed square* to mark my cut lines.
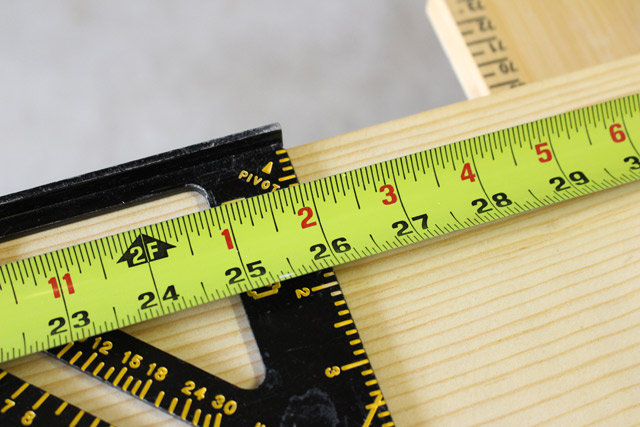
I first used the speed square on one side. Then flipped it over and finished the line since the wood was wider than the square.
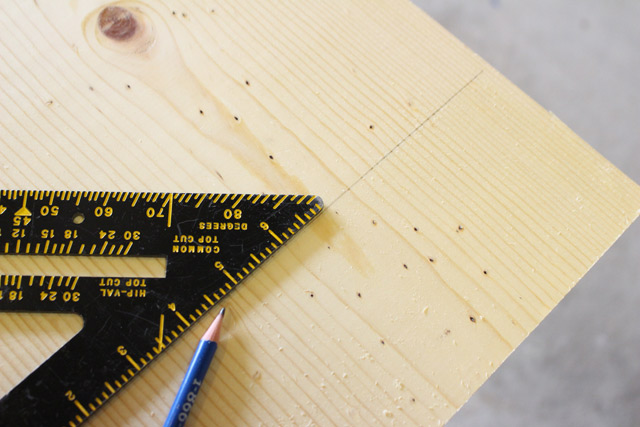
Also I cut one piece before marking the next one since the blade of the saw takes away some of the length. But really it’s because I don’t always cut on the line. 🙂
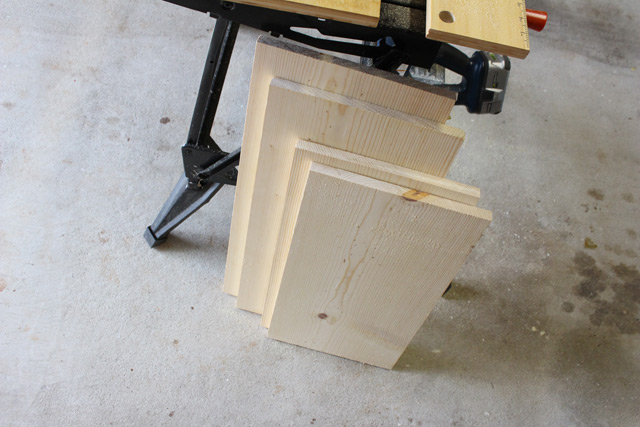
Use Up Scraps
While I was cutting, I also cut an old piece of shoe molding to the same length as the shoe shelf (23″). It was damaged, so this was a great way to use some of it!
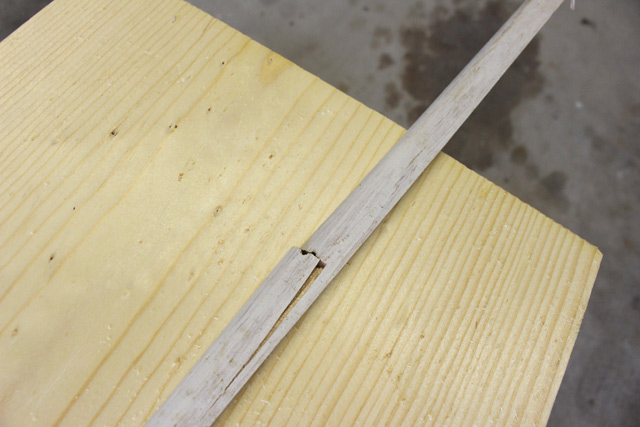
Then I used my sander to sand every side of everything. No splinters here!
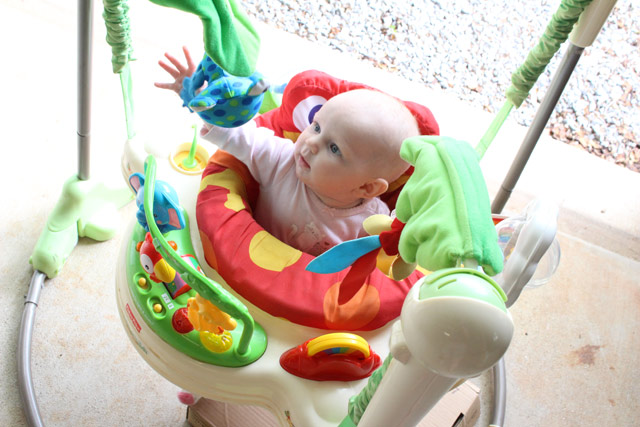
I felt like I was being watched the whole time…
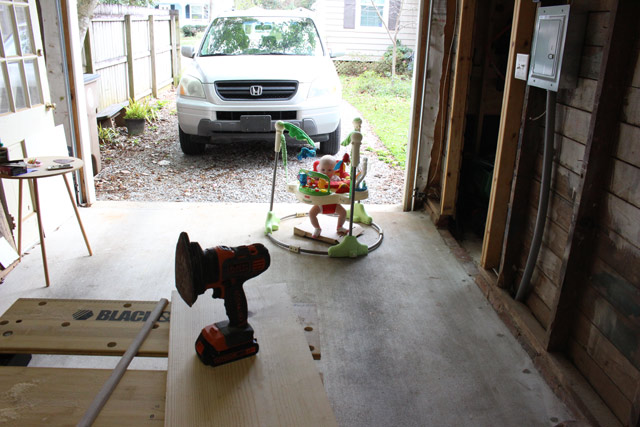
Good thing it was just my adorable sidekick, who loves to play with her toys now!
Attach Pieces Together
Assembly was easy and only required 8 screws. I used trim head screws since they have a smaller head and would be easier to cover up.

I turned my top piece over and marked 3/4″ from each end to make it simpler to line up the legs.
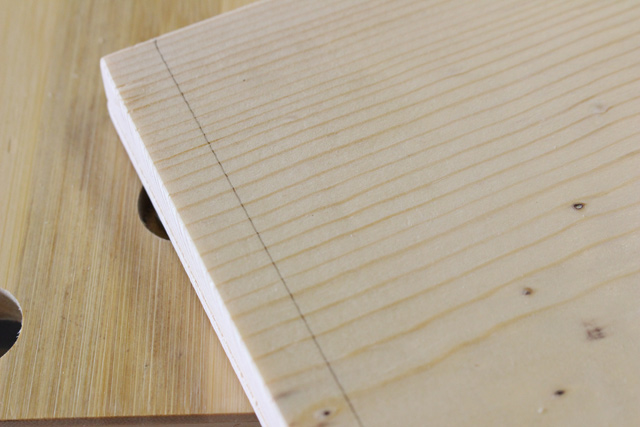
Then I marked a few inches from the end on the top of the legs.

Using a drill bit slightly smaller than my screws, I drilled a pilot hole on the marks.
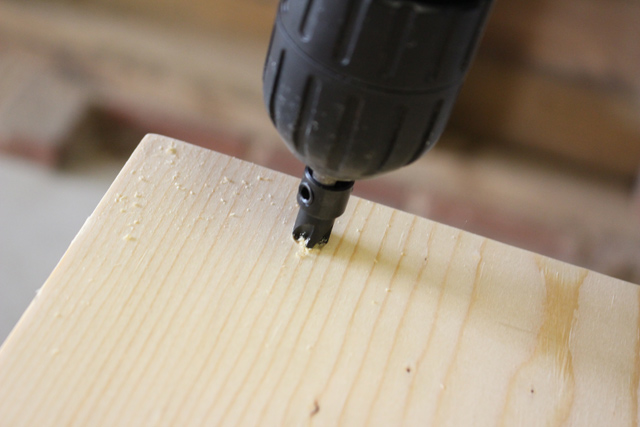
I then used the same measurements to mark on my top piece and drilled holes using a countersink bit*. This gives the screw head room to sink below the surface of the wood so it can be puttied over later and disappear!
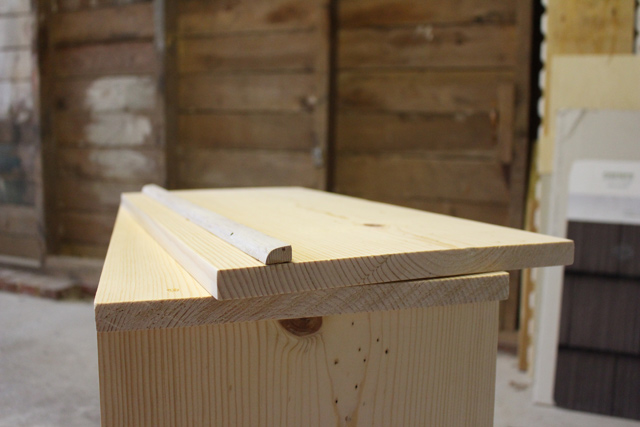
Once the legs were attached (with wood glue and 2 screws in each leg), I glued the shoe molding to the top of the shoe shelf board with wood glue. I thought it would look more decorative if it wasn’t flush with the bottom of the shelf, so I moved it up about 2 inches. If I were to make it again (or change it now), I would put the shoe molding flush with the bottom of the shelf board.
Cut an Accent
At this point I thought my table was looking kind of plain. So I decided to cut an accent into the bottom of each leg. I marked about 3 inches from each end and then up about 6 inches to create a triangle.
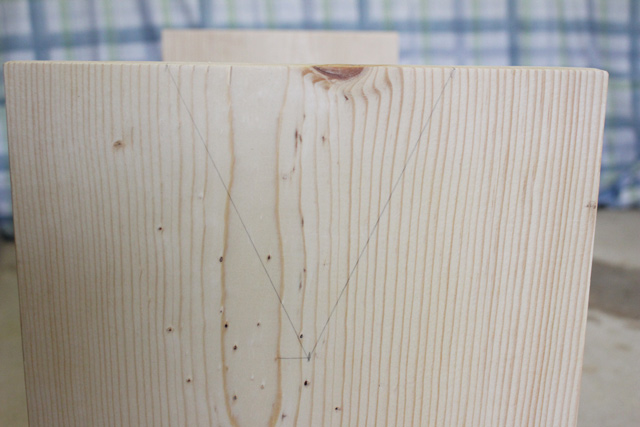
Then I set the table on its side and placed the shelf in the middle for support while I cut out my triangle with a jigsaw. It’s important to do this before attaching the shelf or you could end up with the shelf in the middle of your accent. Or at the very least, limit the size of your accent. Sand the part you just cut.
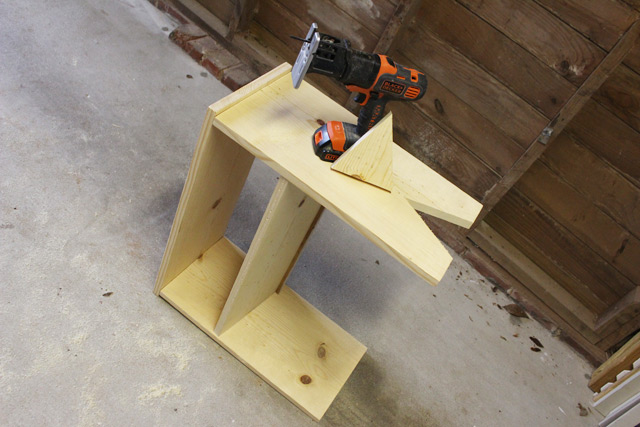
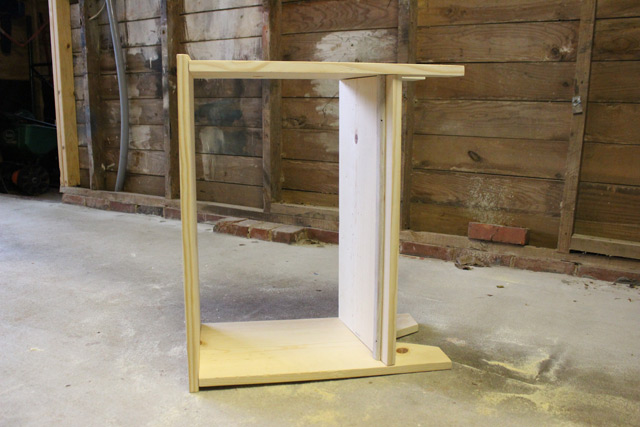
To attach the shelf after the accent was cut on both legs, I placed it where I wanted with a slight tilt and drilled my pilot holes through the side of the leg and then glued and screwed it in 2 places. Next I measured how far up it was in the front of the shelf and the back to mark the same distance (plus the 1/2 inch difference in leg length) on the other leg before screwing it in there. All that to make sure it would be level from one side to the other.
If you’re making one leg shorter than the other like I did, make sure you install your shelf so the side that is facing out will be angled in the right direction! I totally forgot about this, but fortunately I installed it the right way despite my forgetfulness!
Putty and Paint
Fill in all 8 screw holes with wood putty or filler. Once it dries, sand the spots so they’re flush with the rest of the surface.
Then it was finally time to paint! All I had was spray primer on hand, so I used that outside.

It dried quickly so I was able to move onto painting the color. I used the same blue color I previously painted the old table. Only this new table didn’t have the crackle finish.
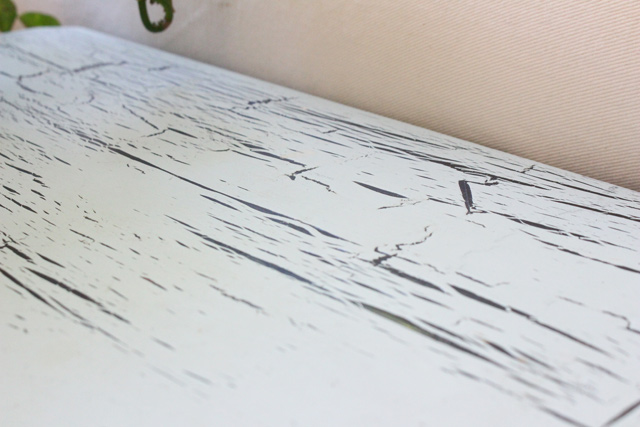
After 2 coats and some drying time, she was ready to be put to good use!
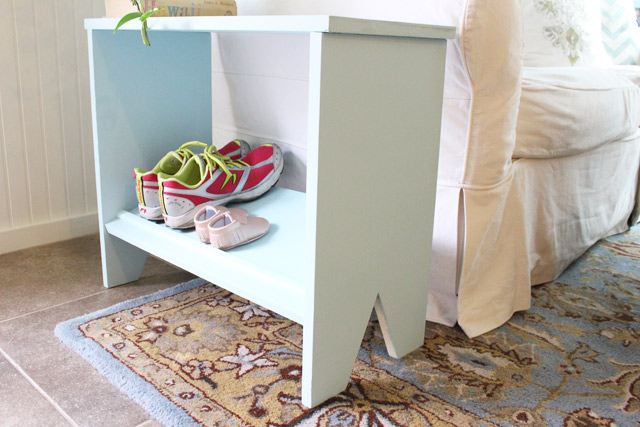
I’m so glad I cut out the simple accent. It adds some much needed character. I had thought about “aging” the table with some chains to make it more farmhouse/shabby chic, but for now I like it the way it is.
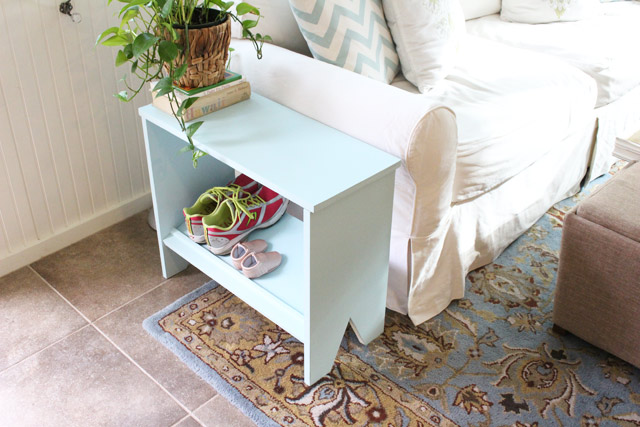
Hopefully this will make it easier to teach Mary Helen to take her shoes off when she comes home. You know, once she starts walking and can tie her shoes…OK, I guess that’s wishful thinking on my part!

Thanks for Checking In! ~ Chelsea
*This post may contain affiliate links*



I’m confused about one thing. Why is one leg 1/2″ shorter than the other? Did I miss something?
Hi Nancy! One leg is not on the rug which is 1/2 an inch thick. So the leg on the rug is 1/2 an inch shorter to make up the difference and keep the finished table level. Hope that helps! ~ Chelsea
Chelsea,
Some day Mary Helen will want her OWN power tools. A thumbs-up for women. You go, girl!!
Gloria T.
Thanks, Gloria! Yes, Mary Helen already has a toy work bench and some plastic tools, so I’m sure she’ll be requesting her own real tools before too long! ~ Chelsea