Easy Ways to Decorate Real and Faux Pumpkins
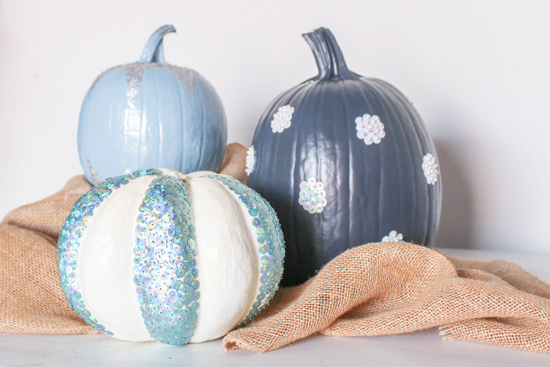
Dress up real pumpkins with sequins, add a watercolor look to faux pumpkins, or create pumpkins from scratch with concrete for glammed up fall decorations!
Bedazzled Sequin Pumpkins
I’ve never been a big fan of spooky Halloween. I’m all about fall and pumpkins, in or out of my food/drinks, though.😋 If you prefer ‘pretty’ things for your fall decor too, these dressy pumpkins are for you!
Materials
- sequins (various sizes)
- straight pins
- spray paint
- real pumpkins
I went with some muted fall colors to spray paint my pumpkins (ultra matte slate, satin french blue*, and gloss dover white). I also went with real pumpkins for this project because they can be cheaper than craft pumpkins and to show variety. But you can use either!
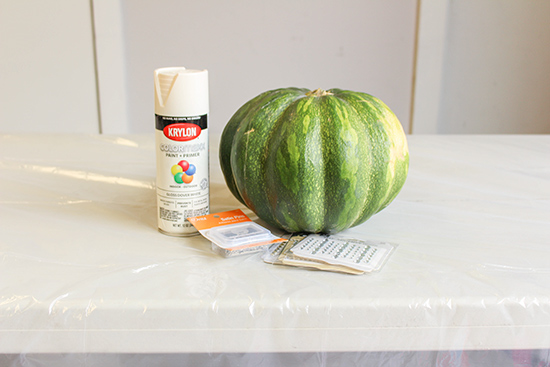
So the first step is to spray paint the pumpkins and let them dry (an hour or so depending on the weather). I painted the stems too for a uniform look!
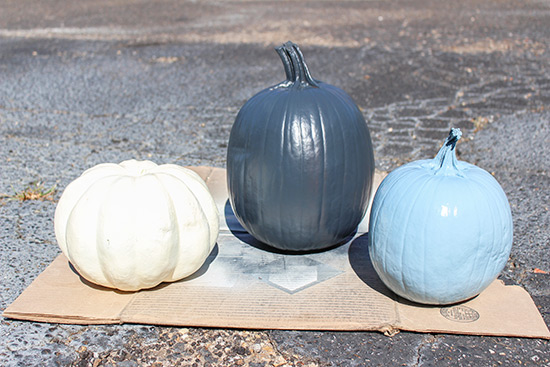
Once that’s done determine your sequin pattern!
I did a confetti drip on one where the sequins are very concentrated on the top and then sprinkles down. Another one I did with polka dots using pearl pins* for added oomph! And lastly for the white-painted pumpkin, I used blue sequins and covered alternating sections for a striped look.
Use the straight pins to hold the sequins in place. Make sure the pins you get have a head bigger than the hole in the sequins. (I used ‘size 17’.)
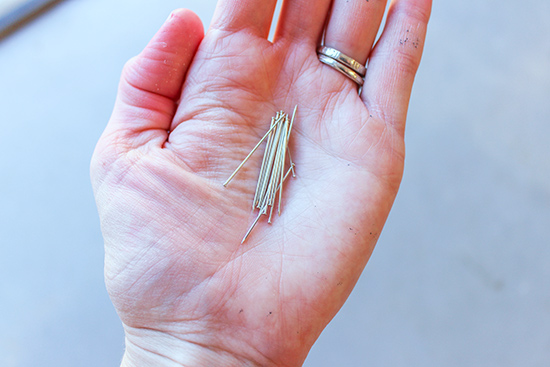
You can use glue instead of pins (especially if you’re crafting with kiddos!), but I like the sparkle and depth the pins add.
One method is to thread the sequins onto the pins before pushing into the pumpkin. Or you can hold the sequin on the pumpkin and then push the pin through the sequin. Find which method works for you!

This can be time consuming. BUT I will say if you’ve got a glass of wine and your favorite show on TV, it can be very therapeutic too!
Watercolor Faux Pumpkins
Watercolor art, pastels, and unicorns are VERY popular with the younger set, just ask my daughter! So these next pumpkins are a fun project to include the kiddos!
Materials
- craft pumpkins
- bright tissue paper
- spray bottle
- rubbing alcohol*
- tray/baking sheet
- gloves
- glitter spray paint*
- foam cone*
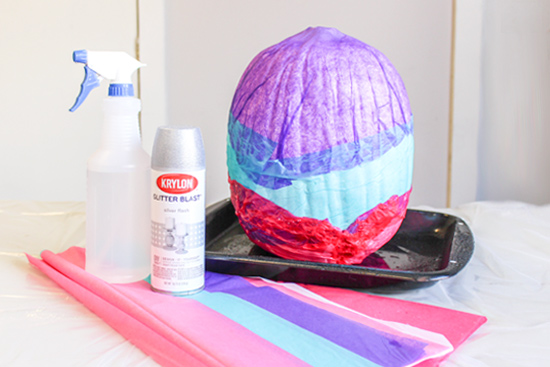
The basis of this project is transferring the dye from the tissue paper to the pumpkin. So start with a white craft pumpkin. Then tear tissue paper into strips. The deeper the color of the tissue paper, the better color transfer you’ll get. I didn’t have much luck with most pink papers or the light blue above. Purple is the best!
Set your pumpkin on a baking sheet because the dye can stain some things. Put on gloves and hold the tissue paper strips against the pumpkin. Spray with the rubbing alcohol. Then rub the tissue paper down to get good contact with the pumpkin.
You can hold it in place and let the kids spray or craft solo! The dye starts transferring immediately but I let the tissue paper dry before removing it.
This project evolved as I was working on it. I ended up finding a fun ombre tissue paper at Michael’s. So I took off my original paper and added the ombre strips.😍
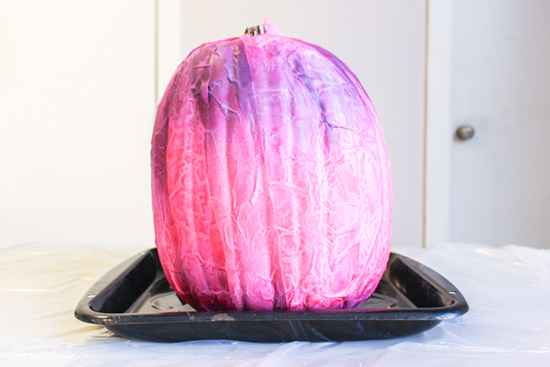
You can layer the colors. If you don’t like your first attempt. Put new tissue paper on it and spray again!

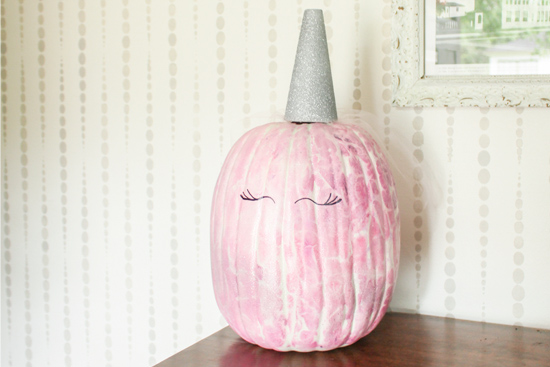
Once you have the colors and look you want, spray it with glitter spray paint for something a little extra!
I carved out the inside of a foam cone for the stem, sprayed it with a lot of glitter paint and turned it into a unicorn horn! Add some eyelashes with a permanent marker to complete the unicorn look!
Concrete Jack-O-Lantern Planter
Lastly, if you’re looking to create a pumpkin that will last for many years, make it with concrete!
Materials
- 20-lb pail of quick-setting concrete
- plastic trick-or-treat bucket
- concrete dye*(cheaper in stores)
- bucket for mixing
- gloves
- plastic cup

This project evolved as I was working on it too. So that’s a 10-lb pail pictured I used for a smaller pumpkin!
Mix up the concrete according to the package directions. Then scoop it into the trick-or-treat pumpkin. Once it’s full, or mostly full, insert a plastic solo cup in the middle to create a void. If some concrete comes out, just smooth out the top.
Use a hammer or electric sander without sandpaper to tap and vibrate the pumpkin to get any air bubbles out. Put something semi-heavy into or on top of the plastic cup to hold it down while the concrete hardens.
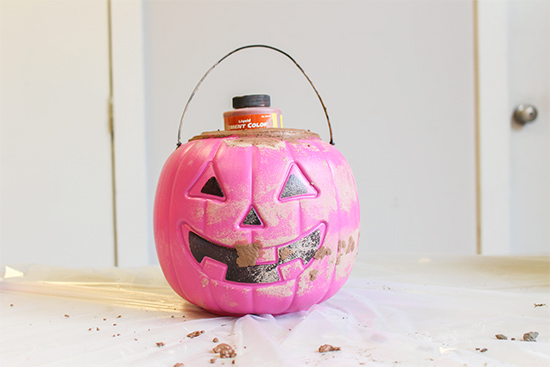
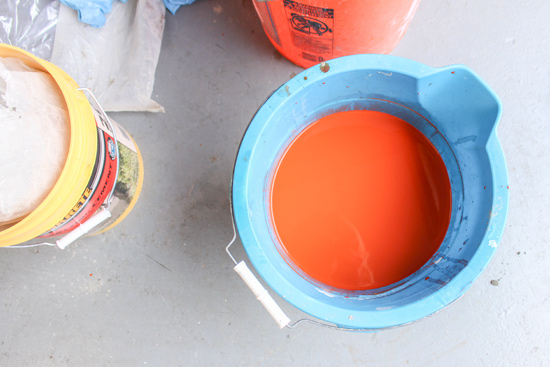
If you want to add color to the concrete itself, add the dye to the water before mixing. I used Terra Cotta for a subtle orange. The water is way more colorful than the finished pumpkin!
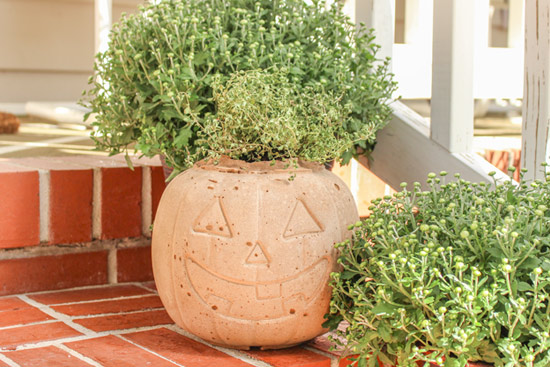
You’ll need a razor knife to cut the plastic pumpkin off the dried concrete. Then you’ll have a fun and cute planter to decorate your front steps for the season!
These are quick projects you can complete after a trip to the store! And they’re sure to brighten up your doorway this fall!
These pumpkins were part of a segment I recently taped for HLN’s Weekend Express! And it’s set to air TOMORROW MORNING!! (Sunday, October 20th) Watch for it near the end of the 7 AM ET news hour. Then it’ll repeat at the end of the 8 and 9 AM hours too! Comment to let me know if you watched it and what you thought!! (**UPDATE-Now that my segment has aired, click here to watch it online!)☺️
Thanks for Checking In! ~Chelsea
*This post may contain affiliate links*



Great pumpkin tips, Chelsea. Thanks. I’ll also have to watch HLN’s for the pumpkin tips.
Take care, and say hi to your dad for me.
Brian
Hi Chelsea, I just watched you piece on HLN’s. You did a fantastic job. Great work kid.
Hi Chelsea – My family watched you on HLN over the weekend. Great job! And thanks for the fun pumpkin decor ideas!