How To Make Concrete Low Maintenance
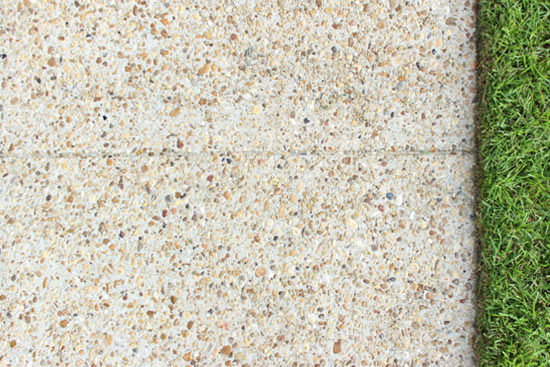
Sealing concrete can actually reduce how often you have to clean it!
Clean It Well
As I mentioned in my fireplace makeover video, my projects tend to snowball and get out of hand pretty quickly…well, that’s what happened here. We need to reapply some caulk and touch up paint on the railings and columns on our front porch. But you can’t paint dirty wood. So I decided to pressure wash the whole front porch. Then I thought while I have the pressure washer out, let me go ahead and clean the front walk. And then I’ll seal it too.
It’s been way too long since we cleaned our front walkway. At first I didn’t think it was that bad. That is until I actually cleaned it.😱

I used a simple electric pressure washer* (which I got for 20% off because the box was damaged!!🎉) and an attachment that can help clean faster and streak-free.

(Full disclosure, the surface cleaner attachment I used was recommended for use with a 3200 PSI gas pressure washer. I figured it might not work as well with my 1800 PSI unit but wouldn’t hurt anything either.)
The surface cleaner did help make it a little faster, but I found myself going over the same spots a couple of times to get it fully clean. (You really have to be methodical since it’s hard to tell where you’ve cleaned when it’s wet.) And it makes you have to bend over more since you have to make contact with the surface. If you have more than a small front walkway like we do, I’d totally recommend getting one for regular cleanings! But since we only have this walkway leading up to our house that we could use it on, it’s probably not worth it if I didn’t already have access to one.
*Update…since we have moved to a larger home, we purchased a surface cleaner* and find it useful and handy!*
Seal with Waterproofer
Concrete gets stained not just from dirt and grime but from water. The older concrete gets, the more porous it gets. Water soaks in but doesn’t always leave, instead turning into mold!
So the best and easiest way to prevent it from getting moldy is to seal the concrete and keep it from soaking up water in the first place!

The masonry waterproofing sealer* I used cleans up with water so I applied it with this battery-powered chemical sprayer* that doesn’t require any manual pumping. It can also be brushed or rolled on, depending on your surface and personal preference!
Add 2 Coats
Seriously, all you have to do is lightly coat your surface, going in one direction. It soaks in/dries in less than 10 minutes and then you’re able to apply a second coat.
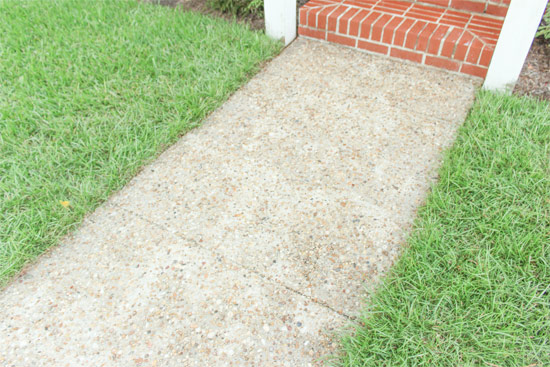
Make sure your second coat goes in the opposite direction of your first coat. Let it dry before walking on it and don’t apply so much that it puddles.

That’s it! Now your concrete will repel water and stop getting dirty so fast. If only there was a product that worked for keeping toddlers clean too!😆
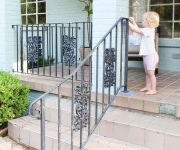
Speaking of toddlers. I asked Gus to ‘help’ me photograph the finished sidewalk. I wanted to capture his cute little toes on the clean concrete. But instead he was looking at the camera and saying cheese!

These kiddos continue to surprise me with their understanding and exploration of the world, crazy ideas, and love for being silly!
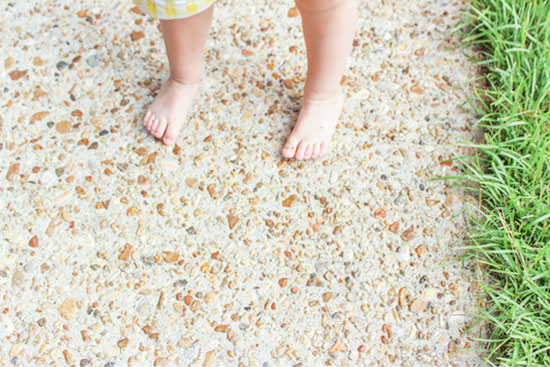
And now I’m thankful for one less chore to have to keep up with which means more time rolling in the grass with my little loves!
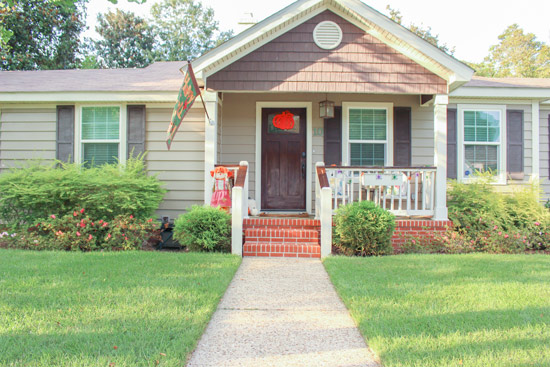
I’m always looking for ways to reduce the maintenance around our house! I want to spend my time ‘moving forward’ on new projects, not maintaining ‘old projects’. So if you have any other hacks to reduce upkeep inside or outside the home, I’d love to hear them! Please share in the comments to inspire us all!
Thanks for Checking In! ~Chelsea
*This post may contain affiliate links*



Hi Chelsea,
My husband and I would like to build a patio with steps using pavers, do you offer step by step instructions on how to install a patio that will have two steps?
Thank you in advance for your help.
Connie and Guy
Hi Connie! I do not have a video on my site, but we do over at TodaysHomeowner.com! Here are 2: https://todayshomeowner.com/video/tips-for-laying-a-paver-patio/
https://todayshomeowner.com/video/patio-pavers/
Hope that helps you with your project! ~Chelsea
Chelsea
The pink color with white lettering is incredible difficult to read. Can you change the color so old eyes can read the areas on your site?
Thanks
Thank you for your feedback. I will look into it! ~Chelsea
This is a great project! We will be pouring a concrete walkway – now…it will also be sealed!
You’ll need to wait 28 days after the concrete is poured before sealing! But you’ll definitely want to keep it looking fresh!😎 ~Chelsea
We are having our screened in porch closed in . With six windows and two new doors. Have to wait for all the permits. Here in SW Florida it takes awhile because of the hurricane damage’s. Have any hints on this remodeling.