
Nursery Ceiling Pizzazz
Ever since we found out we were expecting, I knew I wanted to make a dramatic statement in the nursery. I thought about doing an accent wall where one wall was painted a different color or wallpapered or something similar. But since the 2 walls ideal for an accent have windows, I didn’t think it would look as “statementy” as I wanted. Then I thought I’d hang curtains the entire length of one of the window walls and that could be the accent. Plus it’d be pretty cozy. But with the room already fairly small, I thought it would make it seem even smaller. So that brought me to the idea of an accented “5th wall” or what some people call a ceiling.
Maybe polka dots or stripes or glow-in-the-dark stars? Then I remembered a gold ceiling paint we used for a project on The Weather Channel at work. And I had to have it.

It’s called Parlor Gold from a line of Ralph Lauren Metallic paints sold at Home Depot. It’s only available online, so you have to wait 5 or so days before you can get to work. Not the best for spontaneous DIY-ers like myself! And at $45 a gallon it’s a bigger commitment than flat white ceiling paint! But I probably would have spent close to that to do some sort of other accent.
If you’re looking to use this paint for a ceiling or wall, you might want to read the directions before it’s time for your second coat. Unlike myself who thought it’d be just like regular paint but gold and shiny…

You’re supposed to work in 18″x18″ squares, making ‘V’s and then blending it with the adjacent square as you go along. My bad!
It was looking streaky as I finished up my first coat. But part of the metallic trick of the paint is applying a second coat with a sea sponge roller cover. (Which also has to be ordered online.) So I was counting on that to cover up my first coat blunder.
Here’s what it looked like right after I finished the first coat:

And it got worse as it dried…

This is when I decided to read the directions for this specific paint online and hope I could recover with coat 2. It calls for working in 12″x12″ squares with the sea sponge roller cover. I tried to put it on a little thicker to avoid having to do a 3rd coat. (Also it should be noted that I rinsed the sponge roller and let it dry overnight before I used it as it called for on the roller label.)

The sponge roller cover I bought (also Ralph Lauren) came with a teeny tiny separate sponge for getting where the roller couldn’t, like around the ceiling fan canopy.
I’m very pleased to report that the second coat with the sponge roller did in fact redeem the flaws from my first coat! There may be one or two spots if you see them with the light shining just right, but I don’t think the future tenant of this room will notice!

I think it compliments the creamy white walls well. Or at least it will when there isn’t that green stripe between the two!

And it’ll help instill a love for all things gold and shiny in our little girl since I’m sure she’ll spend plenty of time looking up at it!

Coming up on the nursery to-do list:
- hang crown molding
- install trim around windows
- retrieve furniture from various family members
- find and hang curtains
- DIY a feminine crib mobile
- stencil something fun on fan blades
- hang pictures/art on walls
- insert baby
And I’m sure a few more things will pop up! Just hopefully not my bellybutton! Ha!
Thanks for Checking In! ~ Chelsea

You May Also Like
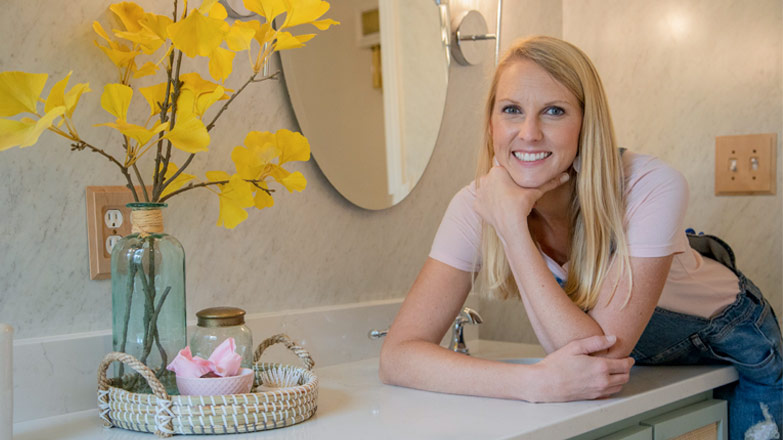
Updating Our 1950s Bathroom with Style
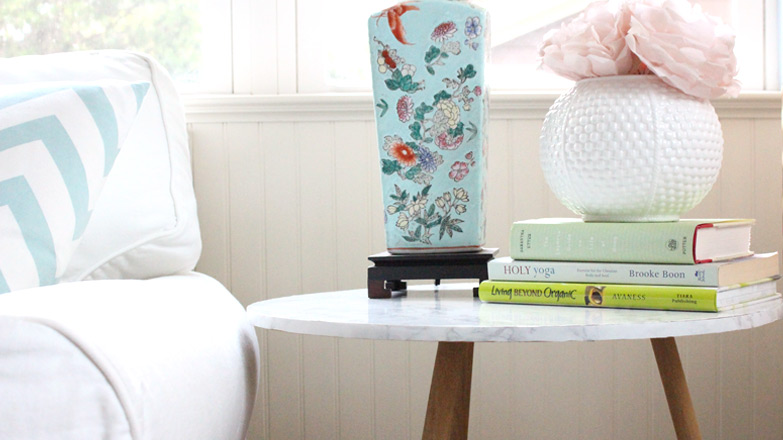
DIY Marble End Table Makeover
