Lighting Up The Night
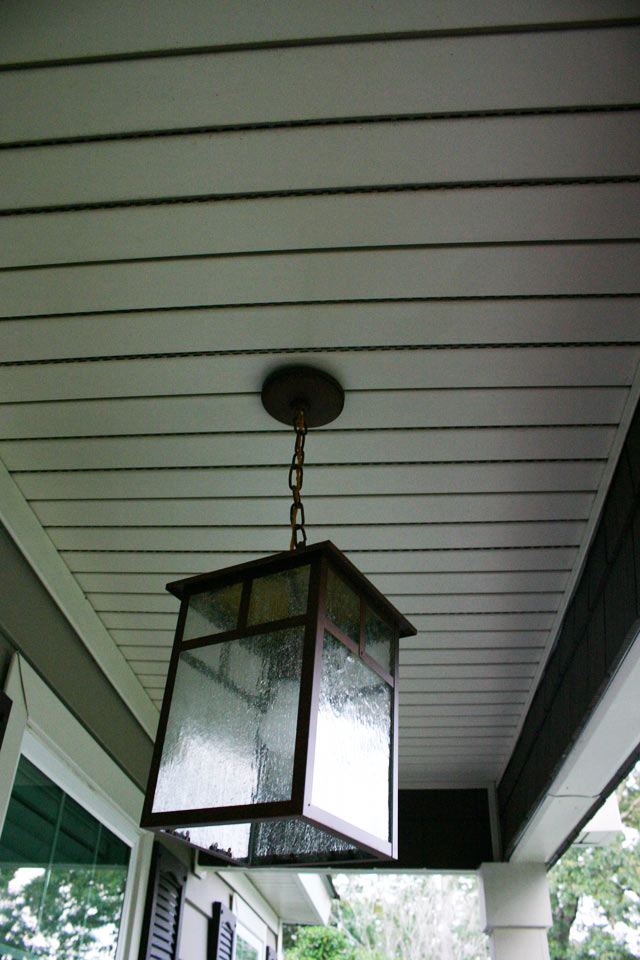
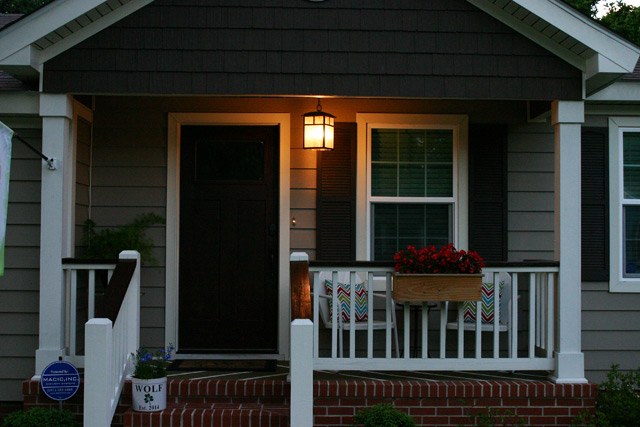
I thought I was done sprucing up the front porch after painting fun stripes and then cleaning and painting the handrails, but I couldn’t resist finishing it off with a new light fixture!
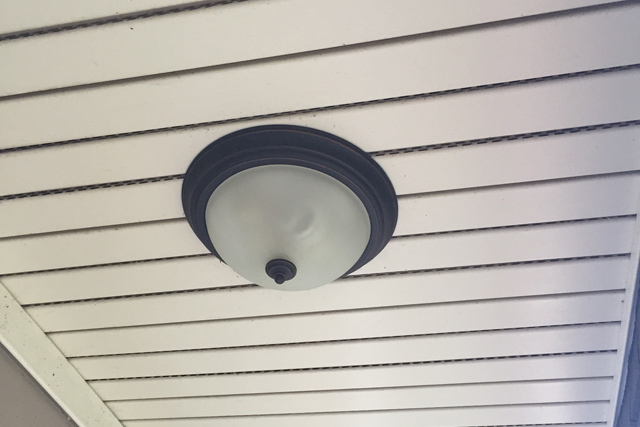
The original light fixture was chosen in a hurry during the initial remodel in 2012. It was the simplest and cheapest, so it was selected.
While there’s nothing wrong with it, I was ready for something that popped a little more and really polished off my clean and “new” porch.
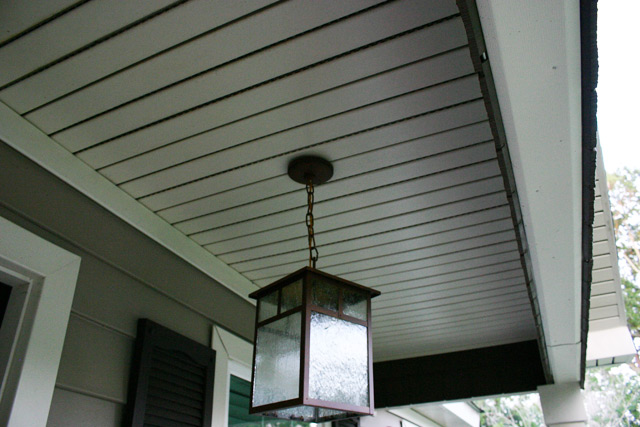
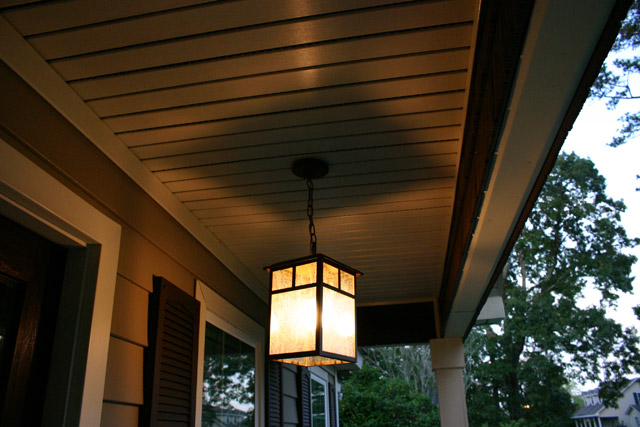
I had ordered a similar fixture from overstock.com for this project. But when it arrived, it was VERY small! I guess I misread the dimensions or was just glad at the price tag. So I sent it back and searched for a larger one at homedepot.com. At twice the cost, I found what I wanted. But this time it wasn’t too small. It was just right. Double the price=double the size! It’s a 15-inch 1-light model from Talista. (This one has since been discontinued. Find one similar here* and here*.)
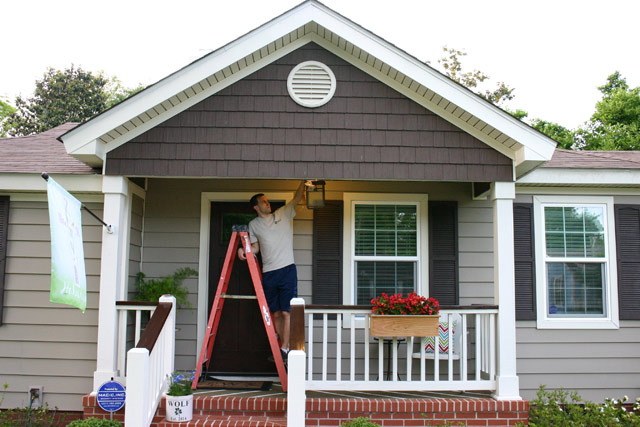
My Husband, Brandon, and I got to work one afternoon by figuring out the right height to hang the new fixture.
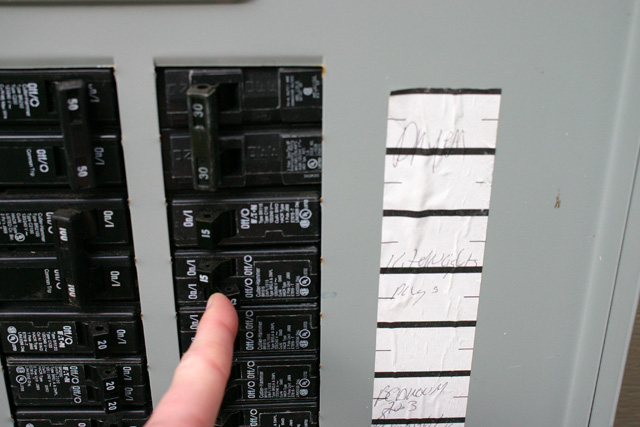
Once we had an idea, I turned off the breaker that controlled that switch.
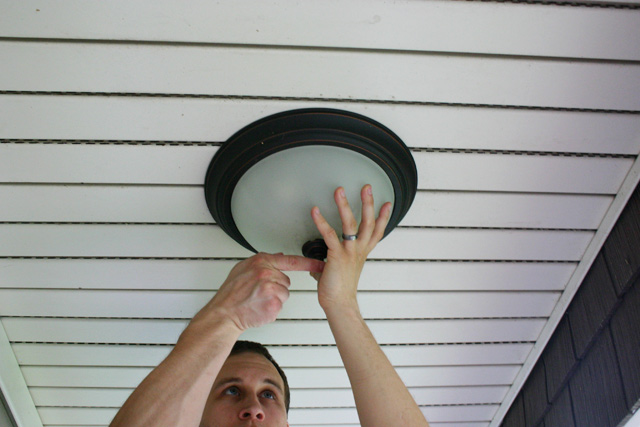
Then he removed the old fixture by unscrewing the knob in the center.
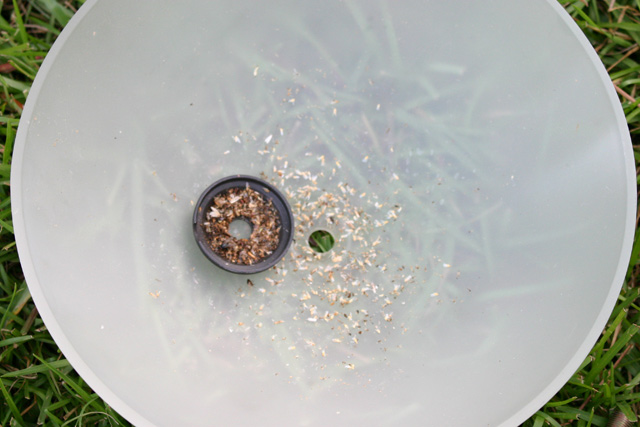
The light was due for a cleaning even if we weren’t going to replace it. Yuck!
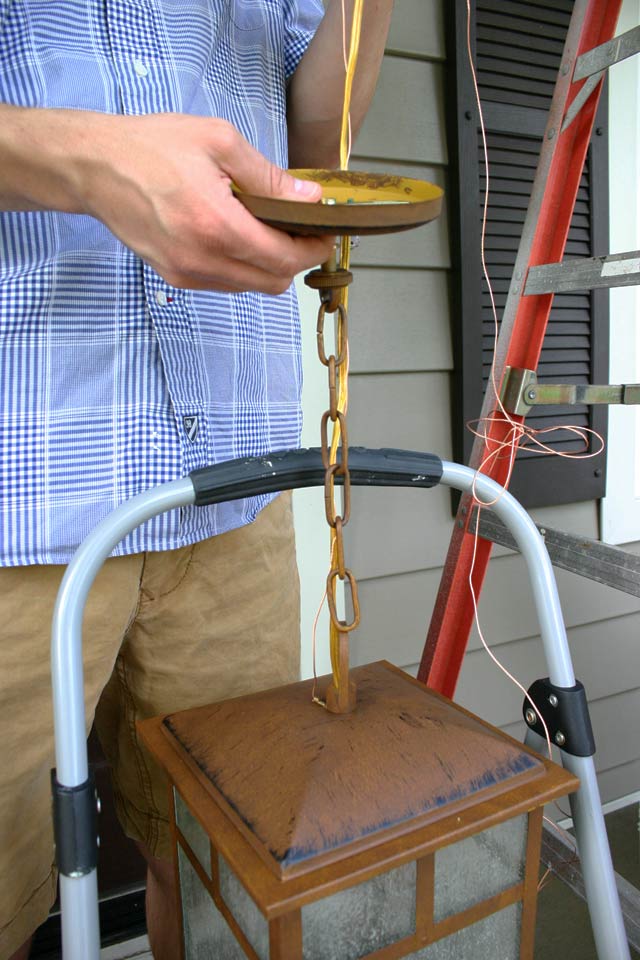
Since we had the height determined, we measured the chain to length and removed the necessary links. Then we held it above the new fixture so we could cut the attached wiring.
Of course we left a little extra to give us slack to work with when it came time to wire it.
Unfortunately we ran into a problem or two before we could complete the installation. Apparently a ceiling box was never put in at this spot. The old fixture was screwed right through the vinyl into the joist above. I’m pretty sure that’s not to code!
But after consulting with my dad, it was determined it didn’t affect the integrity of the electrical connection and we could use the same holes to attach the new fixture.
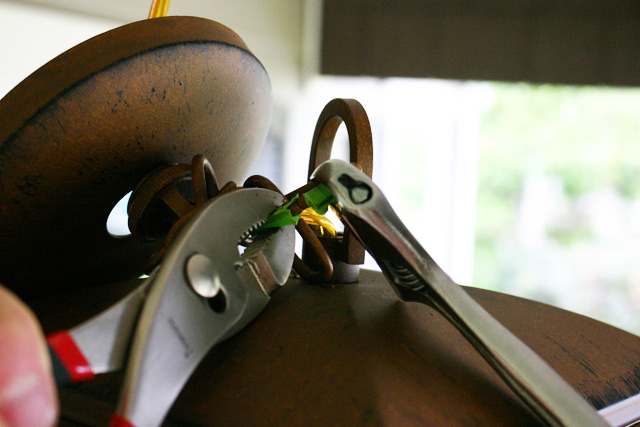
Before we could hang or wire anything, we had to attach the chain to the fixture itself. We put some painter’s tape on the last link, on either side of the opening, so we could use pliers without scuffing up the finish. We pried them apart just enough to slip onto the loop attached to the fixture itself.
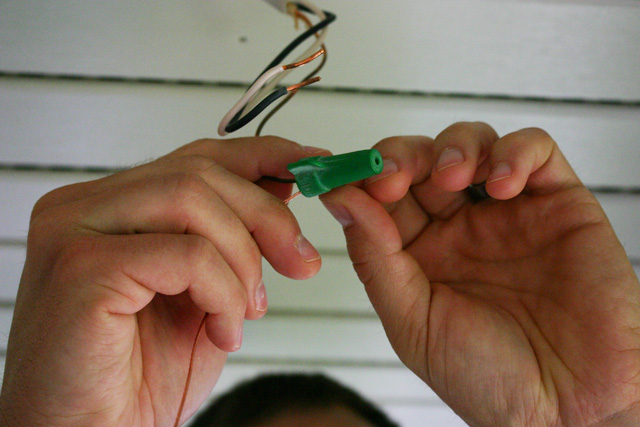
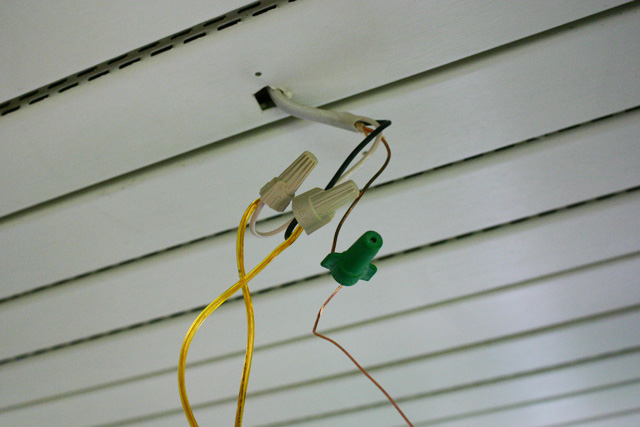
Then we started with the copper ground wires, attaching them together with the green wire nut that was used with the previous light fixture.
Then we attached one of the remaining wires to the black and the other to the white wire to complete the wiring. At this point we also had to drill a small hole in the ceiling to accommodate the pipe nipple that was part of the new fixture’s mounting hardware. There would normally be enough clearance for it in the ceiling box, but since we didn’t have one, we improvised. Sorry I don’t have a picture of this! Apparently when I’m under stress trying to figure something out my first thought isn’t to take a picture! I’ll work on that…
Also this fixture came with TERRIBLE instructions! I knew how to do the wiring, but most of the mounting hardware was not assembled prior to shipment, so I had to use a poor illustration and even worse written directions filled with typos to figure out something that would allow my light to hang without falling down.
I was just glad that we were able to conceal the wiring in the canopy once it was all said and done!
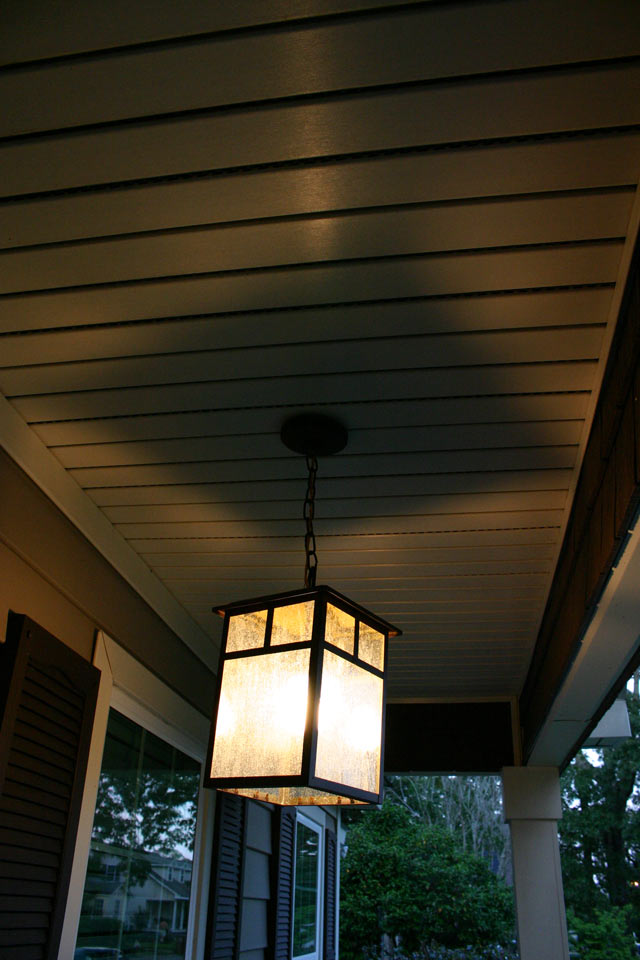
After turning the breaker back on, we held our breath to see if our wiring job worked. And it did!
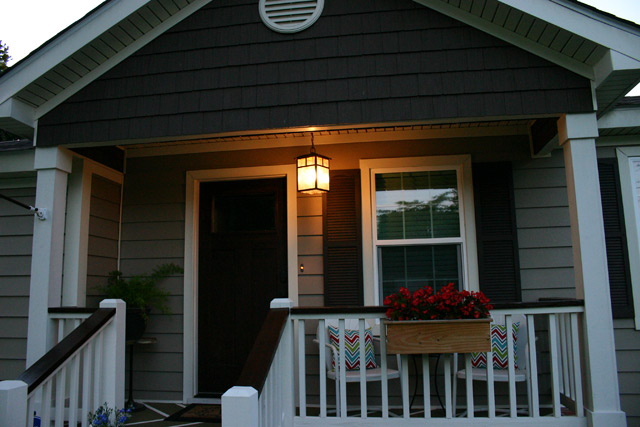
Fortunately we finished just before dark so I was able to snap a few pictures before the sun disappeared! Perfect time to capture an exterior light fixture too!
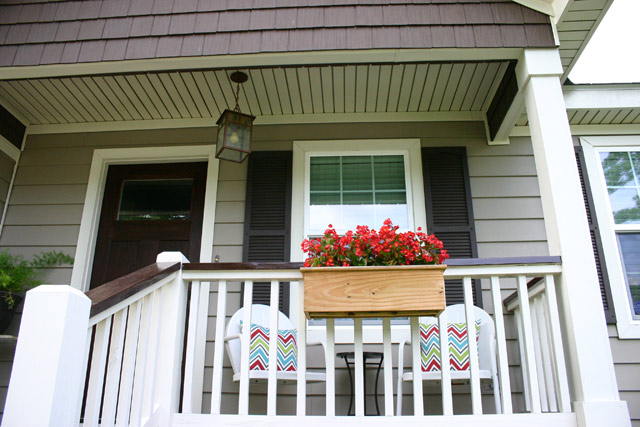
I also picked up some outdoor pillows to stand out against the white chairs. I think the light fixture and pillows really help pull the space together!
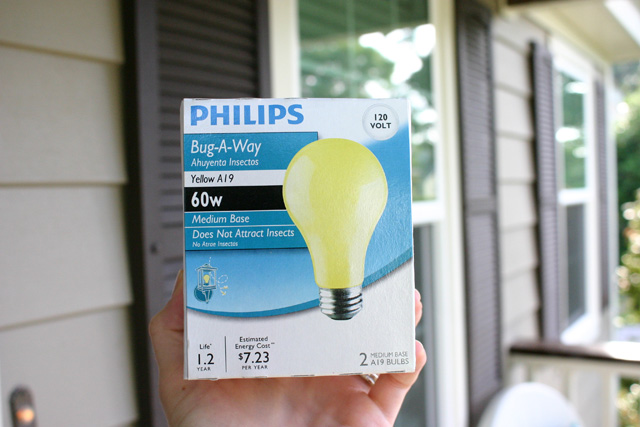
Then remembered I had previously bought these Bug-A-Way light bulbs for exterior fixtures.
They are yellow and emit a more yellow light than the average warm tint of incandescent bulbs. I figured since this light was lower and closer to our visitors’ heads than our previous light, it’d be nice not to have bugs swirling around while they wait for us to open the door!
And with that, I think it’s a wrap on the front porch freshen-up! Please leave comments or questions below!
Thanks for Checking In! ~Chelsea
*This post may contain affiliate links.*



2 Comments
Alyssa
I want to convert a light fixture to a pendant ligh. It’s been awhile since I’ve played with electricity, so I knew I better do my research. Your blog was just what I needed! Not only is it informative and easy to follow, but it’s also lighthearted and filled with beautiful photos! Thank you!
Chelsea Lipford Wolf
Alyssa, I’m touched that you took the time to leave such a sweet comment. I hope it helps you with your lighting project! Thanks so much! ~Chelsea