Living on the Ledge
As the calendar inches closer to my due date (t-minus 6 days…), I’ve been cutting back on projects around the house. But I undertook one last project in the nursery this week with some help from dear ole Dad.
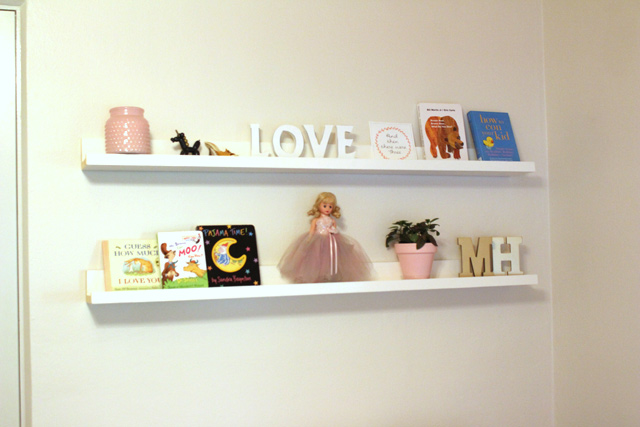
We built these simple picture ledges to hang above the diaper changing station on my old dresser. It really helps fill a void in the room! Plus it adds a neat place to keep books and pretty things.
I originally got the idea when I saw some inexpensive ledges just like them at IKEA (Ribba Picture Ledge). But they didn’t have the longer length in white. I briefly thought about spray painting the black version to match the room, but I’m glad I didn’t!
With the dresser/changing table in place, I wanted the ledges to be centered on the wall, not on the dresser. So I measured the length of the wall and the distance from the closet door to the edge of the dresser. Since the wall was about 57 inches and the dresser was 5 inches from the closet, we subtracted 10 (5 for each end to make it centered) to get our cut dimension of 47″.

Using measurements from IKEA’s website, I wanted the finished shelf to be about 3 inches wide between the edges. So we got to work on the table saw adding 45 degree cuts on the edge of a 1×6.
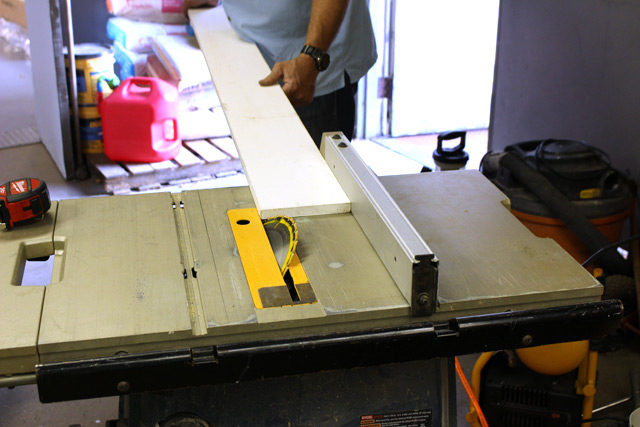
Once one edge was done, we carefully measured from the blade (while the saw was unplugged) to the saw’s fence to get the desired width of 3 inches before we made the next cut.
Then we cut it to (2) 47″ pieces using the miter saw.
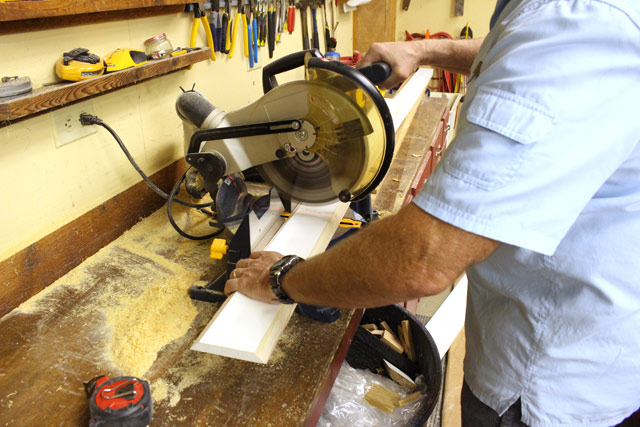
We were able to use the scrap from our first table saw cut turned up on its side as the front lip for the ledges. But we had to make an additional cut for the back lip/edge. It needed to be taller than the front, but still smaller than the 3″ shelf. We set the table saw fence to be 2 1/8″ from the tip of the saw blade to make that cut. The 2 1/8″ is the height from the top, once it’s in place, to the top of the shelf.
Once we had all 6 pieces cut (3 for each of the two ledges we were making) to width and length, we pulled out the handy wood glue to start the assembly!

We ran a bead down each 45 degree cut before attaching the edge pieces one at a time.

With the glue setting up, we used 5/8″ brad nails to tack the pieces together. We shot nails from the back into the shelf and from the bottom of the shelf up into the back edge piece. Then we repeated the same for the front edge.
And that’s all it took to assemble the ledges! Of course the work doesn’t stop there, but it’s all putty, caulk, paint, and a few screws from here on.
Speaking of putty, I used a generous amount along the entire front of each ledge where the front lip piece met the shelf. Just to fill in the gap and give it a nice finished look.
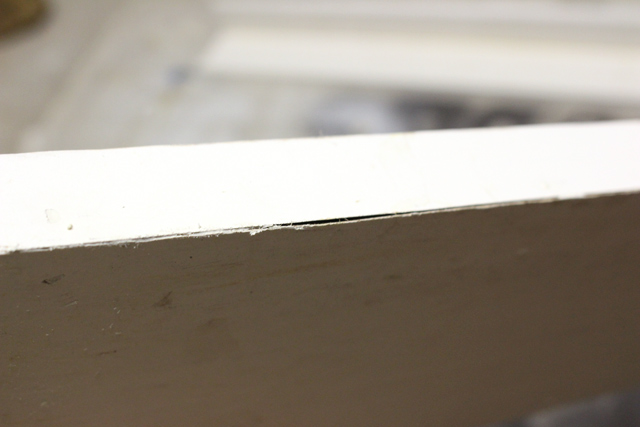
This isn’t necessary for the joint between the back edge and shelf since it’ll be against the wall.
I also puttied all of the nail holes while I was at it. And once the putty was where I wanted it, I slapped on the first coat of paint. I used the same paint as the window trim and crown molding we put up in the nursery (Benjamin Moore Simply White in Satin).
After the first coat was dry, I ran a bead of painter’s caulk along the back edge of the shelf to close up that gap.
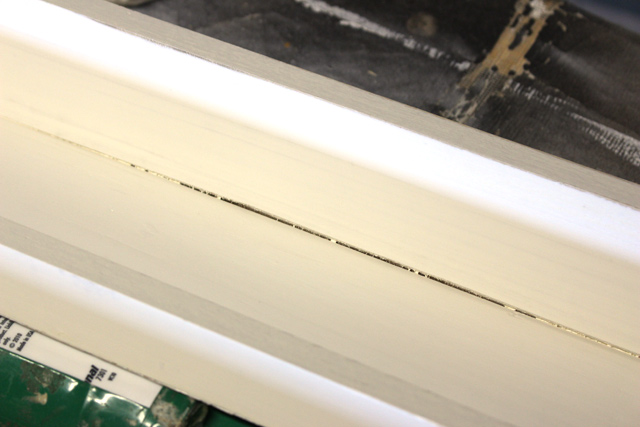
I like to putty and paint the first coat before applying caulk. That first shiny coat of paint reveals gaps you might not have noticed before so it gives you a chance to fill in more gaps and cracks. Then you can polish everything off with your second coat and call it a day.
To mount these bad boys sturdily on the wall, I measured and marked 4 spots on the wall and the same spots on the shelf. Then I predrilled the holes on the back of the shelf and in the wall before using lovely blue Tapcon screws to attach it in the plaster walls. Using my specific measurements for example, I marked 8 inches and 20 inches from each edge on the wall. Then I marked 3 and 15 inches from each edge on the back of the shelf to account for the 5 inches of wall that will be on either side. (Whatever your measurements, make sure they line up with each other!)
If you read about the disaster that was trying to hang crown molding on our plaster walls, you know not just anything can go into these old-school walls. That’s where the blue screws come in. They are masonry anchors and I’ve had good luck with them in the past.
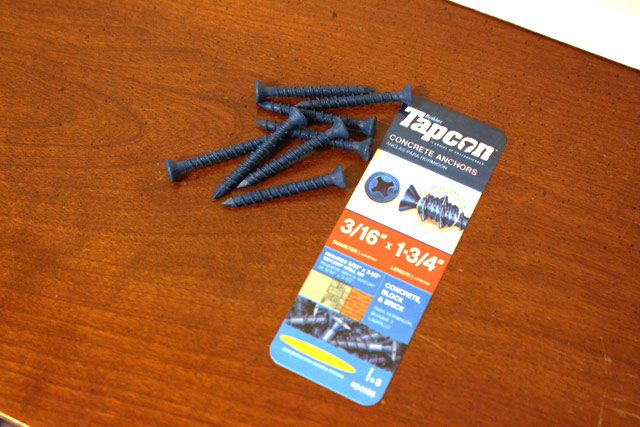
To pre-drill for them in the ledge, I used a wood bit the size of the screw threads. To drill the pilot hole in the wall, I switched to a slightly smaller masonry bit. My screws were 3/16, so I used a 1/8 masonry bit.
I set the screws in place in the ledge before holding it up on the wall.

Then it was just a matter of lining up the tip of the screw with the holes in the wall and screwing in place.
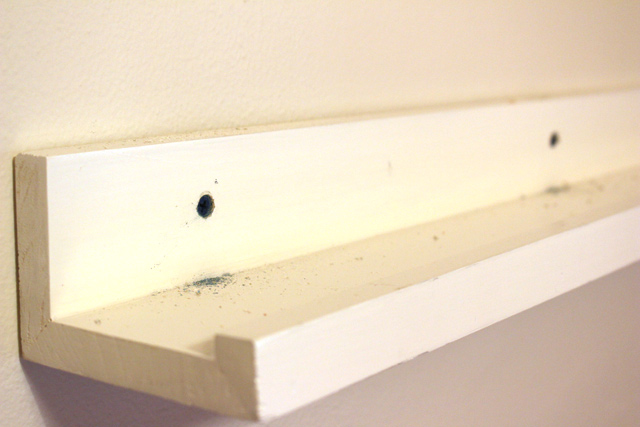
And with a little extra force, I was able to sink the screw heads in enough to be able to cover them with putty.
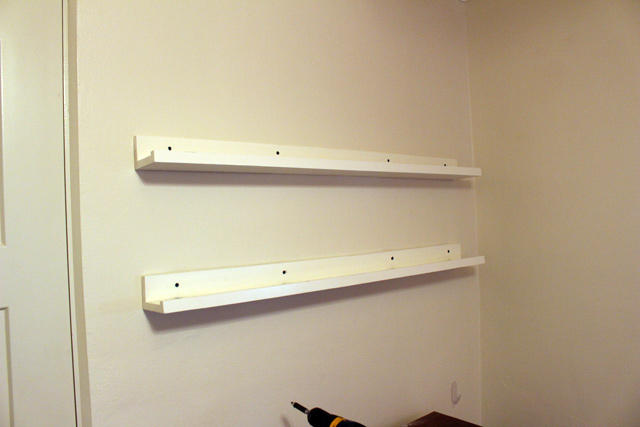
And once both ledges were in place, that’s just what I did.

I also added a quick coat of paint to cover the putty just on the back of the ledge.
With a few odds and ends I had on hand, some shower gifts and some items purchased just for these ledges, my IKEA-hacked picture ledges were done!
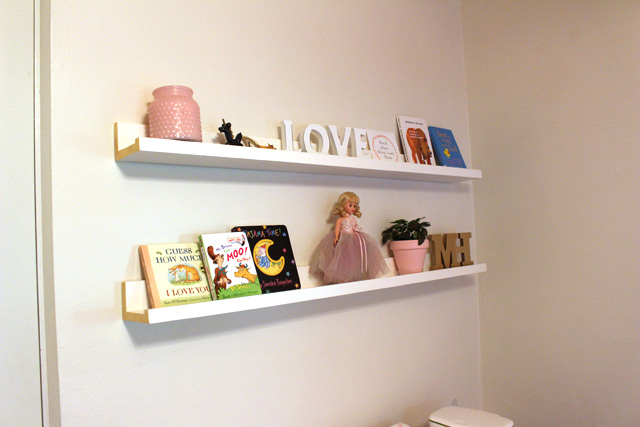
I tried to hang them high enough to be out of reach of a toddler getting her diaper changed without it looking too high. I’d hate to have to move them up in a year or so!

Just like the gallery wall I put together, I love the mix of my old Madame Alexander doll and a few mini shoes from my collection with the pink candle, spray-painted terra cotta potted plant, cheap gold initials and new books that were gifted during a baby shower. And as her book collection grows, the cutesy things can find a new home so the ledges can fill up with things that will fill up her noggin!
Since the edges of the ledges face the door, I added a little accent with gold paint left over from adding pizzazz to her ceiling. Just a little lagniappe for funsies.
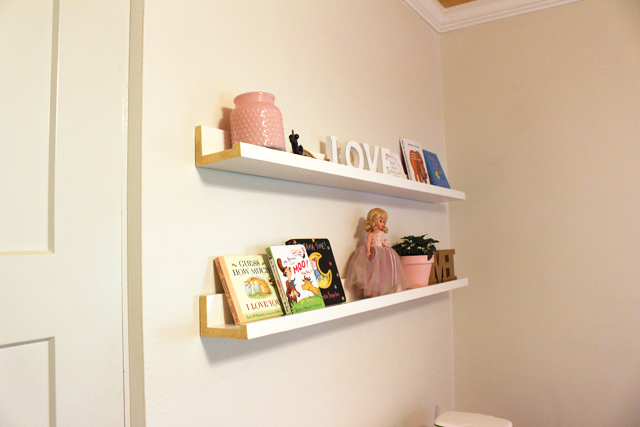
I can’t give an accurate price comparison since we used lumber off our storage rack. But I’d imagine building these 2 ledges from one 8 foot 1×8 of inexpensive whitewood would definitely cost less than buying 2 ledges from IKEA. And a lot more fun! 😉
What do you think? Got a place in your casa that could use a ledge or 2 or 3? I’d love to hear from you in the comments below.
Thanks for Checking In! ~ Chelsea


