Checking In With Chelsea

DIY ideas, crafts, and tips for your home

subscribe and never miss a thing!

Receive Free Email Updates

  • About
  • Videos
  • Projects
    • Indoor Projects
    • Outdoor Projects
    • Craft Projects
  • House Tour

Flower Pot Mayhem

September 2, 2014 By Chelsea Lipford Wolf 2 Comments

I hope everyone had a restful and relaxing Labor Day weekend like I did. A little beach time followed by massive amounts of laundry and a few small home projects is just what I love to do on 3-day weekends! Well maybe not love the laundry part, but it’s nice to get a bunch done at once!

And one of the small projects I finally completed on Monday was repairing a beloved flower pot/planter in my dining room. It was an arrangement sent to my Grandma’s funeral in July of 2012. I’ve prided myself on keeping the plant alive for over 2 years. And I loved that the pot it came in matched the vibe and decor of my house.

So I was pretty mad, sad, and more mad when I bumped into it and caused it to crash to the ground while walking through the dining room the other night. I’ll admit it’s a tight squeeze between the plant stand and the nearby chair, but the plant seemed to need a spot in front of a window!

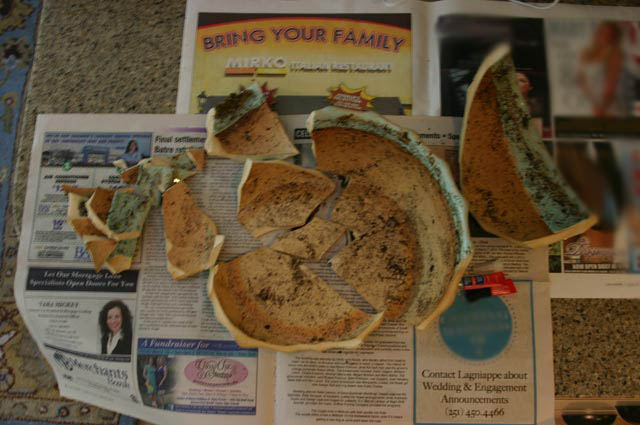
I decided to glue the pieces back together the best I could and salvage the pot. Besides the sentimental value, a decent planter like that can run $15-20 that I didn’t feel like spending. Had there been fewer large, whole pieces and more crumbly little pieces, I wouldn’t have even considered reassembling it.

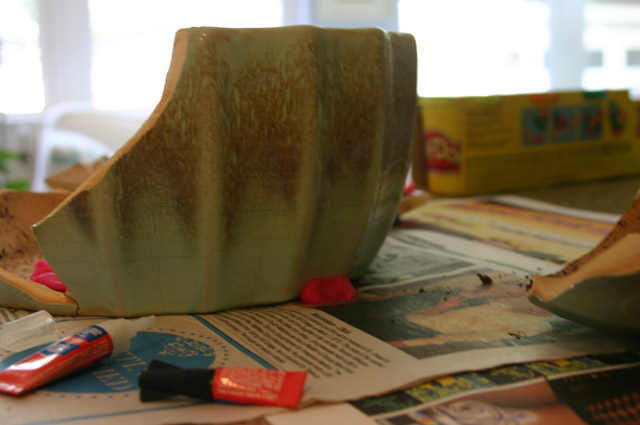
blue planter broken pieces spread out on newspaper

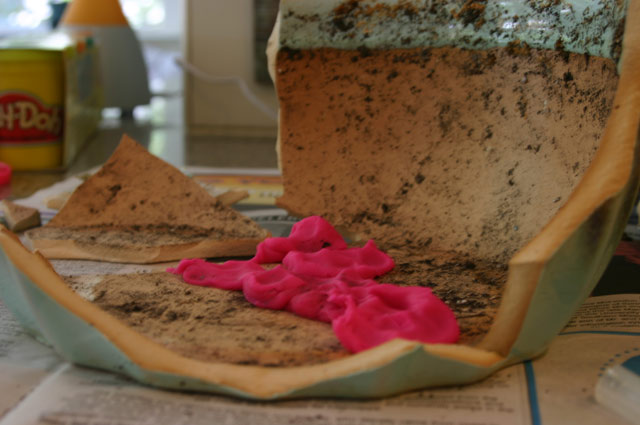
With all of the pieces laid out on some old newspaper, I started from the bottom and worked my way up and around with some household super glue I always have on hand. Any “super glue” will do the trick, but for this I used Loctite’s Super Glue Liquid. I also used a trick using modeling clay I’ve seen here to hold the awkward pieces in place while the glue dried.

hot pink modeling clay holding broken planter pieces

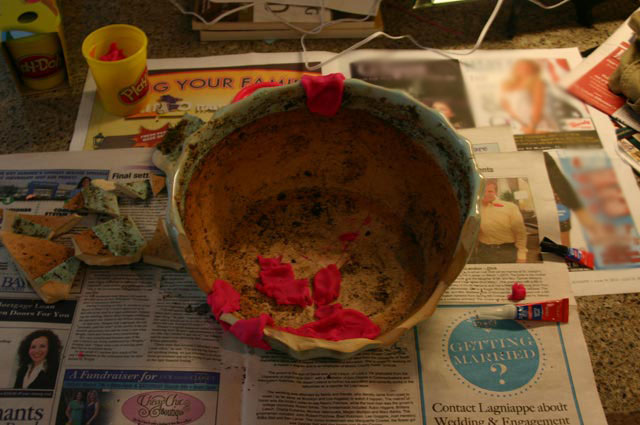
The bottom of the pot was a little uneven, so I used a small piece of Play-Doh on the back side to hold it level while I was working on the bottom.

Hot pink modeling clay propping clay pot in place

I glued a piece on, and let it dry for a half hour before attempting another piece. So it was a slow-going project I worked on over the course of the day.

pink play-doh modeling clay holding planter together on top of newspaper

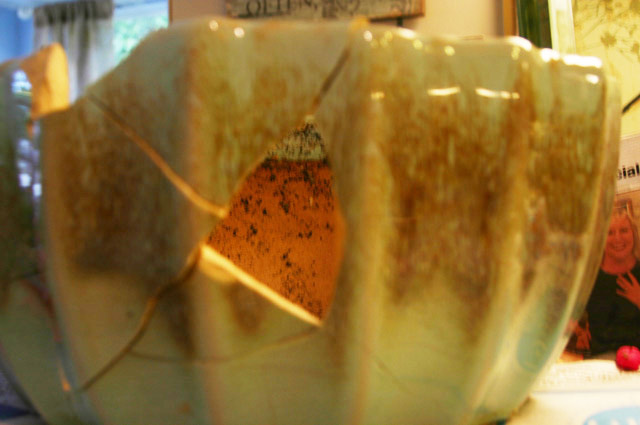
After half of the side was complete, I dry fitted the remaining pieces to make sure I didn’t put one piece in that prevented me from gluing in its neighbor. And good thing, because I discovered I was missing a good-sized piece.

missing piece hole in broken planter glued back together

So I went back to the temporary pot holding the plants and got my hands dirty digging through the dirt. I found several smaller pieces not worth saving before I found the big one I was searching for!

terra cotta plastic planter holding plant on stand in yellow room

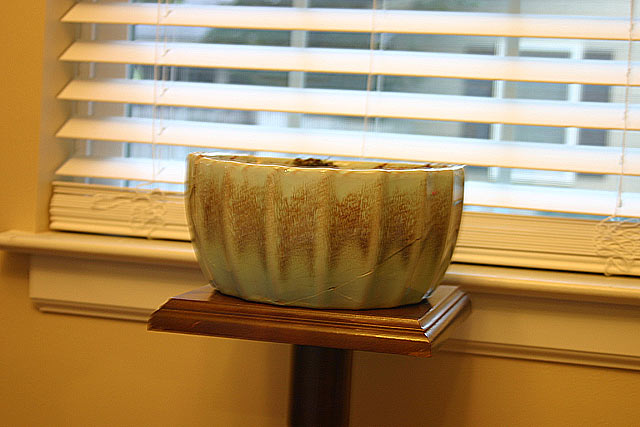
I glued it in place and slowly and delicately put in the last few pieces. It was by no means perfect. There are a few spots where the piece is clearly in the right spot, but it doesn’t touch everywhere it should. Although, if you’re not standing too close it looks pretty good.

glued blue planter on plant stand in front of window

I wasn’t concerned about it being waterproof since I already kept a plastic dish under the planter. But some of the holes were a little wider than I had hoped. And I didn’t want dirt to escape. So I set out to buy some sort of cheap pot to set inside my masterpiece to hold the dirt and the plant but still be concealed.

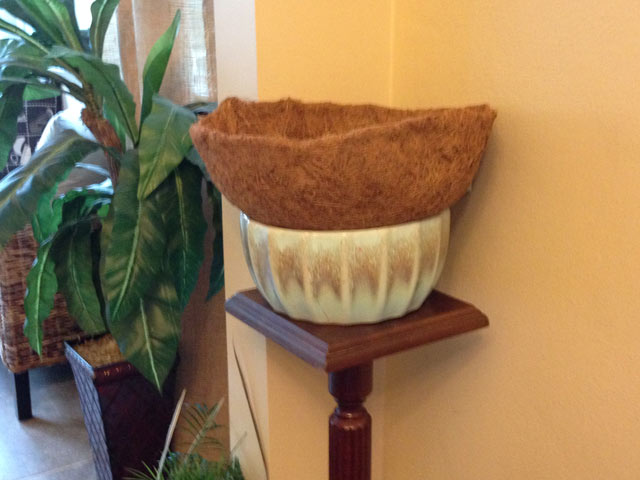
No luck with a pot since my planter is wide and short and most are tall and skinny. But I did use my imagination and pick up this coco liner from the garden department at the home center.

coco liner sitting on top of blue flower planter and plant stand

I got the smallest one they had, but it was still too big. So I got out my sharp scissors and cut a piece the shape of a pizza slice out.
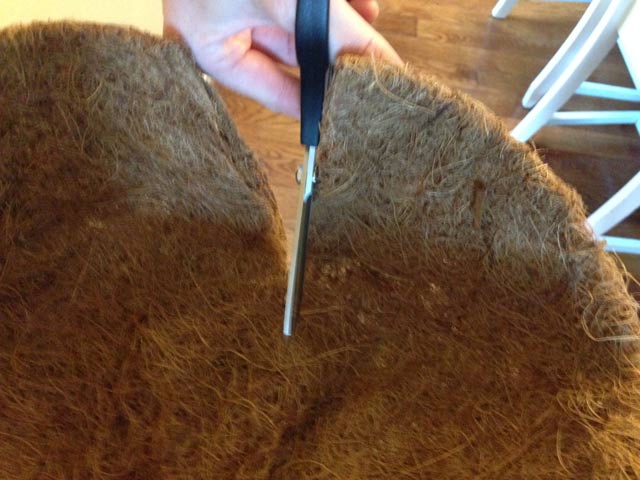
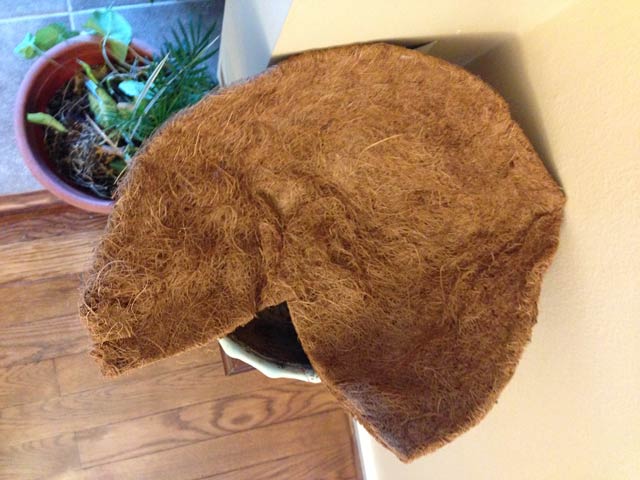
scissors cutting triangle in coco liner planter
Coco liner with pizza slice shape missing
Then tried to form a new, smaller bowl with it, but there was still too much bunching in the middle. So I cut more out in this weird shape and it seemed to do to trick.
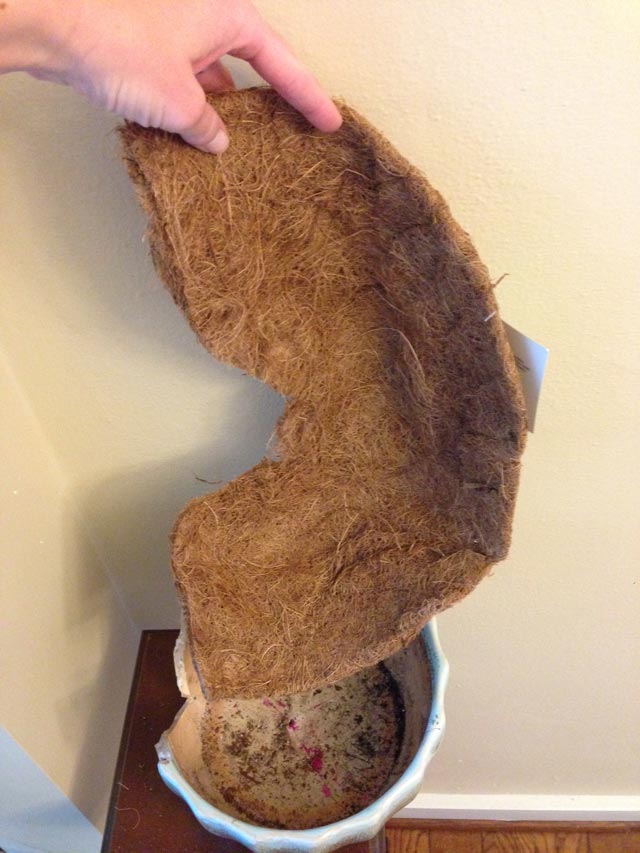
coco liner planter cut to fit bowl

I used a household/office stapler to hold the coco liner together along the seam.
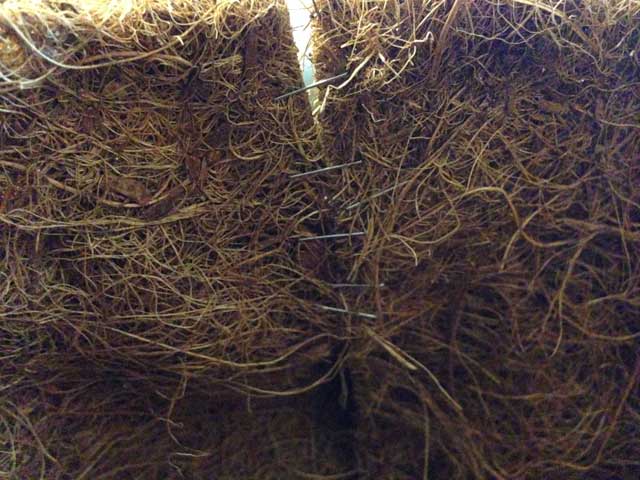
Staples holding coco liner together at seam

Then it was ready to be set in the repaired planter.
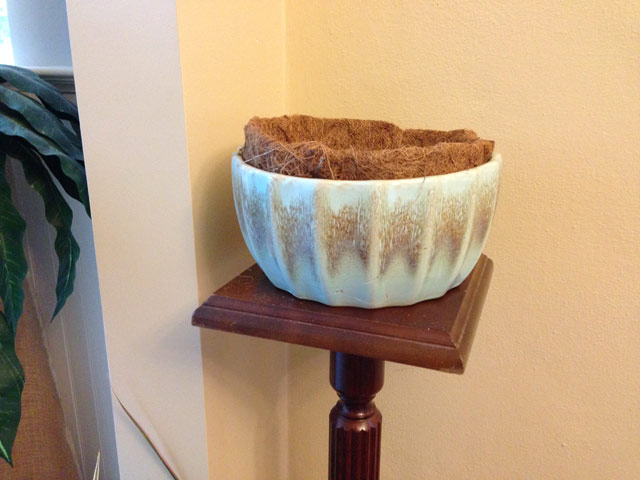
coco liner sitting in blue flower pot planter on plant stand

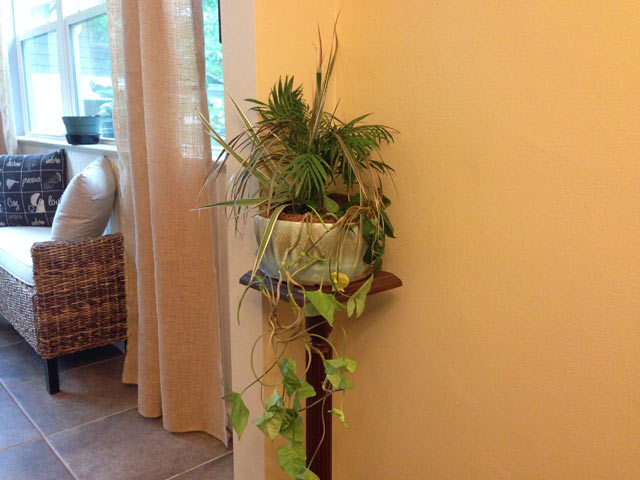
The coco liner isn’t as concealed as I had originally planned. But I do like that it matches the colored accents on the bowl. And for now the whole plant stand has been relocated to the corner so no more hips bump into it. Ideally I’ll find a spot in another room where it can get more sunlight with or without the plant stand which I’d like to paint or distress.
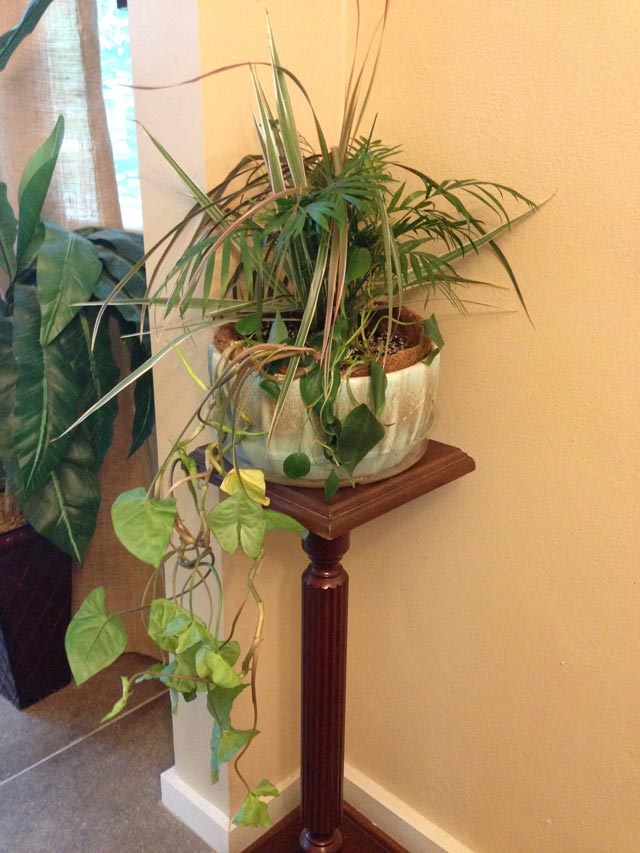
blue planter on plant stand in yellow room with green plant

blue planter pot on plant stand burlap curtain

OK, maybe it’s time to trim the overhang…

Who else loves having live plants in their home? Did you know there’s a specific ratio of how many live plants you should have per square feet in your house? You can find out what it is here as well as which plants are good for eliminating certain pollutants.
Subscribe for Free Updates!

Stay up-to-date on Chelsea's latest projects, tips, useful resources and more.

Previous Post
Chelsea’s Choice: Clean Hands Club
Next Post
Chelsea’s Choice: Smarty Pants Drill

Related Content

Sitting on Back Steps After Finally Sealing BricksStripping Paint from BricksUpdated Review on Whether Chip Fix Repair Kit WorksChip Fix Review UpdateDoes Porcelain Chip Fix Really WorkDoes Homax Porcelain Chip Fix Work?Easy, Fast, and Cheap Extension Cord Repair

Comments

  1. Carol C. says

    September 3, 2014 at 12:45 am

    Loved your idea of using modeling clay to hold the pieces together while the glue dried. What kind of glue did you use? Glad you were able to save the vase.

    Reply
    • Chelsea Lipford Wolf says

      September 3, 2014 at 9:46 am

      Thanks Carol! I used just a household super glue. I’m not partial to any brand but I always try to keep some on hand! I happened to use Loctite’s Super Glue Liquid for this though.

      Reply

Please Leave a Comment Cancel reply

Your email address will not be published. Required fields are marked *

Welcome!

I’m Chelsea. DIY
enthusiast who loves
sharing my victories
and mishaps!
Learn more
here.

CHECK IN WITH CHELSEA ON INSTAGRAM

Feeling like a million bucks at the Daytime Emmy C Feeling like a million bucks at the Daytime Emmy Creative Arts and Lifestyle Awards with my forever date! 6 more weeks until baby!🤩🏆 
.
.
Hair by me
Makeup by me
Earrings by @elledragoclayco 
Dress @azazieofficial borrowed from @brittany_baugh 
Shoes @lulus borrowed from @emilylipford
B’s suit from @laurenralphlauren

#daytimeemmys @daytimeemmys
Home sweet home!✨It was a nice respite to go on Home sweet home!✨It was a nice respite to go on a work trip to @exploreclt after spending a week on a road trip with 3 small kids.🙉But there’s no place like home!
.
.
Now time to tackle Mt Laundry because thankfully the little people wore clothes while I was away! What’s on your agenda this weekend?
.
.
#homesweethome #sweethomealabama #noplacelikehome #familyroom #familyroomdecor #familyroomdesign #roundcoffeetable #ikeaforthewin #ikeadecor #kidslivehere
An occasion to get dressed up? We are here for it! An occasion to get dressed up? We are here for it!👏🏻 Nothing beats a family wedding on a beautiful spring day!☀️ Happy Memorial Day Weekend!🇺🇸
Happy 3rd birthday🎈to the biggest mama’s girl Happy 3rd birthday🎈to the biggest mama’s girl I’ve ever known! She weighs as much as her big siblings but still likes Mommy to hold her.😜 She’s got plenty of sass and insists on doing everything herself. Which is why she normally has hair in her face and a tornado of chaos all around her. Pretty much our life since she came into it. But the best kind of chaos that grows and stretches you and teaches you to slow down and accept them just the way they are.☺️
.
.
Can’t believe it’s been 3 years!🥺
.
.
#celebratethem #birthdayshoutout #girlbirthday #girlparty #3rdbirthday #springbreak2022 #familyvaca #vacay2022 #vacationmode #visitflorida #staugustinefl
Cheers to the weekend, friends! May it be filled w Cheers to the weekend, friends! May it be filled with plenty of sunshine and bright spots!☀️🥰
.
.
#happyweekend #friyay #feelslikesummer #weekendvibes✨ #mothersdayweekend #beachday #plentyofsunshine #pocketfullofsunshine #girlbedroom #twinbeds #pinkvibes
FINALLY painted this eyesore of a wall and finishe FINALLY painted this eyesore of a wall and finished just before dark last night!🙌🏻 My husband and I decided instead of starting a new project (ahem a baby nursery) we should finish the projects we’ve already started. Since baby is due in the summer, it will be so nice to have our backyard up to par so we can rest and relax out there during recovery. ☺️
.
.
We started this project back in October by stripping and scraping the many layers of paint so we could waterproof the bricks and paint the wall to match the house. But the house was painted exactly a year ago. So it was way past time to knock this huge item of the time-do list. And it feels like such a relief to not have to walk by the unfinished-ness every time we come home now!
.
.
Next up we’ll slowly tackle patching hardwood floors and finish painting and replacing our interior doors that are taking up room in our garage.👏🏻
.
.
What’s something you’ve knocked off your to-do list lately?!
Load More... Follow on Instagram

Indoor Projects Outdoor Projects Craft Projects
Facebook Pagelike Widget
  • Contact
  • FAQs
  • Advertise with Chelsea
  • Media
  • Today’s Homeowner

Search This Site

Receive Free Updates Via Email

Copyright © 2022 Checking in With Chelsea • All Rights Reserved