How To Build a Simple Tray to Expand Your Deck
DIY Plans for an Easy Handrail Serving Tray
Build this simple serving tray to sit on top of your deck handrails and create more space for food and drinks on a small deck while entertaining outside! A beginner DIY project you’ll use for many years!
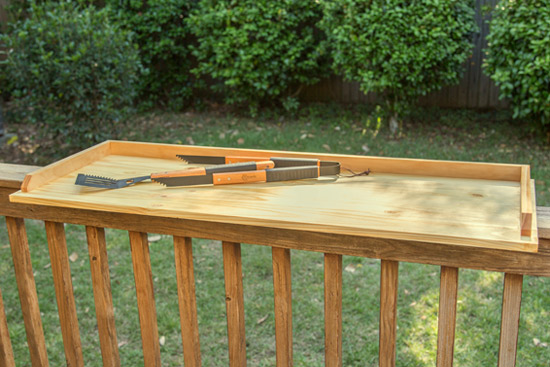
Materials
- edge-glued panel*(Mine is 4 feet)
- (2) 1″x2″x6′*
- 2″ deck screws*
- exterior urethane*
- cheap brush*
This project is sponsored by Exmark Mowers. You can watch my full how-to video (and many more outdoor videos!) on their Backyard Life website!*
Cut 1×2 to Size
The first step is to measure the width of your deck handrail. Mine is 5-1/4″ after 8 years of weathering.
Cut one 1×2 in half (3′). For the other 1×2, you’ll want to cut (1) piece at 46-1/2″ with mitered ends. Then cut (2) at 16-1/2″ with a miter on one side of each. These measurements allow for a 3/4″ inch reveal on the tray after they are installed. (More on that in a bit.)
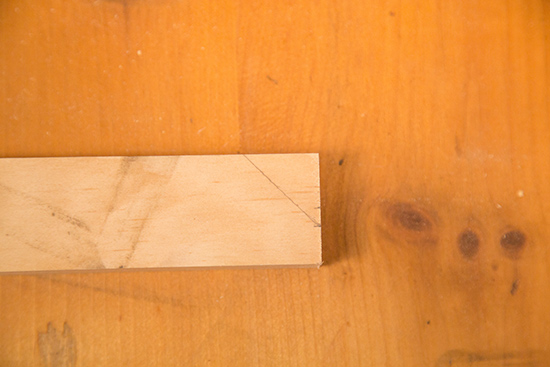
To add a slightly decorative touch, I cut the blunt ends of the 16-1/2″ pieces at a 45 degree angle that stopped 1/2 an inch up.
Attach Supports
Glance over your wood panel and select the ‘pretty side’. Put it face down on your work table so we can attach the rails underneath first.
I’m placing my support pieces 5-1/2″ apart (and centered lengthwise) to give my 5-1/4″ handrail a tiny bit of breathing room for expansion. Pre-drill 3 holes on each 1×2 with a small pilot bit.
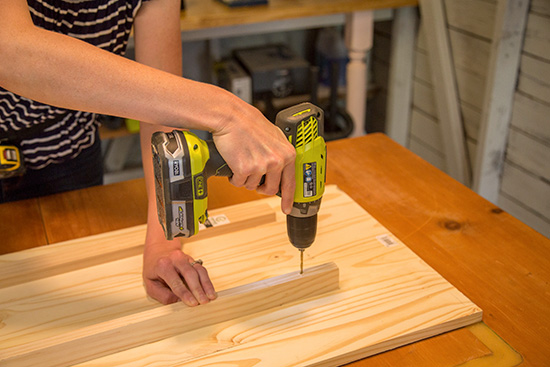
Then use 2″ coated deck screws through the 1×2 to attach it to the wood panel.
Now turn it back over to get the top ready!
Install Tray Sides
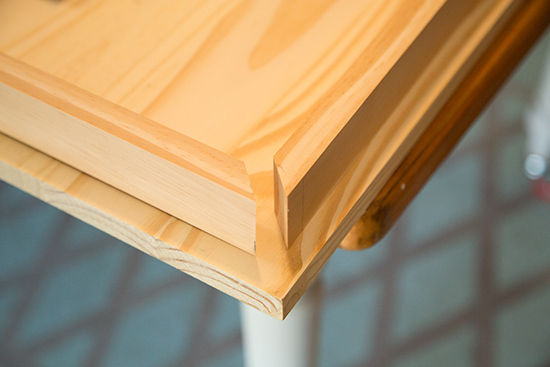
Using a straight edge (like a 4′ level) and a tape measure, mark 3/4″ down the length of 3 sides so you can uniformly install the sides of the tray.
Hold the longer piece in place while you attach it from underneath using the same 2″ deck screws. Installing from underneath keeps any fasteners from being visible and keeps water from puddling in the screw holes if left out in the rain.
When you install the shorter pieces, match up the miters well before screwing in.
Seal everything, top and bottom, with a coat of exterior urethane or spar varnish to keep it looking its best for many parties to come!🎉
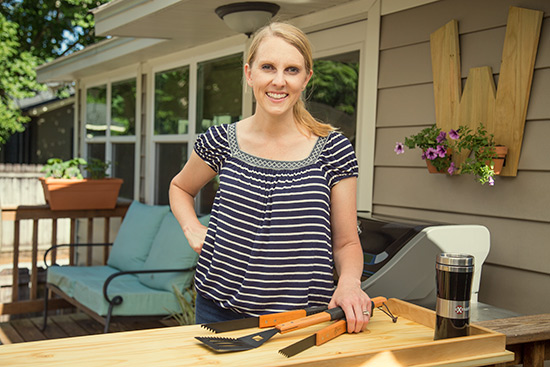
For more details on my workshop makeover where I built this tray, check out this video!
And watch my video on building that fun wood initial planter by clicking here!
Don’t forget to click over to Exmark’s Backyard Life for my full how-to video on this unique project for your deck!
Thanks for Checking In! ~Chelsea
*This post contains affiliate links.*


2 Comments
tommygullett
Thankyou!
Brian C
Great Deck idea, Chelsea.