DIY Double Batten Accent Wall
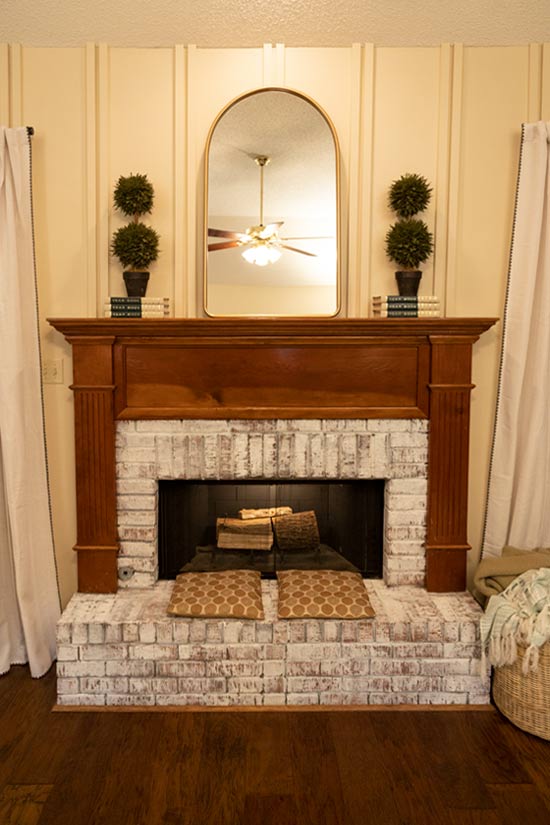
Enhance a short fireplace or short walls by creating a vertical accent wall treatment that tricks the eye and makes your space feel larger.

I love a good accent wall. You can paint ’em, nail ’em or wallpaper ’em. But they always add a special touch to any room!
Here’s a simple wood accent wall I created in my son’s room not too long ago. And the wall I wallpapered in our living room. I still love this earthy green accent wall in our old bedroom too!😍
So when we first saw Faith and Roberto’s living room for a Today’s Homeowner project, I knew it needed a good accent!

Even though they have 9 foot ceilings with a fancy raised ceiling, the room still felt short. The squatty fireplace mantel didn’t help! But they loved the mantel so it had to stay.
My solution was a double board and batten style accent above and next to the fireplace!

Here’s the step-by-step to achieve the same look!
Materials for Accent Wall
- 1x2s*
- nail gun*
- miter saw*
- paint
- painter’s caulk
- caulk gun*
- favorite tape measure*
Remove Existing Molding
Since the section we were accenting was somewhat isolated from the rest of the room, we removed the baseboard and chair rail from the immediate right and left of the fireplace. (A little sparkling was required.)

Then we ripped a 1×6 down to the same height as the baseboard throughout the rest of the room to give the illusion it was the same material. I think it was 5-1/4″. This gave us a flat surface to have our 1×2 battens sit on. If you don’t have this option in your home, you can simply cut the bottom of the 1×2 at an angle to have it terminate gently into your baseboards.
Calculate Batten Spacing
To calculate the spacing between your battens, you have to do some math.😒
Here’s what I did:
Take the width of your space: 98″
Number of boards: 7 (I visualized about how many I thought would look nice and not too much.)
Width of the boards: 3.75″ (The width of two boards (1.5″ each) plus a 3/4″ gap in between.)
Spaces between double battens: 6 (Subtract 1 from your board total.)
7 X 3.75″=26.25
Total space (98″) minus total width of boards (26.25″) divided by number of spaces (6) equals 11.9 inches between each double batten board.
Glue or Nail to Wall
Since this is a double-batten look, you’ll need twice as many 1x2s. Cut them all to length, spot-checking a few areas to make sure the length is the same all the way across.
Measure and mark the center of your accent area. Since I was doing an odd number of battens, I started by installing a set of 1x2s in the middle, having the middle of the gap line up with my middle mark.
Use a small level to make sure your initial boards are straight up and down because the rest of the boards will be set off of them.
Next, cut a piece of scrap 1×2 to the size calculated above. I cut mine to a little less than 12 inches. This is an easy way to space your battens and make them all equal!
Set the spacer in place, butt a new 1×2 up against it and nail in place.

Then cut another spacer the same size as your gap. Mine is 3/4″ so I was able to use a 1×2 turned sideways.

Nail the double batten into place and repeat until your accent area is full of beautiful accenting battens.

Caulk and Paint Battens
Since you can’t have every batten line up with a stud, you may have a few gaps here and there that need to be tightened up. The 1x2s are lightweight enough they aren’t going to totally fall off the wall. But it is helpful and aesthetically-pleasing to caulk the battens to the wall.
Seeing the primed 1x2s up on the wall against the yellowish-tan wall color wasn’t a bad look. A two-tone look would work just fine! But we were striving for elegant and subtle, so we decided to paint the wall treatment the same as the wall color and give it a tone-on-tone feel.

I just love the ease of completing this project (could be done in half a day!), the simplicity of it (math-ing was the hardest part🤪) and the impact it has on this cozy living room.
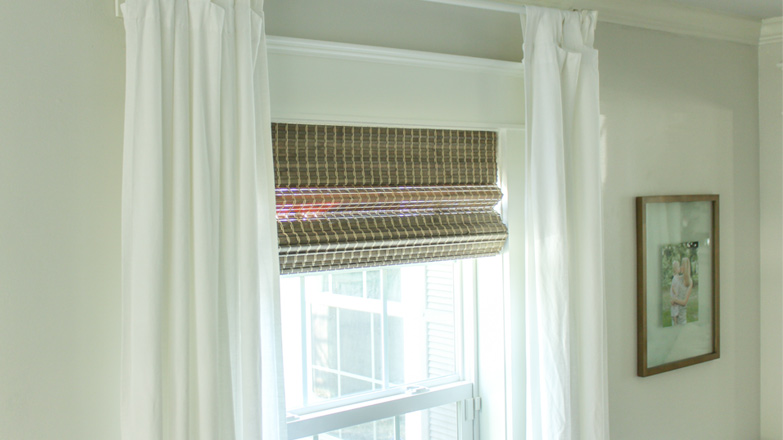
A few other things I changed as part of the overall room makeover were hanging the curtains higher (again to make the room feel taller and larger), simplified the mantel decor, added a tall mirror to help with height, and whitewashed the fireplace bricks.
All together it brings this 1990s living room into this era without being too trendy, spending too much money or tearing down walls.

That’s why I love DIY!👏🏻
Where could you use an easy accent wall in your home? I’d love to hear in the comments below!
Thanks for Checking In! ~Chelsea
*This post contains affiliate links. I will earn a small commission from your purchase without increasing the price for you!*


4 Comments
Betty
How do I get help for an aging deck replacement? I watch your show all the time. I didn’t know you live in Mobile until my cousin told me. I was born and raised in Mobile, I moved to Wisconsin 50 years ago. My family still lives in Mobile and Sims. Help!
Veernon Freeck
I am veery happy that you didn’t paint the brick
Sandy Rinzel
I love your ideas on updating a room. Our house was built in 1977 so your ideas are a real inspiration.
Deneece Groves
Our fireplace is a gas insert, black, surrounded by small cream ceramic tile with a white mantle. There are two rows of 12 inch cream ceramic tile on floor in front of fireplace. There are two full length windows on either side. The wall is not flat. The windows are recessed. We are trying to choose a paint color for the living room but I don’t like the ceramic tile around the fireplace. We just purchased the home. Paint color has to match or flow into breakfast/kitchen and dining room. Living room has only the two windows for light. Any suggestions?