I’ve been slowly going around my house and organizing or cleaning out small areas at a time over the last month or so. I was inspired by a print-out checklist I found on Pinterest.
It seemed to include a few areas of the house I needed reminding of, like cleaning supplies, medicine cabinet, and what pertains to this post-craft supplies.
I certainly needed a light, cheap and easy project after undertaking the installation of our living room window trim the past month.
There were some things I had been saving for “what if” scenarios and some things I’m still scratching my head over why I saved them in the first place. Ugh, hoarding tendencies!
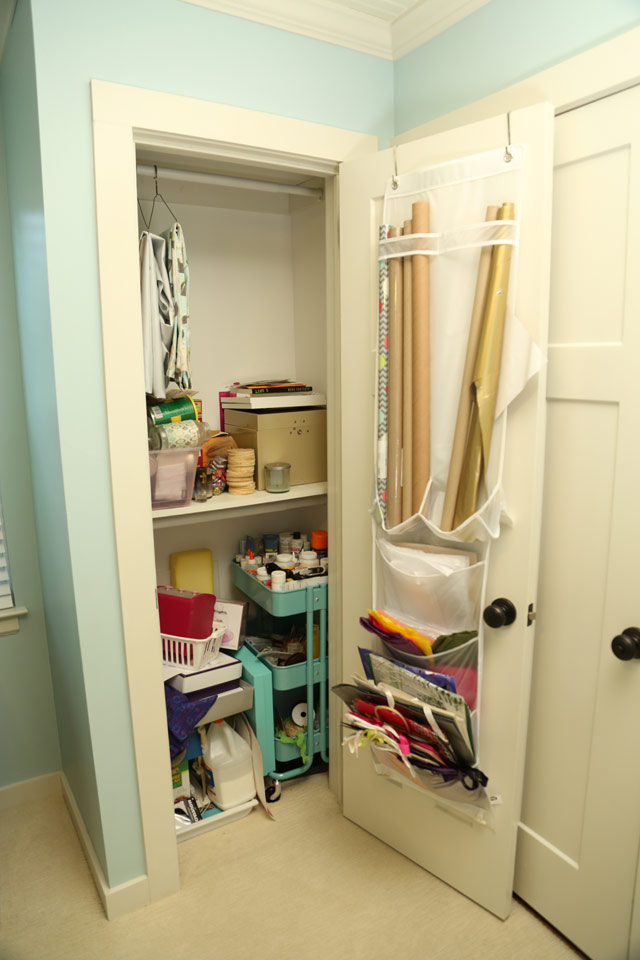
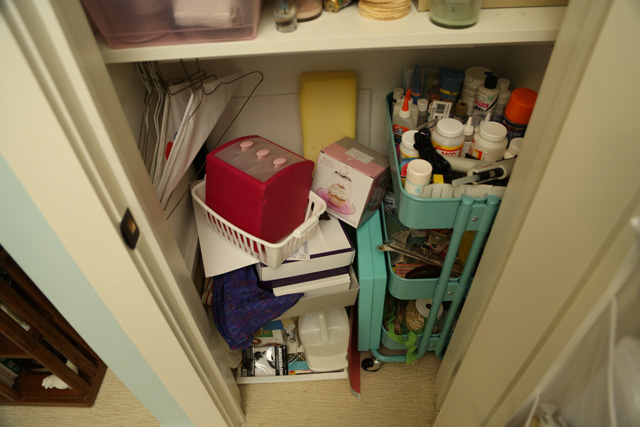
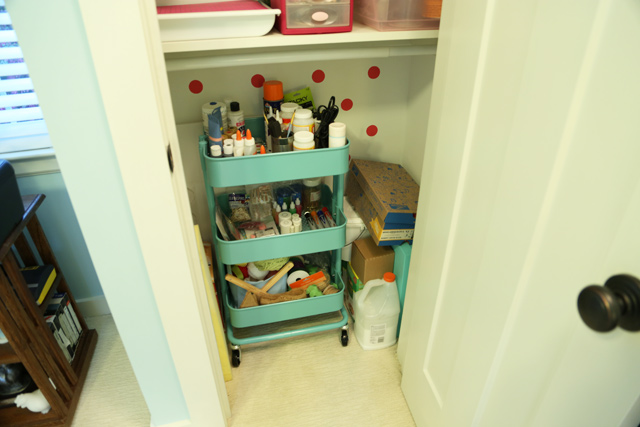
I bought that cute teal cart from IKEA in an effort to organize this closet probably about 10 months ago. And it helped for a little while, but my stuff quickly out grew its bins.
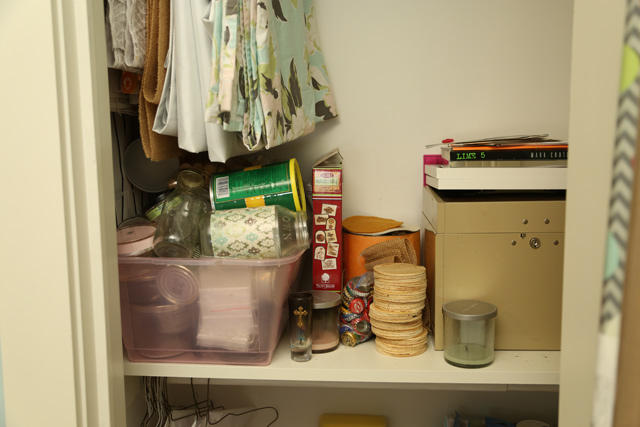
Plus there’s the dysfunctional placement of our fire-safe box and my collection of previous project scraps and recyclables.
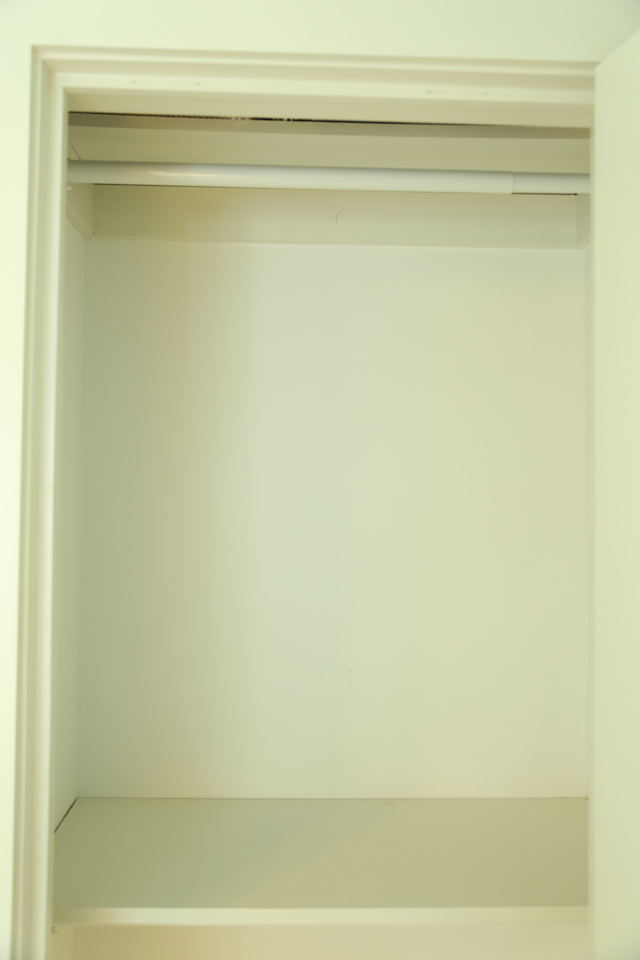
The best place to start any organization project is with a blank slate. So I emptied the contents onto the nearby floor, wiped the shelf down, and vacuumed the carpet.
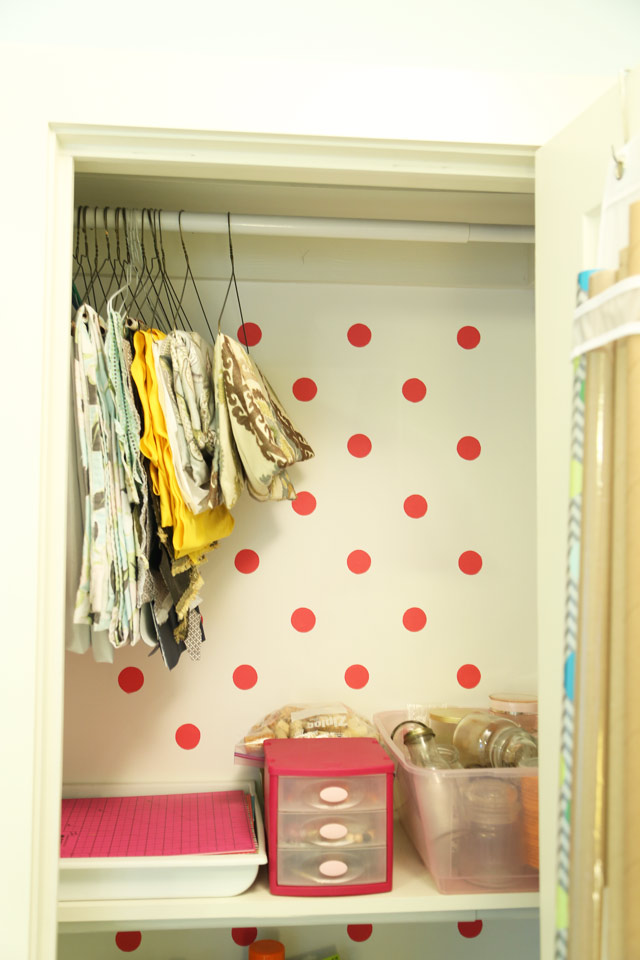
Only then did I think about adding a cute and fun accent on the back wall. I ascertained that I didn’t “feel” like using a roller to paint the whole back wall. But really I didn’t want to have to clean out the roller after… So I decided to finally buy the pouncers I’ve been eyeing and some pink paint to create pink polka dots girls only dream of!
I picked up this set of pouncers using a 40% off coupon and this Peony Pink acrylic paint at Michael’s.
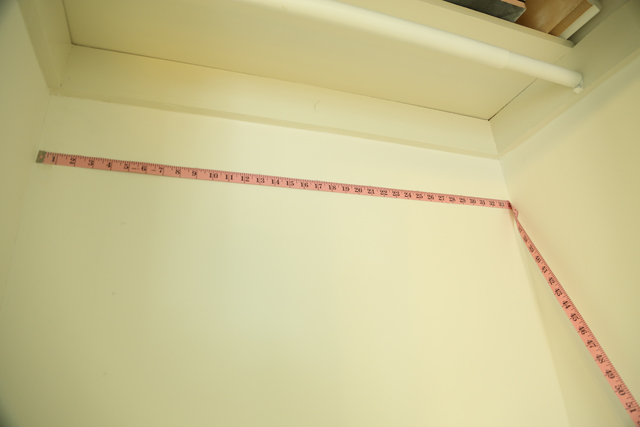
To start, I measured 5 inches off the left wall and marked every 4 inches going down (making sure each mark was also 5 inches from the wall). Then I taped my sewing measuring tape with the 5 inch mark lined up and checked that it was 4 inches from the top the whole distance.
Then I was able to mark every 4 inches along the horizontal line before removing the measuring tape and taping it to the next mark 4 inches below. I did this until the entire top part of the closet was marked. And I went back and erased every other mark. I could have skipped this step and not marked them in the first place, but I wasn’t sure how often I wanted dots at first. Plus it erased easily enough.
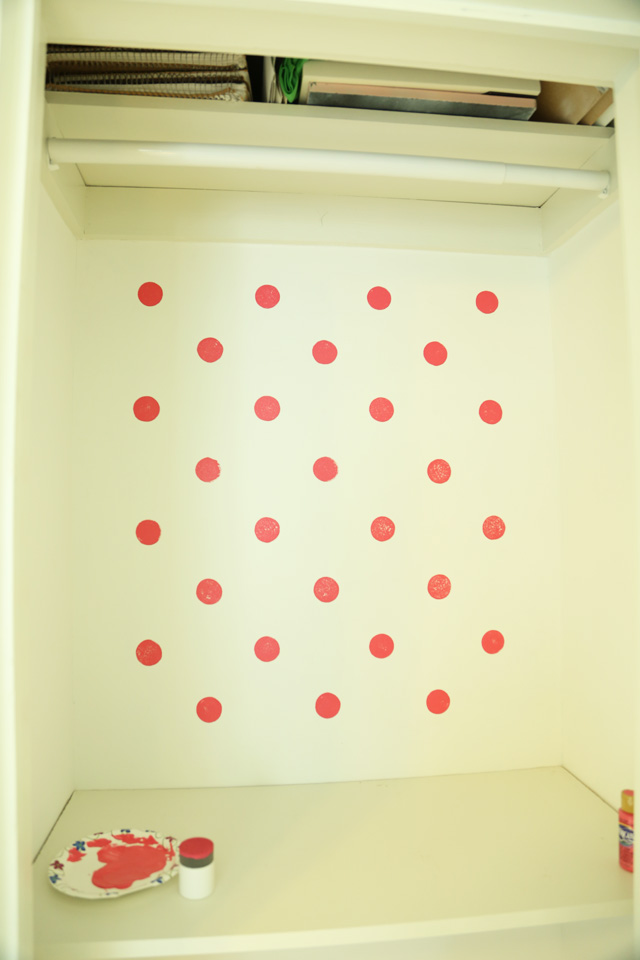
Once I had only the “keepers” left, I got out the largest pouncer that came in my set, 1 3/4 inch. Pouring some pink paint on a paper plate, I pounced those pink polka dots right onto the wall.
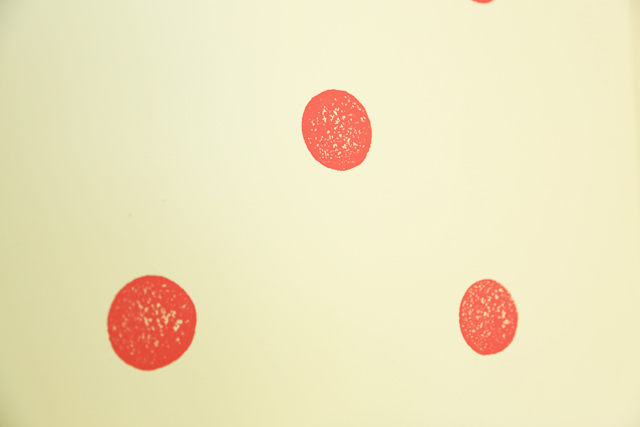
The first coat didn’t have full coverage, but I assumed that would be the case. I didn’t want to oversaturate the foam pouncer and have it run outside of the circle lines.
While the top section was drying, I moved my focus below the shelf and followed the same steps above to measure, mark, and paint the bottom half of the wall.
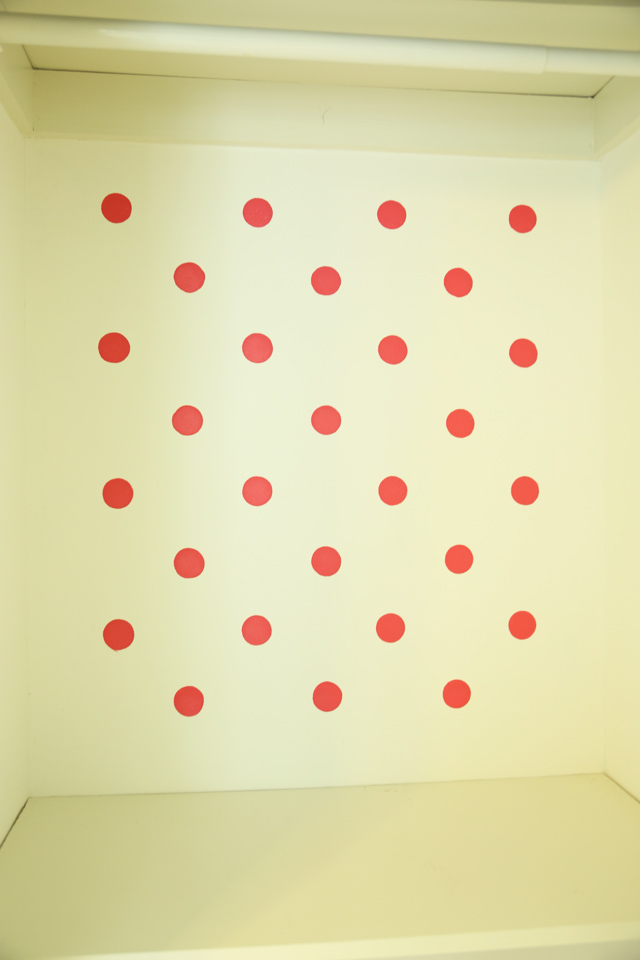
By the time I was done with the bottom half, the top half was dry enough for a second coat. So I slowly and carefully lined up the pouncer with each dot and dabbed paint into the holidays. Fortunately, 2 coats was all it needed!
I second-coated the bottom half and then worked on culling through my craft “supplies” while it dried. Why, oh why, did I save empty aluminum cans? If I ever came upon the need for a can, I could just eat some green beans and voila, an empty can! They weren’t even special sizes. Needless to say, those were amongst the first to be set in the recycle bin.
I also had some wooden circles from cutting holes in plywood that I had saved with no particular project in mind. But I figured if I ever did need them, I could just cut more with a hole saw. So into the trash can they went.
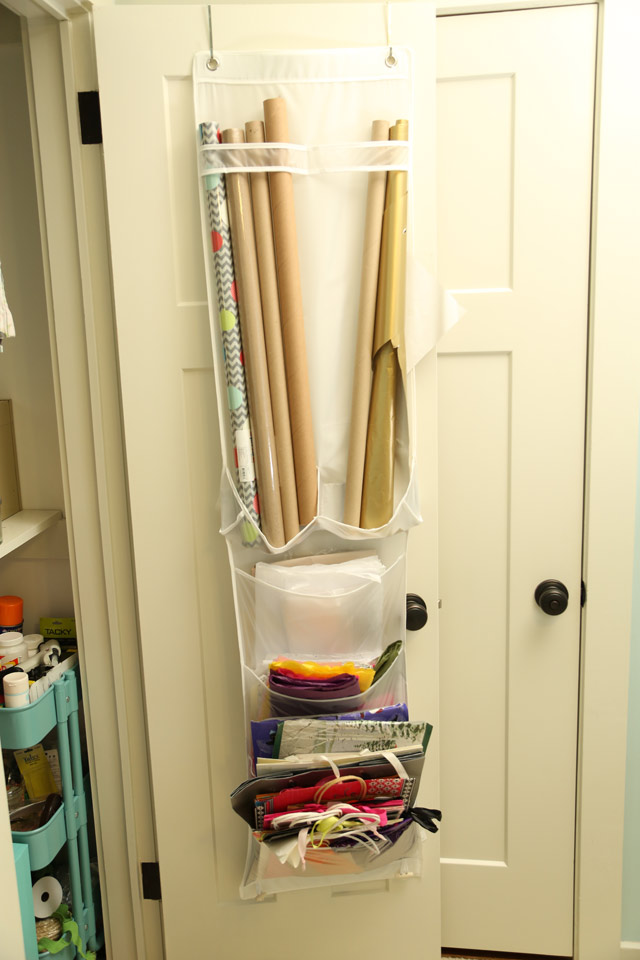
You’ll notice I also store our gift wrap supplies in this closet. Probably around the same time I purchased the teal cart, I ordered these over-the-door gift wrapping organizers from Amazon.
One is for wrapping paper, and the other is for gift bags and tissue paper. They’ve worked well and fit exactly what I needed them to.
Our gift wrapping storage also includes some empty gift boxes. Those I wasn’t ready to part with since they cost so much to purchase new! I broke down one or two for recycling and then stacked the remainder in the corner of the bottom of the closet.
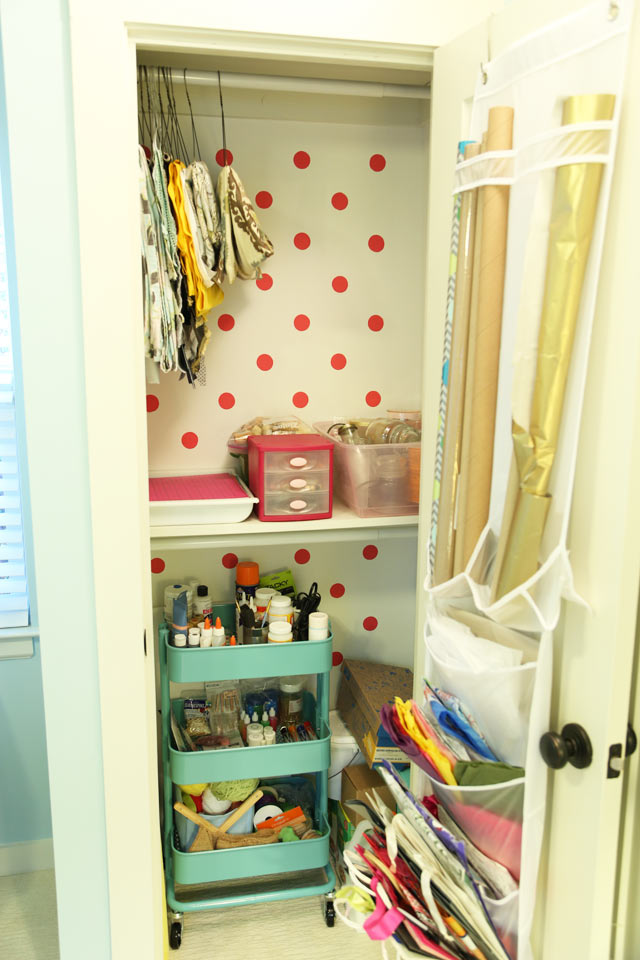
And that’s where I started the reassembly of the craft menagerie. Pretty much everything went back in the same general area it came from. I did center the teal cart so its contents are more easily accessible.
It’s still not 100% glamorous, but WAY more functional. And that’s all I can really ask of any of the overstuffed closets in my house.
I was able to take a few things like candle making gear and jewelry repair gizmos from the cart and relocate them to a small pink plastic drawer thing I had on hand.
I call it a success since it only cost $5(for the paint and pouncers) and an afternoon of my time. And I think I significantly marked this closet as mine with the pink polka dots. No Brandons Allowed!
Who else is tackling a little decluttering around their house? Or are you waiting for spring cleaning to come around? What about surprise accent walls, anyone got one? Please share in the comments below!
Thanks for Checking In! ~ Chelsea



Loved it-good ideas I could use in the foreseeable future. Thanks !
Great! Thanks for reading, Patsy. ~ Chelsea