Adding a Stained Top to a Metal Cart
I love being able to modify something to make it more unique, pretty, or functional. Especially when that something was only $8 to begin with! So when I found this cart at our local Goodwill store, I knew it’d be perfect for my laundry room project after a few modifications.
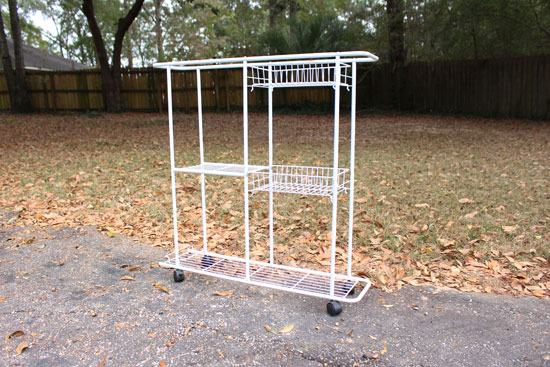
I could have put a lot more time and money into, but decided spray painting it and adding a simple stained wood top to match the laundry sorter would be plenty!
Part of the original plans for this laundry room project included painting the washer and dryer. So the homeowner and I took a field trip to pick out spray paint! We picked up an extra can to coat the cart too.
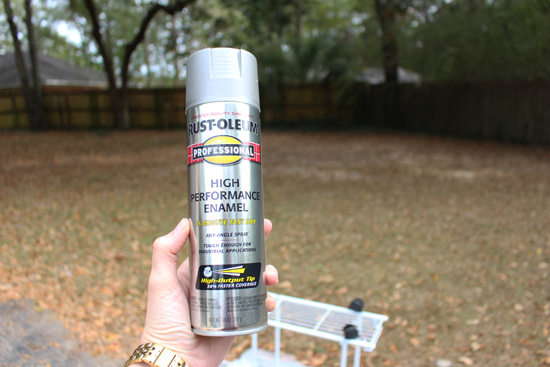
With my respirator on and the cart upside down, I gave it a quick spray of paint. Once it was dry to the touch (this particular paint dries in less than 15 minutes!), I turned it over to spray the top of everything with several light coats. I painted the casters too!
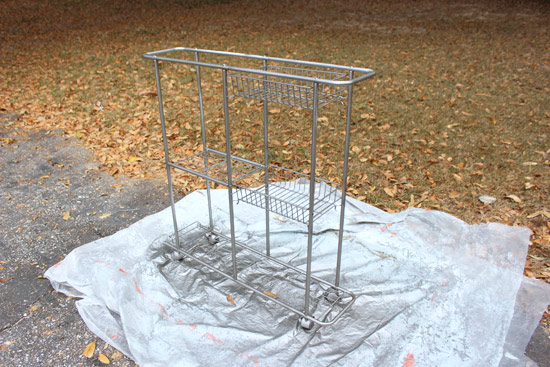
Even though it’s a cart, I don’t foresee it actually being rolled around a lot. So I wasn’t worried about the paint rubbing off of the wheels.
To get the dimensions for the stained top, I measured the depth of the cart (about 32 inches) and the width. But since I would be buying the same type of poplar as the laundry sorter, I needed a standard lumber width. With the washer and dryer situated where they’d be, I determined I’d have enough room to the right of the washer to put a 1×12 on top of the cart. It was cut to the proper length at the store, so when I got it home it was ready to be stained!
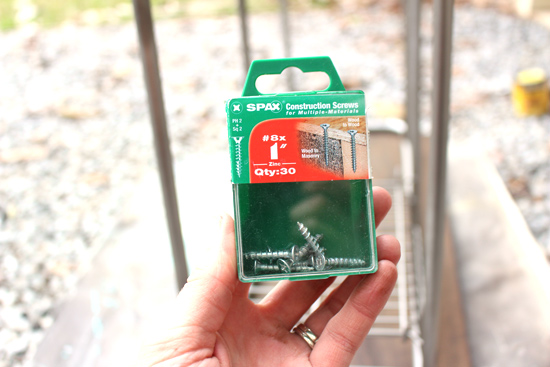
I stained the bottom of what would be the top and let it dry for a little bit while I predrilled holes on the cart itself to attach everything together. To do that, I flipped the cart upside down and used a metal bit slightly smaller than the 1 inch screws I had.

3 holes going down each side seemed to be just right. Also I only had 7 screws leftover from another project so I couldn’t get too carried away! 🙂
With the stained bottom of the top piece facing up, I set the cart upside down on top of it and made sure it was centered before attaching them together.
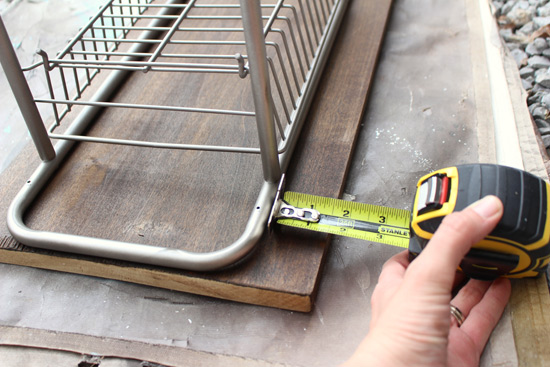
Then I flipped it over and stained the sides and top of the top…

Again I used the same stain as the top of the laundry sorter, Espresso by Minwax. Then it was the usual~let it dry for 8 hours, coat with satin polyurethane, dry, sand, coat again and let it cure for 24 hours before setting, or rolling, it in its new home.
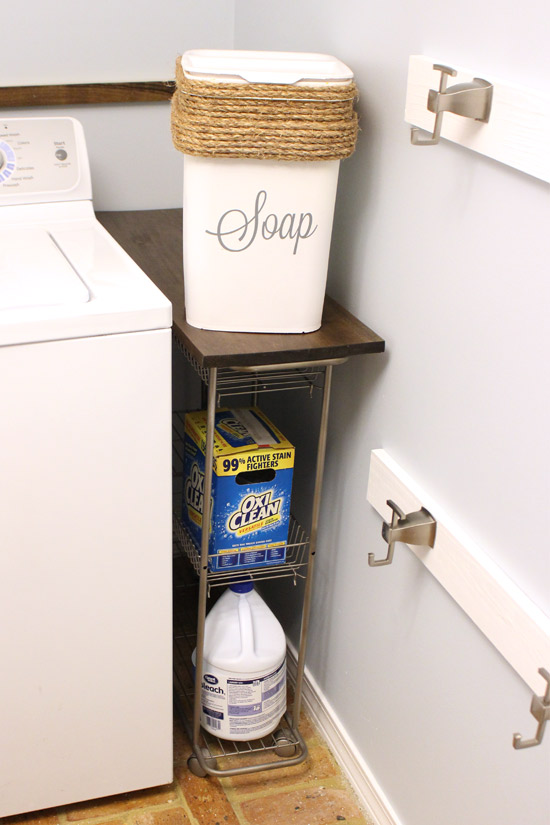
I briefly thought about building something for that small space, but really hoped I could find something to buy that didn’t cost too much instead. This was the perfect, random happenstance to find this cart at the thrift store and have it fit the space just right.
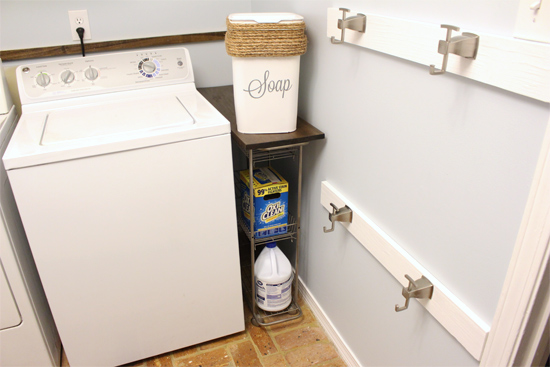
More details on the new laundry detergent ‘Soap’ container coming soon! Until then, have a great weekend! Thanks for Checking In! ~Chelsea


One Comment
Phyllis Callahan
I like your ideas. Especially the dumpster diving, salvaging furniture from the roadside, and keeping the repurposing as inexpensive as possible.
Do you have any ideas to help my kitchen. It’s horrible metal kitchen cupboards make me crazy. My parsimonious Uncle used nasty, not cool old 40’s cupboards, but, ugly, rusty, crudy in dire need of paint or something cupboards. Do you have any good fixes for my problem. I’d love to rip it all out to start fresh. Unfortunately, I have no funds
to create a beautiful kitchen. So all advice is welcome. “Checking In With Chelsea” is full of useful and fun ideas tons if DIY information.
Thanks,
Phyllis Callahan