Going Dutch, Door Style
As a kid I was always fascinated with Dutch doors. It’s so neat to have a door that can function as a regular door or split to keep the bottom locked while the top let’s in fresh air. I’ve seen them as exterior doors and as interior doors in my old daycare. They seem just perfect for anyone with pets or kids.
What I also love about them is how cute they can be. Especially on a backyard shed!
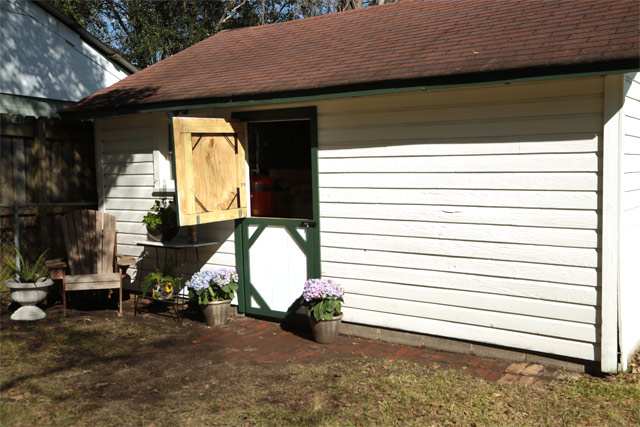
We built this one from scratch since the existing door was in rough shape. If your door is in better shape you can use it instead!
The materials we used:
- (1) 4×8 T1-11 siding
- (2) 2x4x8
- (1) 2x4x10
- (6) 1x3x8
- (2) Homax EasyGate kits*
- (2) barrel bolts
- (1) security barrel bolt
- gate handle
- tape measure
- speed square
- drill/driver
- 1/8″ drill bit
- 2″ exterior screws
- hammer
- 1 1/4″ finish nails
- 4′ level
- circular saw
- exterior primer
- exterior latex paint
- paint brushes
The EasyGate kits are what hold everything together. Plus they also have hinges built-in, so no need to pick up those at the store!
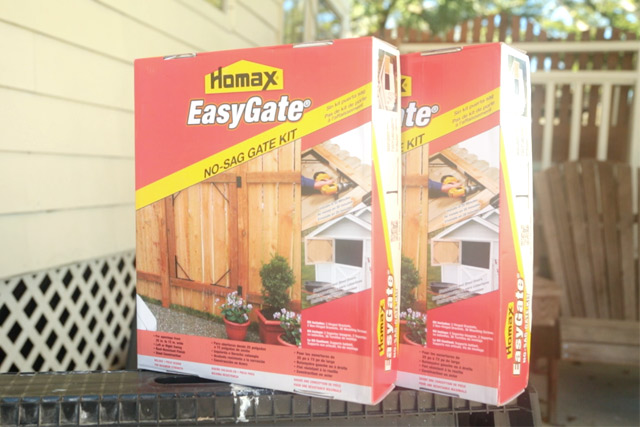
We decided to use a piece of siding as the main component of the door since that’s what was in place before and it looked nice. You could also use a piece of treated plywood or something else similar!
After gathering our measurements, we cut the siding to fit the opening. Then we used our tape measure and 4′ level to mark the horizontal center of the door before cutting it with a circular saw. And just like that we had a Dutch door!
We then began working on the frame of each door half using the EasyGate hardware. One kit for each door. We marked and cut treated 2x4s to fit, starting with the horizontal ones. Secure them to the metal brackets using the enclosed screws and then to the siding using 2″ exterior screws. Then get the measurements for your vertical pieces.
We left a small lip on the side of the door that doesn’t have the hinges when doing our horizontal pieces. Catherine’s door frame had a rather large door stop, so we did not put the 2×4 flush on the edge to leave room for when the door is closed.
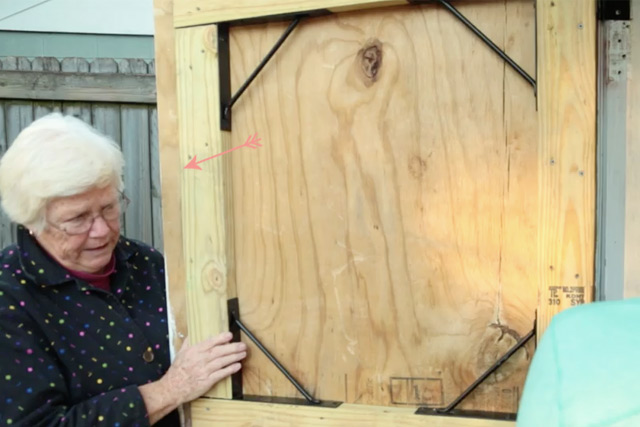
Repeat the process for the bottom half of the door and you’re ready to hang them! It may require a little finessing to make sure they line up with one other and don’t hit in the middle.
With the doors hanging in place, Catherine and I added 1×3 trim around the door opening on the siding of her shed for a frame and then on the door itself for decoration. We even added some accent pieces in the top corners of the top door and all 4 corners on the bottom door. We call it “country cottage chic”. 🙂
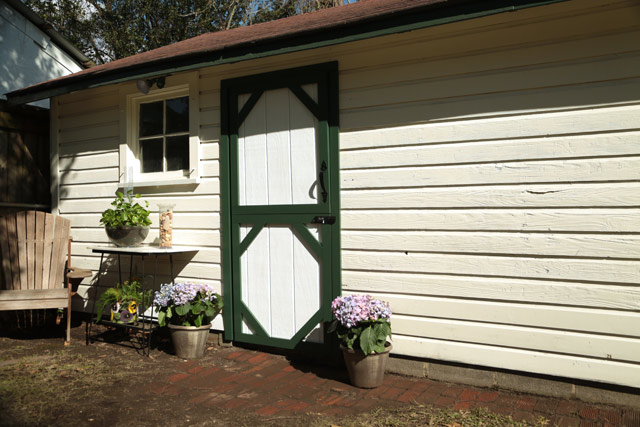
It definitely helps to have the trim pieces primed and painted before installation. Otherwise you’re making it hard on yourself to paint in the corners, especially after the accents are in place. You’ll just have to do some minor paint touch-up after you nail the trim up. But it’s all on the face of the boards.
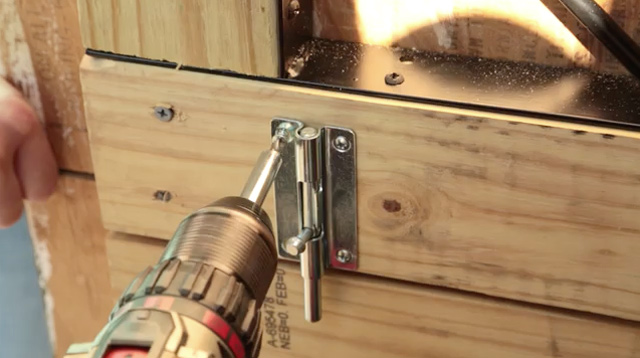
Lastly, we added a few hardware details like 2 barrel bolts on the inside to connect the 2 doors, a gate handle and a larger barrel bolt on the front for a padlock to keep the shed nice and secure.
I think it’s definitely an upgrade from what Catherine had before! And I think she’d agree!
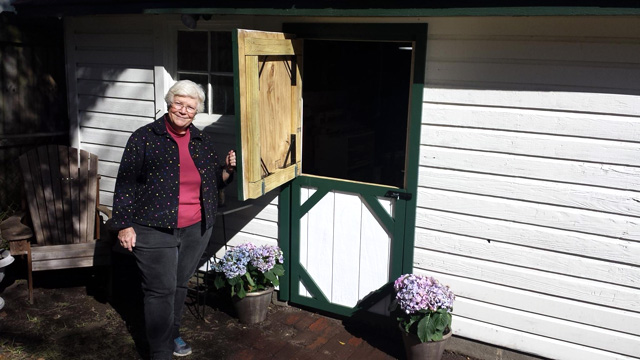
Now I just need to figure out where I can put a Dutch door at my house!
Thanks for Checking In! ~ Chelsea
*This post may contain affiliate links.*

3 Comments
Mary Hahn
What an excellent DIY video. Kudos to Chelsea and Catherine. You girls rock.
Dawn Bratcher
I love this door! Now I just have to figure out where I could use it! Wouldn’t it be great in the nursery?
Ann Sandstedt
Love it. Cant get my hubby to make one in the laundry room.