
Did I Just Build a Console Table?!
Inspired by currently trending raffia-covered furniture, I’m showing you how to build your own TV console table covered in wallpaper for $150!
**I partnered with Titebond for this project which makes me really excited because…I used their original wood glue and ONLY their wood glue to hold my entire table together! What?!**
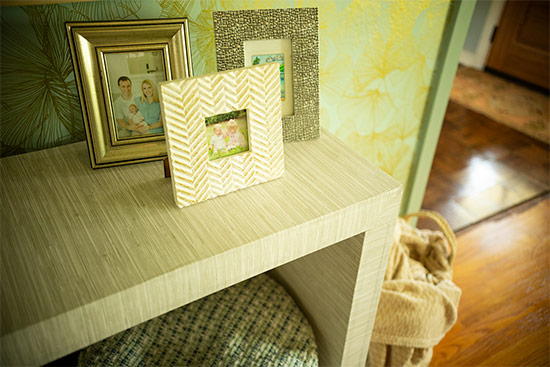
The goal for my house was a tall and wide table without any visible supports that broke up the clean lines. The overall dimensions of my finished table are 70″ wide and 35″ tall. So keep that mind with the materials and cut lists below!
What to Buy
- (1) sheet of 3/4″ plywood*
- (5) 1x2x8*
- Titebond Original Wood Glue* (duh)
- clamps*
- grasscloth wallpaper*
- circular saw or table saw
- miter saw
- sharp scissors or fresh razor blade
What to Cut
1x2s:
- (4) @ 32″
- (7) @ 14-1/2″
- (2) @ 70″
3/4″ plywood:
- (4) 32″ long x 16″ wide
- (2) 70″ long x 16″ wide
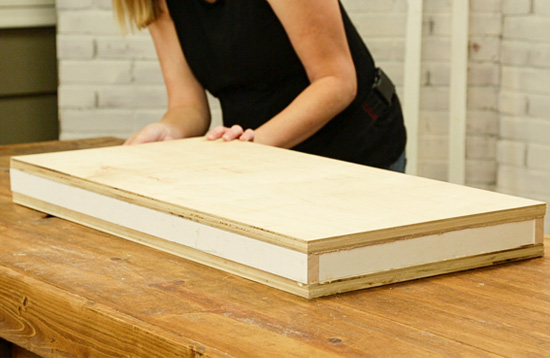
Build Console Table Boxes
Essentially we are creating 3 separate boxes. 2 will be the legs and 1 will be the tabletop.
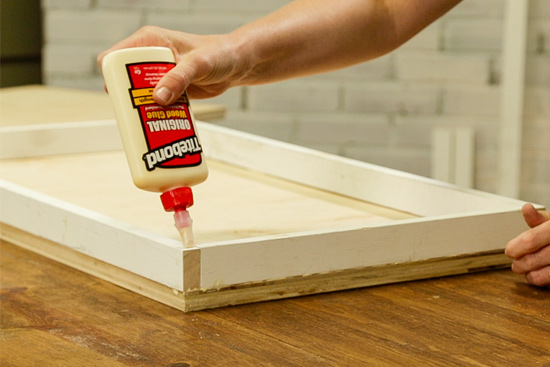
Start with the 2 smaller boxes (legs) to get your feet wet. Lay a 32″ piece of plywood down and add your Titebond wood glue along the top side of all 4 edges. Then lay a 1×2 on it’s side on top of the glue, making sure it’s flush with the edge of the plywood.
The 32″ pieces of 1×2 will go from edge to edge of the plywood while the 14.5″ pieces should fit snuggly between.
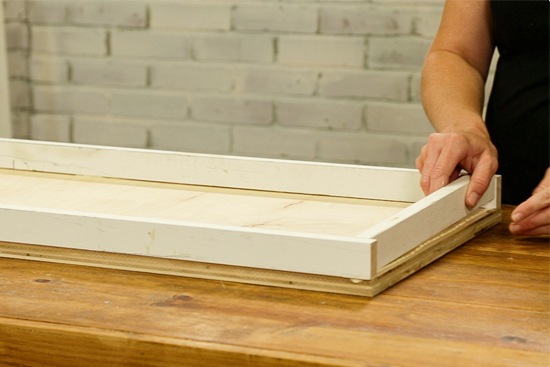
Once you have the 1x2s lined up on the edges just so, run a bead of wood glue on the top of them.
Gently set another 32″ piece of plywood on top. Now your box leg is complete!
Repeat for the other leg, using a few clamps if necessary to create super tight joints!
You’ll follow the same steps to create the tabletop, only you’ll add an additional 14.5″ 1×2 support somewhere in the middle. This will help keep the long 1x2s from sinking in and add overall stability to the table.
Waiting Is the Hardest Part
If you’ve ever tried to pry wood apart that’s been glued with Titebond, even for a few minutes, you know it’s basically impossible to do well.
And that’s why you don’t need any nails or screws to hold your table together. Wood glue, when fully dried and cured, is actually stronger than fasteners! So crazy but oh so true!
Let your 3 boxes dry and set up for at least 30 minutes before moving on to the next step.
Add Legs to Tabletop
Assuming your floor is level, set your leg boxes upright, approximately 70″ apart. Apply ample amounts of wood glue to the tippy top of your legs and gently set the tabletop in place. Adjust the top so it’s flush with the outside of your leg on one side before adjusting the other leg.
For a table this large, it would be helpful to have a friend or spouse hold the good side in place while you manipulate the other side. But with a few back-and-forths, you can handle it yourself too!
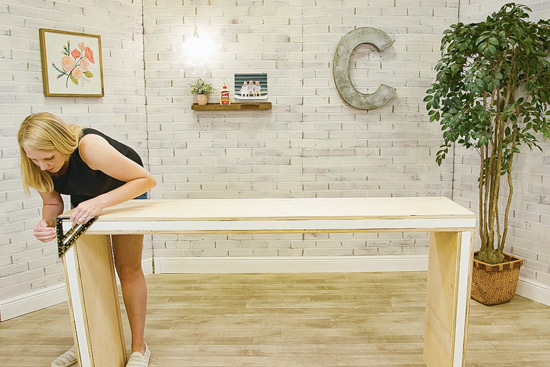
I used my well-loved speed square* to make sure the legs were at 90-degree angles. Not a bad tool to have in your arsenal if you don’t have one already!
When you’re satisfied with your leg situation, let it sit for about 30 minutes before you start covering everything in wallpaper!
Adhere Wallpaper to Console Table
I love the texture of a raffia or light-colored wood table. And after a friend shared an inexpensive peel and stick wallpaper she used that looked like faux grasscloth, I knew I could use that to create the texture I wanted for this piece of furniture.
I also wanted the table to look like one slab of wood. To create that affect with the wallpaper, I started at the bottom of one leg, took it up and over the top, and then down the other leg without any cuts or seams. I also lined it up with the back edge of the table so it could fold and go down the front edge without any seams.
Hopefully the video better illustrates how I handled the corners, so watch it above! I had the paper that came from the tabletop under the paper from the legs. Then I scored on the paper itself the 45 degree angle from the inside corner to the outside corner of the wood structure. I cut any excess paper from the top then stuck it down. Next I cut the layer of paper coming from the legs along the line I just scored. So when everything was laid flat and stuck down good, it looks like my legs and tabletop were mitered together.
Originally I planned to carefully trim the excess at the end of the front edge, but since it folded so nicely without any bubbling, I folded the inch or so excess and stuck it to the inside of the table.
And that got covered up next with another run of wallpaper. I bought enough wallpaper (2 rolls) to cover the inside of the legs and the underside of the table top. And since I was less concerned on the underside about seeing seams, I covered them individually and ended up not covering the underside of the tabletop itself. You really can’t see it during everyday use and it saved me $27 by not opening the second roll.🤷♀️
Oh and for the legs, the inside wallpaper was flush with the front edge so the excess was just folded over and stuck onto the back of the legs. Yes it looks unfinished from the backside. BUT WHO CARES?!

The only place I needed to trim wallpaper was at the base of the legs. I propped up one leg at a time with a scrap piece of 1×2 so I could trim it as precisely as possible. I didn’t want any sliver of wood showing and giving away my table’s secrets!
About an hour or so after completing the table, there was still a little wobble to it if you shifted it side to side. But after leaving it alone overnight, the wiggle was gone and this table was sturdy, stable and ready to move to its new home!
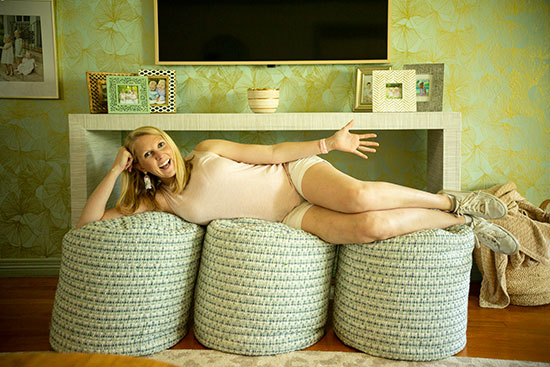
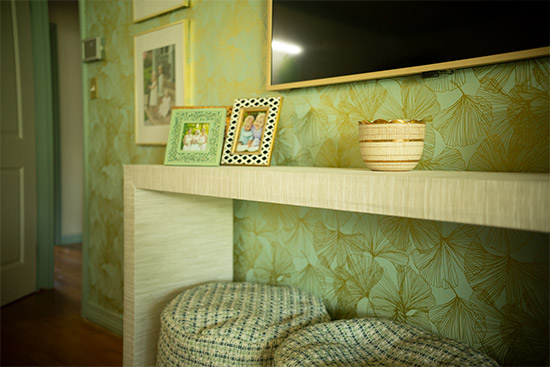
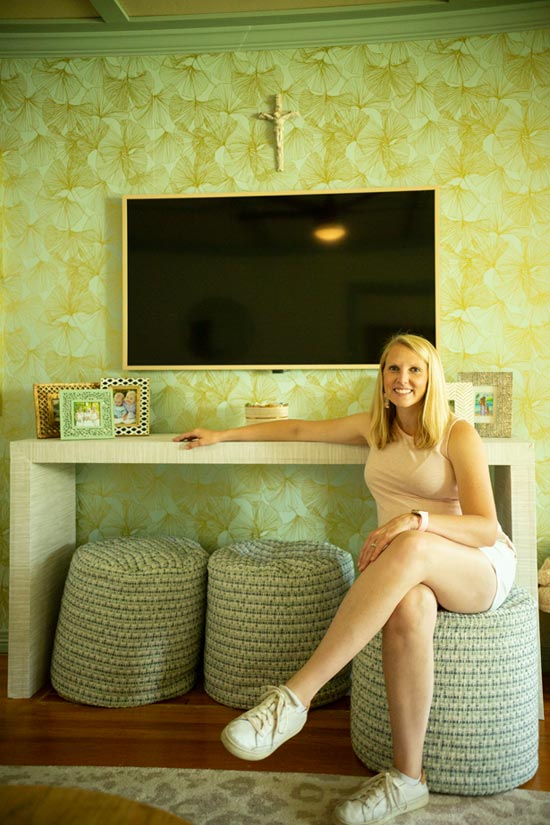
I ordered our poufs from Home Depot* to serve as decoration AND additional seating. They are like sophisticated beanbag chairs and the kids have already pulled them out to sit and roll around several times!
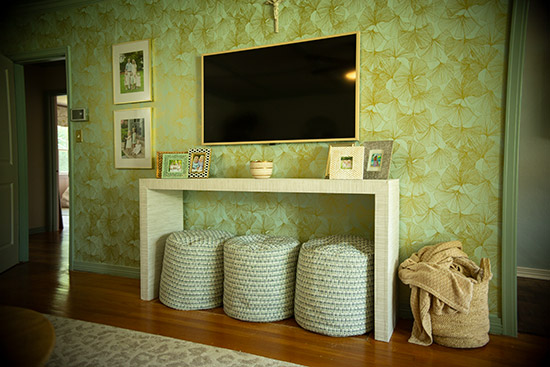
The wallpaper* behind the TV and console was recently hung to create an accent wall. I like it by itself but I’m still trying to figure out if I like the room as a whole with the wallpaper in it.🤔
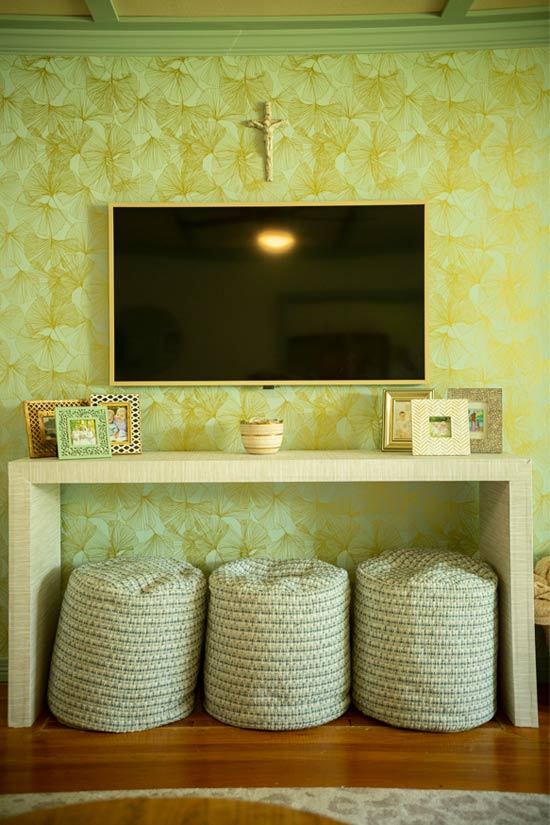
But we do love the sleekness of our Frame TV*! It was a splurge we treated ourselves to when our previous house sold for way over asking price. Now I’m thinking I might brush some gold paint on the frame to match other gold frames in the room. The projects and ideas never stop around here! Ha!
Thanks for Checking In! ~Chelsea
*This post contains affiliate links.*
2 Comments
Nancy
You did a great job on this project…looks really nice!
And I have to add I love your shoes!
Chelsea Lipford Wolf
Thanks Nancy!😍 ~Chelsea