Built-In Window Seat
Ever since I renovated my house back in 2012 and added closets in the 3rd bedroom, I’ve wanted to build a seat under the window between them.
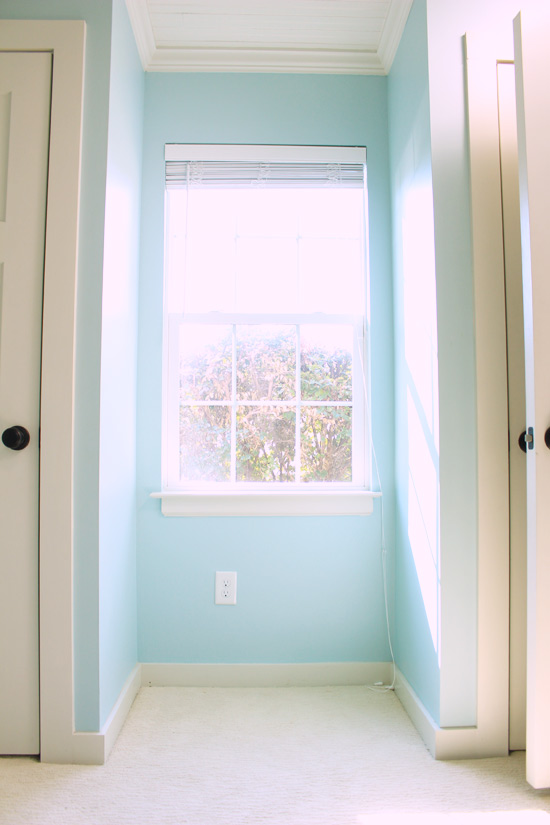
So once we found out we were expecting a baby boy and decided that room would be his nursery (I mean it was already blue!), it was time to build that seat! I recruited my dad to help me out and the rest is history…err…in the video above.
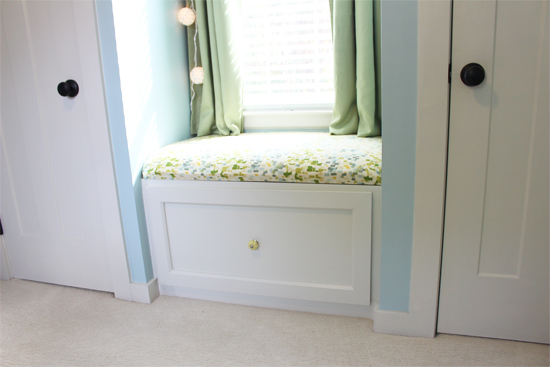
To start, here are the materials we used for this project:
- 3/8″ plywood
- 1x4s
- 2x2s
- tape measure
- table saw
- miter saw
- 120-grit sandpaper
- wood glue
- finish nailer
- level
- paint & brush
- painter’s putty
- drawer glides
- drill/driver
- drawer knob
- staple gun
- foam
- fabric
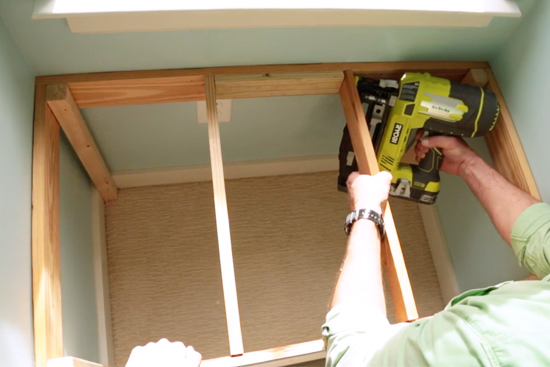
Since the baseboards in this room, and throughout my house for that matter, are 1x4s, are first step was to install more 1x4s at the height we wanted the seat to be. Then we used 2x2s, installed vertically, in each corner. Everything was nailed in place with 2 inch nails in my battery-powered nail gun. An old-fashioned hammer and nails would work just fine too! None of the above needs to be primed or painted because it’ll be inside the seat.
Next we installed a primed 1×4 flush with the existing baseboard across the front of the new seat. It is nailed through the front into the 2x2s on either end.
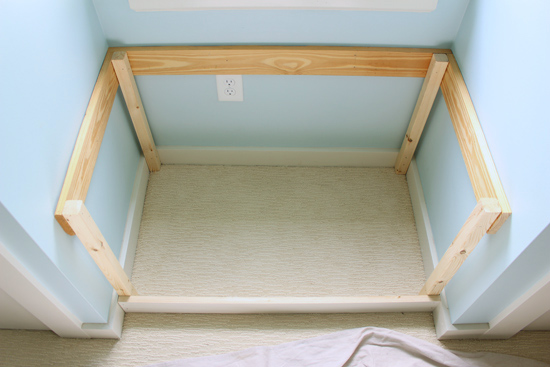
Then we ripped the remaining ‘face’ boards out of a 1×4 to match the width of the thickness of a 1×4 plus a 2×2, which is 2-1/4 inches. This will cover up the 2×2 structure on each side with a pretty piece that will be painted with everything else. At the same time we installed a 1×4 horizontally between these verticals, making sure they were flush at the top.
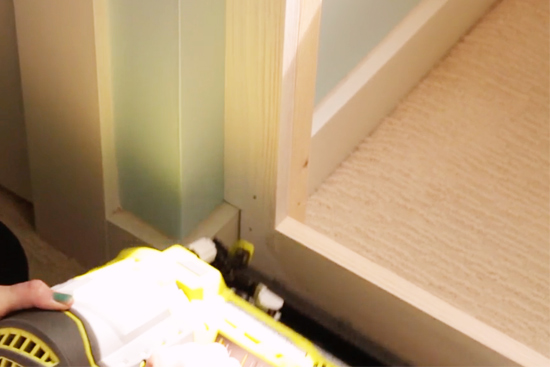
To create support for the actual seat, we nailed 1x4s perpendicular to the face of the box. Also, see in the photo below how Dad added a short piece of 1×4 to the back to give us something to nail the back of the supports to.
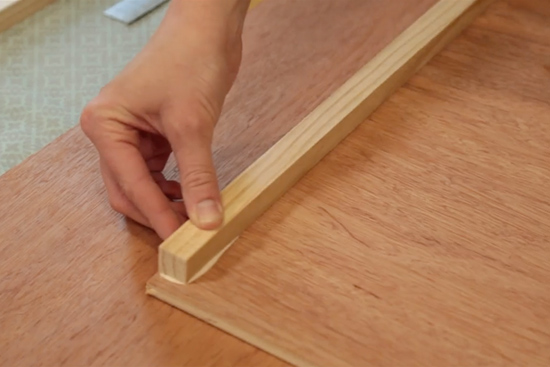
We used the 3/8″ plywood and 1″ nails to create the drawer that will slide into our freshly-created seat. The overall width of the drawer needs to be at least 1 inch smaller than the front opening of the seat to allow room for the drawer glides that will go on last. We also made small 3/4″ thick sticks that we glued in the corners to, again, give us something to nail to. This gives the drawer so much more strength and durability. (This was totally Dad’s idea, but doesn’t mean it isn’t a smart one!?)
Speaking of glue…we used Titebond III Exterior/Interior wood glue. I love that I can use it on both inside and outside projects, so I only need one kind of glue in my shop.
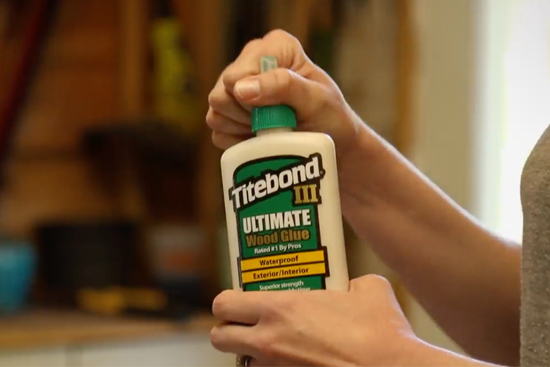
**This episode is sponsored by Titebond, however, all opinions of its performance are 100% my own!
To build the front of the drawer, we made a simple frame out of 1x4s and attached a piece of plywood to the back. That plywood will slip into the front of the drawer and complete it.
Before we primed and painted the face of the drawer, we drilled a hole for our knob and then sanded the whole thing. We also attached the drawer glides according to their directions. To attach the glides inside the seat box, we attached some leftover material to the 2x2s. And then screwed the glides to that.
To make our cushion we used more of the same sheet of plywood cut to the width and depth of the top of the seat box. Then followed the same steps that my husband and I did when we made the bench for our room a few years ago.
The cushion is not currently attached to the seat box, but we can always do so if it becomes a problem with the kids!

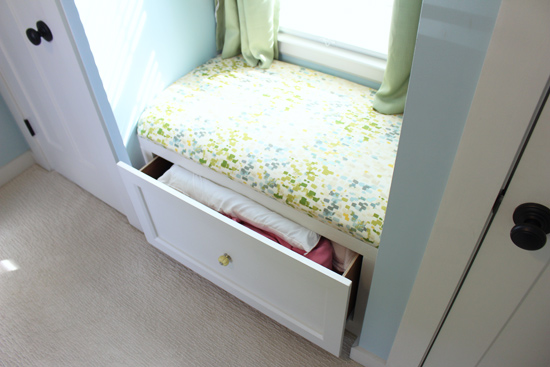
For now, I’m storing extra pillows and blankets in the drawer. We’ll see how this space transforms over the months and years ahead though!
I loved the sweet tool belt Dad gives Gus at the end of this video, so I hung it in his room as part of a gallery wall. A post on that coming real soon!
As always, ask any specific questions you may have in the comments. I read every one!
Thanks for Checking In! ~Chelsea

9 Comments
Mary Alice Beatson
Love the personal touch of having your Dad work with you! Trying to find the grab bar installation sector because I need one of these in my tub/shower.
Chelsea Lipford Wolf
Thanks, Mary Alice! ~Chelsea
Joan byrd
My name is Joan Byrd, my question is the nail gun, is it that easy to use, n what size nail do you use for this project. How longer is the nail, because it looks like the wood piece are longer in spots, My husband won’t let me use his tools,
Stephanie Greenwood
Love this sweet family project. The seat looks like the perfect addition to the space, and will be great for a reading nook down the road. And who couldn’t use more storage? Thanks for sharing the how-to!
Chelsea Lipford Wolf
Thanks, Steph! ~Chelsea
Janice Martin
I just want to say, that I loved the father daughter banter, and then grandson’s tool belt
Chelsea Lipford Wolf
Thanks Janice! The tool belt is now hanging on the wall in his room! 🙂 ~Chelsea
freidia Martindale
Love All That You Do!
Can’t wait to see more of Gus!
freidia
Chelsea Lipford Wolf
Thanks, Freidia! He’s a cutie for sure! 🙂