Trimming Right Along
I’m slowly making headway on my living room upgrade. Since I want to wait to pick out a paint color for the walls until after we’ve purchased a new couch, I thought adding new trim around our bare windows would be a timeless addition. So that’s what I started on a few Saturdays ago.
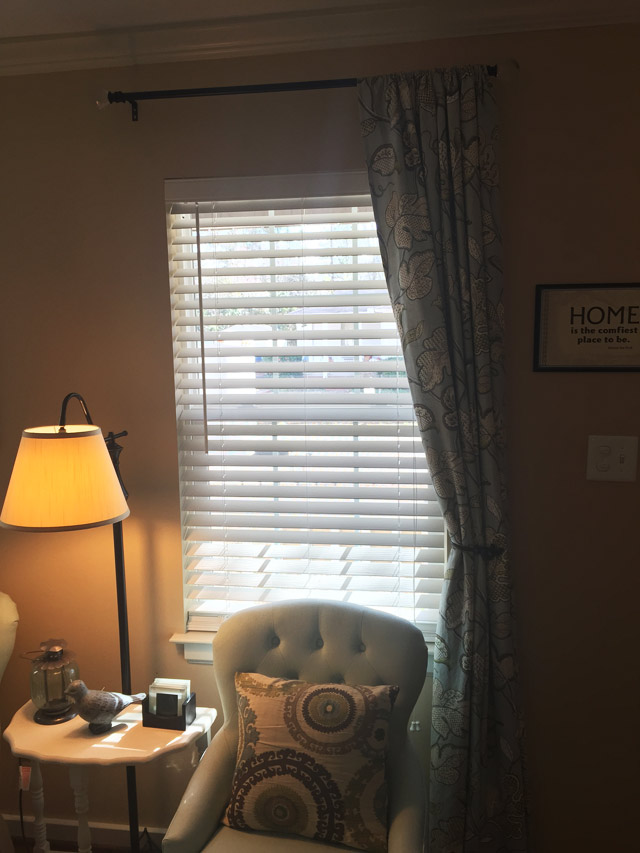
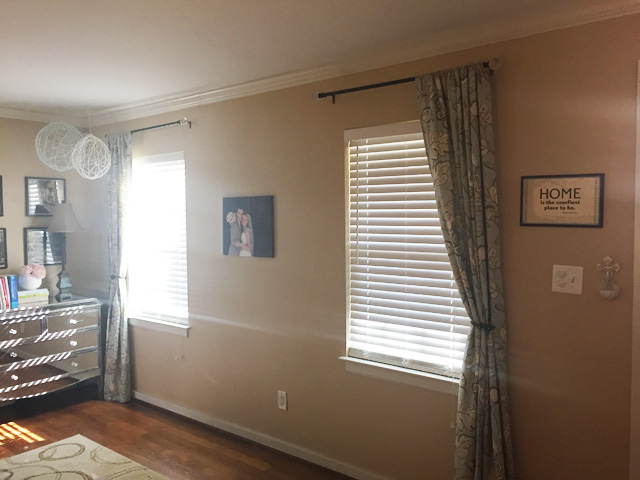
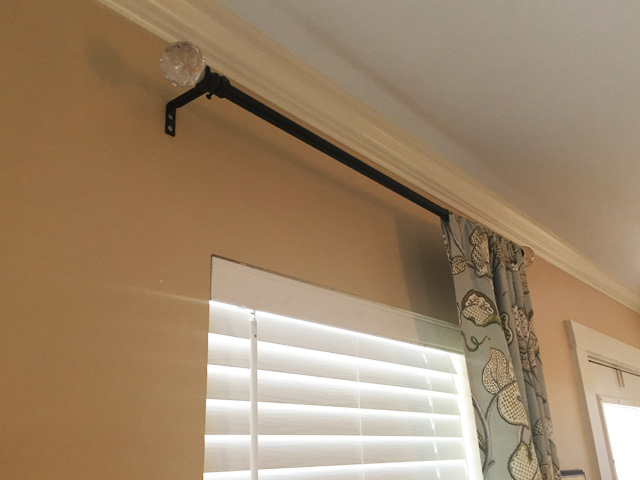
Here’s what I started with:
Forgive me, but apparently my living room is under-lit to be able to take decent pictures when it’s sunny outside!
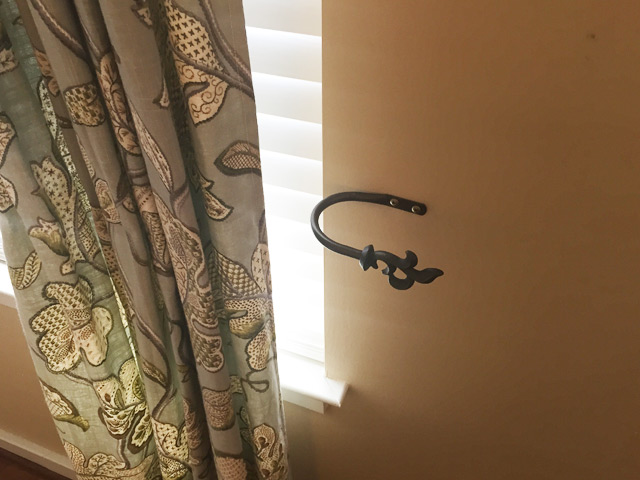
Before I could get started, I had to remove the curtain rods and tie backs since they would be interfering with my new trim.
I bought all of my materials after some serious measuring and figuring the Friday before so I’d be ready first thing Saturday morning. But then I realized I had my regular volunteer gig AND we had a meeting for our young adults group right after. So after returning home, eating lunch, and resting for a few, I didn’t actually get started until around 2 PM. And for a morning person like myself, that’s a real momentum killer!
I already had an idea of what I wanted the finished trim to look like. But since my house could be described as Craftsman style, I did a little research on what makes up Craftsman window trim. Some were simpler than others, but I narrowed it down to the look I was going for and planned according. The gist of which is a 1×4 on each side of the window, a small piece of trim sitting on the 1x4s with a little overhang on the sides, a 1×6 on top of the that followed by small bed molding.
With all of my research, I couldn’t find very much information on how it all goes together, just some sketchy pictures. So with the few decent pictures I was able to find, I made it up as I went. My dad gave me the suggestion to trim a little off of the stock material to give it a more custom look. So that’s where I started.
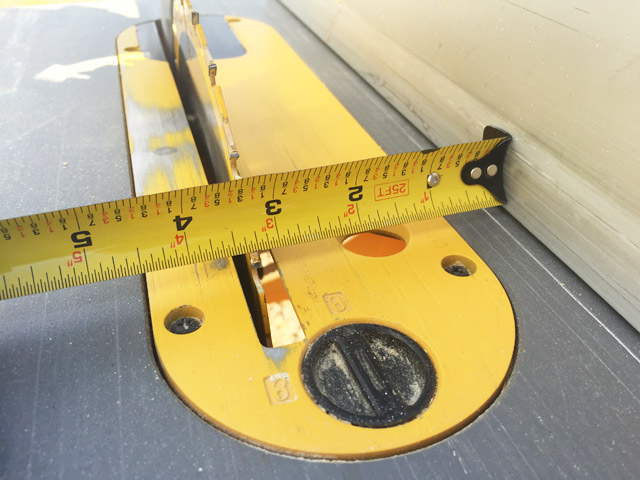
After adjusting the blade to 3 1/4 inches, I ripped all of my 1x4s. Then I adjusted the blade to make it wider to trim a little off of the 1×6 as well. Once the width was good, I used the miter saw to cut EVERYTHING to length.
The 1x4s are the length from the existing window stool to the top of the drywall return. Then the 1×6 was cut to the width of the window plus the width of (2) 1x4s plus an 1/8-inch reveal on each side of the window. The total width for my 1×6 was 37 3/4 inches.
I also cut a 1×4 the same length as the 1×6 header for the apron that goes under the stool. Next I cut the little piece of trim that sits on top of the side 1x4s using a stop moulding I found at the home center. It was cut with a 3/4-inch overhang on each side, so 1 1/2-inch longer than the 1×6 header=39 1/4 inches.
The 1×4 and 1×6 material I bought was raw wood, everything else was pre-primed. So once that material was cut, I primed it with a stain-blocking primer to make sure the knots of my cheaper lumber wouldn’t show through.
While they were drying, I worked on cutting the stools. This is the most unfortunate part of adding window trim. Even though I didn’t have existing trim on the sides, there’s always a stool and apron on a window. So I had to tear out perfectly good trim in order to add trim all around. This is because the new trim on the sides would have stuck out way past the existing stool had I left it in place. Boo!
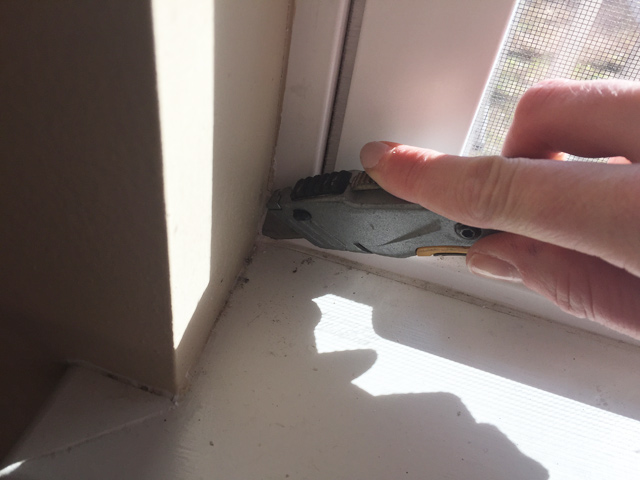
To help me measure and visual the finished product, I first removed the old stool and apron using a razor knife to cut the old caulking and a crow bar and hammer for persuasion.
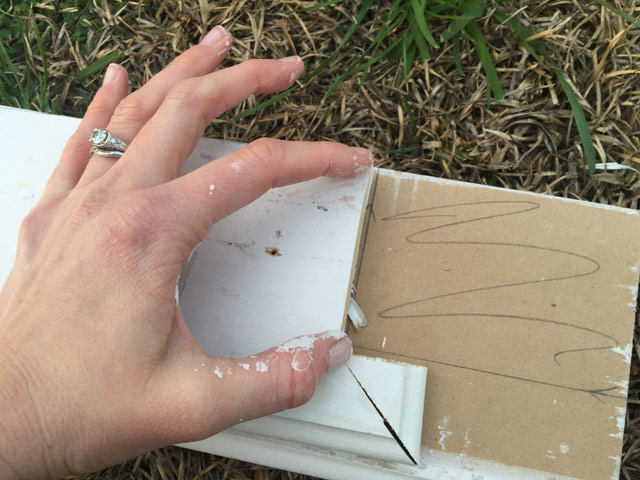
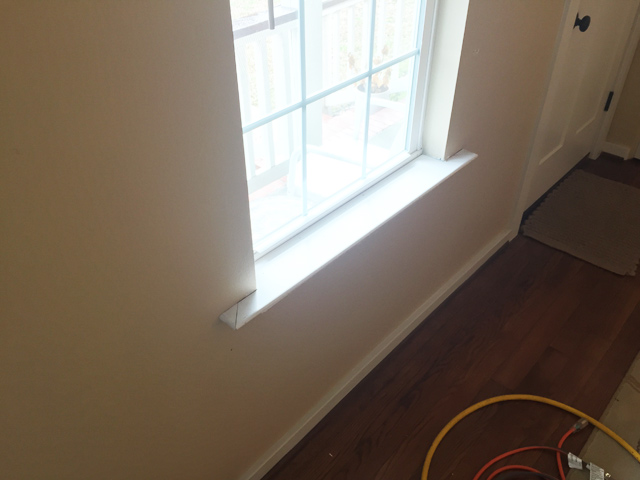
I measured the new stool so it’d have a 1-inch overhang on each side of the installed 1x4s, which includes the 1/8-inch reveal on each side I mentioned earlier and I’ll show later. So after the straight cuts to make my 2 stools, I flipped them over and laid the old stool on top to mark my recess that actually sits on the frame of the window.
The old stool had been ripped down from its original width when it was installed a few years ago, I guess so it didn’t stick out past the drywall too much. But I left the new one at the full width. The window frame was 3 inches, so I used a speed square to mark the 2 sides of the corner that needed to be cut out.
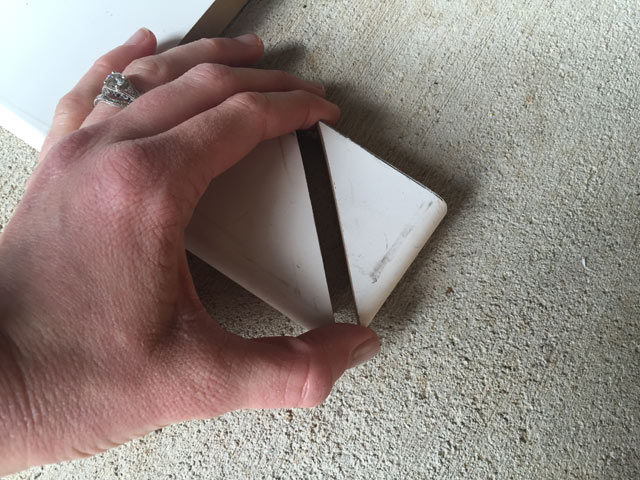
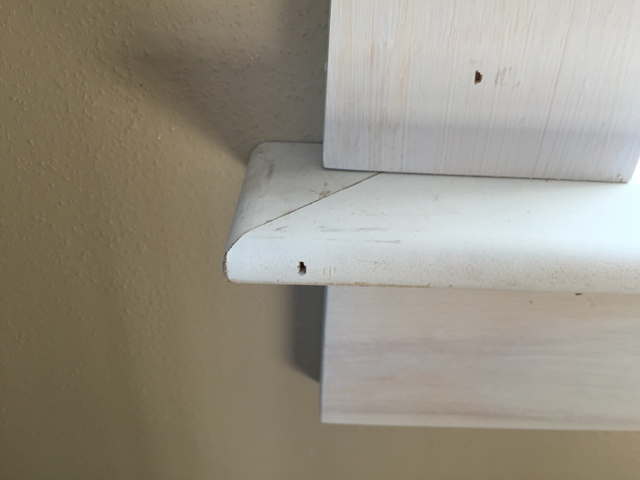
Then I used a jigsaw to cut along the line to create the notch. After that I used the speed square again to mark a 45-degree angle on the corner that was left intact on both sides. I also cut that line with the jigsaw. Then using some leftover stool material, I cut a 45 using the rounded-over edge to create a nice edge on both sides.
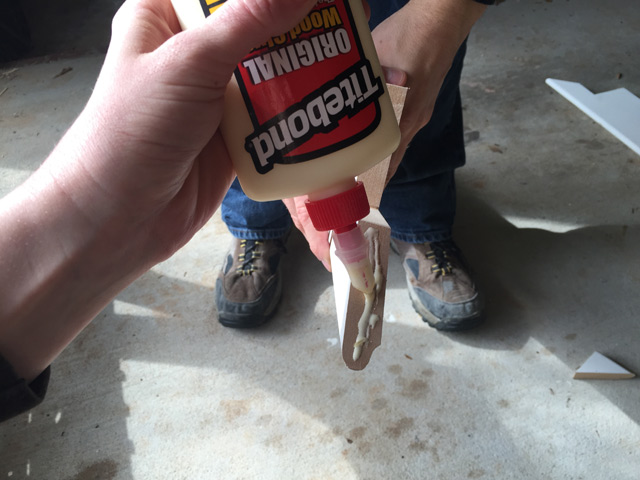
Whenever I’m working with wood-on-wood contact, I use a little wood glue in the middle. So I applied some to secure the new edges.
We let the glue set up a little before setting the stools in place and nailing them with 1 1/2-inch finish nails. I used a nail gun for this, but it can also be done the old-fashioned way! Unless you let the glue dry completely, the little edge pieces will probably fall off with the ruckus of nailing. So before nailing the stool to the frame, hold it in place while you nail the small, side piece into the stool. Then proceed on.
After the stool is in place, everything else starts coming together! Until this point, I had been cutting and painting, but wasn’t able to install anything until the stool was installed.
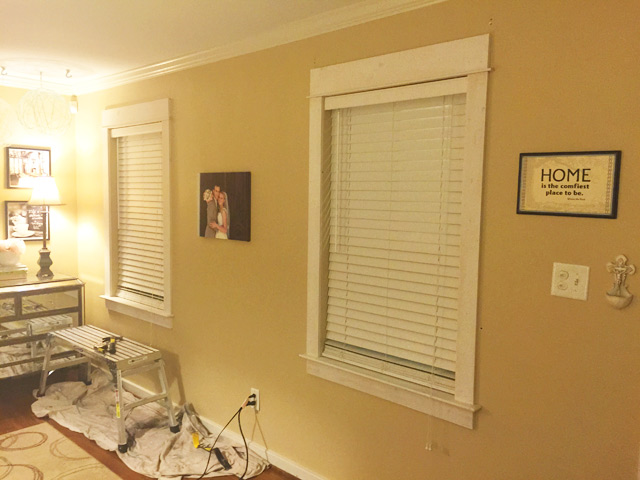
Earlier I mentioned an 1/8-inch reveal. This is to more closely mimic the look of a window that’s trimmed during installation. If you were planning to trim your window when your windows were installed, there would be a piece of wood instead of drywall butting up to the window above and on both sides. So I left an 1/8-inch of drywall between the window and my 1×4 side pieces. I used the same 1 1/2-inch finish nails from installing the stool to nail the 1x4s.
The drywall inside the window will later be painted the same as the trim to really pull off the faux wood look.
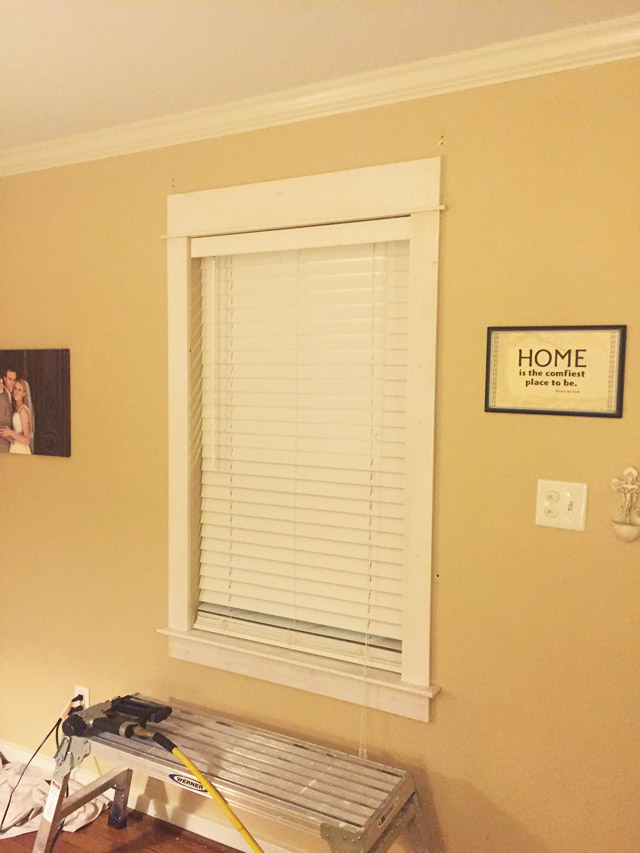
Next came the stop molding. I centered it above the window and put a nail from above, down into the 1×4 on each side of the window. Then I held it level and shot a nail from the face of the stop molding into the drywall near the middle so it wouldn’t get saggy with time.
I centered and nailed the modified 1×6 on top of the stop molding to create what I’m calling the “header”. And that’s where I left it for the next few days.
I considered leaving it like this and not installing the bed molding I originally planned to add at the top. It already looked so much better than the nothing that was there before and I’ve never tackled any type of angled molding like crown or bed before. So the thought of that was a little daunting! But I didn’t want to stop short of greatness! After a few afternoons of searching online and a lot of trial-and-error cutting, I couldn’t figure it out.
I resigned to the fact that my window trim would be unfinished until I could beg my dad to stop by and cut the bed molding for me. But not without one last effort of some good ol’ Googling. And that’s when I found a terribly-produced video on YouTube that explained just enough for me to know what to do! Alleluia!
And that’s where I leave you for today.
Since I had such a hard time finding a good how-to on cutting crown molding (bed molding is just a small version of crown), I wrote a separate post on how I figured it out. You can find it here.
After that, I puttied all of the holes I made before I painted it and marked it off the to-do list! Is anyone else working on window trim? Or tackled it in the past? Let me know in the comments below!





One Comment
Cynthia Yarbrough
Thank you very much! This came in very timely. More power to your show.