When you find a perfectly good play kitchen on the side of the road, you can’t not pick it up! Am I right?
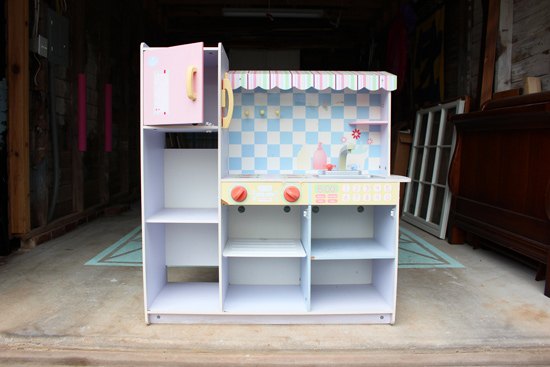
My mom spotted it while walking in her neighborhood and called me up. I was there 15 minutes later loading it in my trunk! (With some assistance from its previous owner.)
And this isn’t my first time picking up treasures off the side of the road! Check out my bar cart upcycle here.
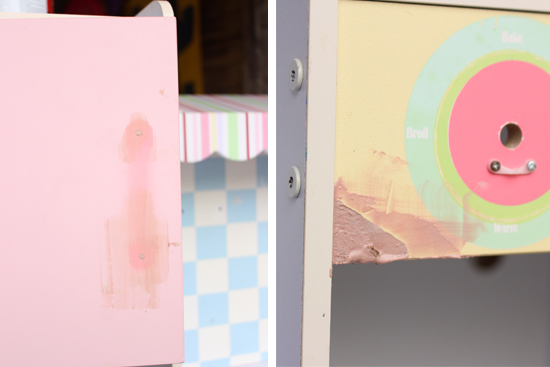
Once I got it home and unloaded, I realized it was actually missing a lot more than I had originally thought. Only 1 of 4 doors was still in place.

It seems this little kitchen was well-loved and well-used since it looks like the other doors had been opened and closed to death leaving behind holes where the hinges were ripped out.
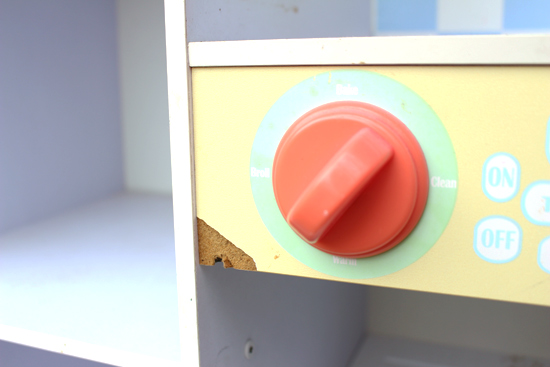
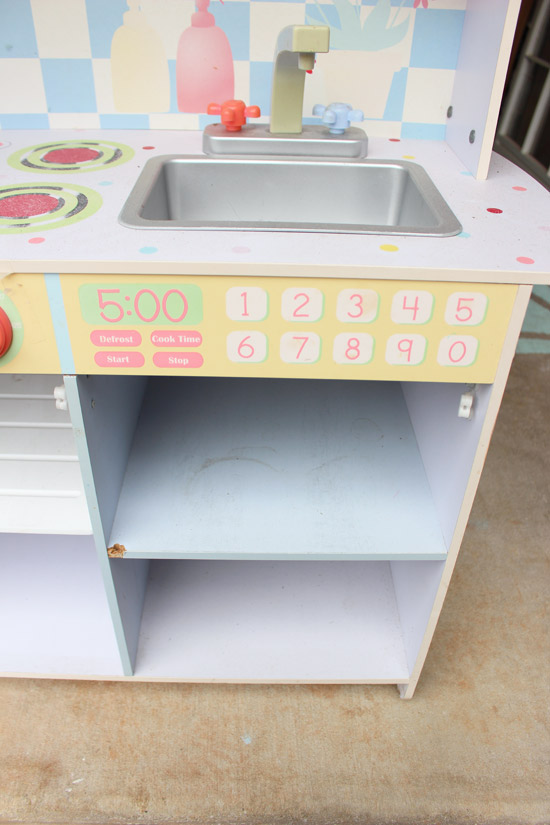
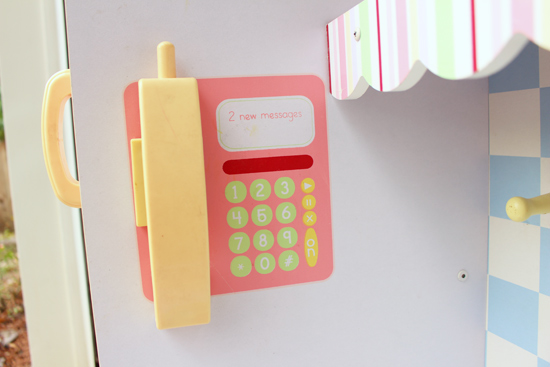
And everything else had faded long ago and just looked tired.

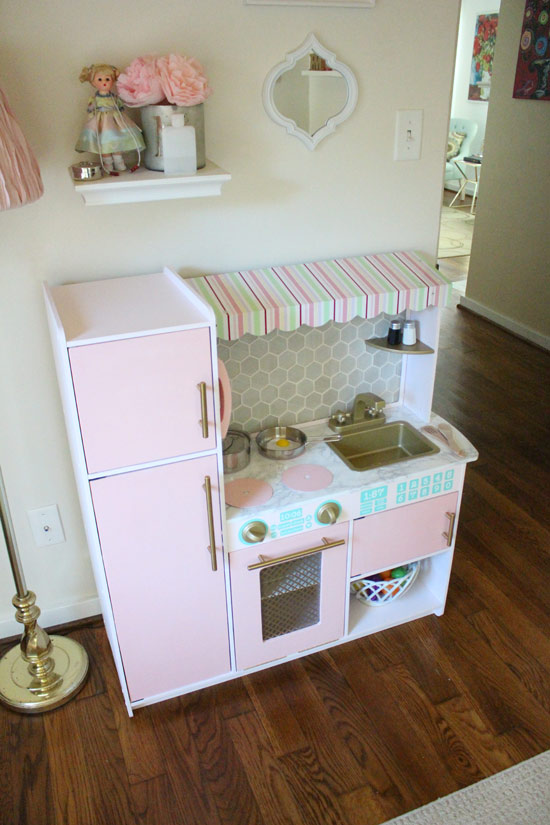
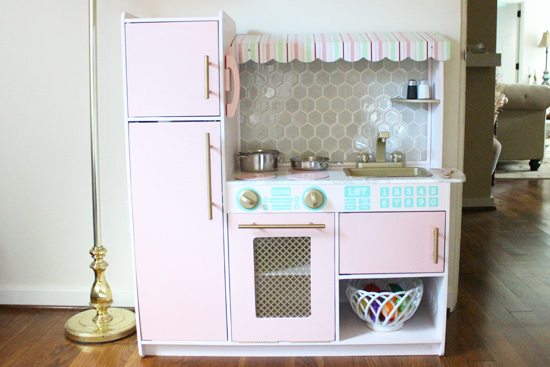
So this became a more extensive kitchen renovation than originally planned. I decided to keep the main structure and repaint or recover EVERYTHING. It was a labor of love, for sure. But now I get to look at this in my daughter’s room every day! 🙂
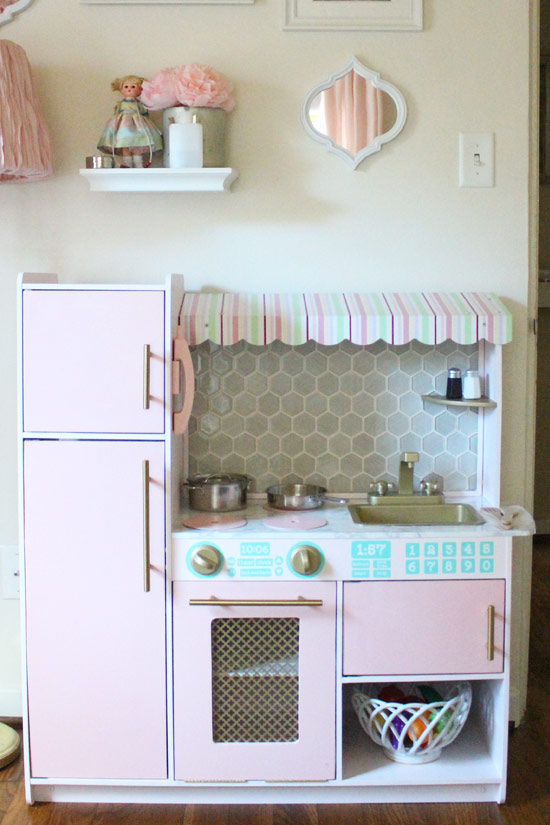
At first I was planning to make it over in time for her birthday in October. But time got away from me and I didn’t get started until December. So a Christmas present it became! And while she may be a little young to ‘play house’, you’ve got to take advantage when a free opportunity knocks! And it looks a heck of a lot better fixed up in her room than it did taking up storage space in my already-crowded garage.
Here’s what I did to take it from before 🙁 to after 🙂 !
- Removed everything-sink, faucet, old handles, shelf, etc.
- Filled old holes with Bondo, sanded, and then re-filled as needed
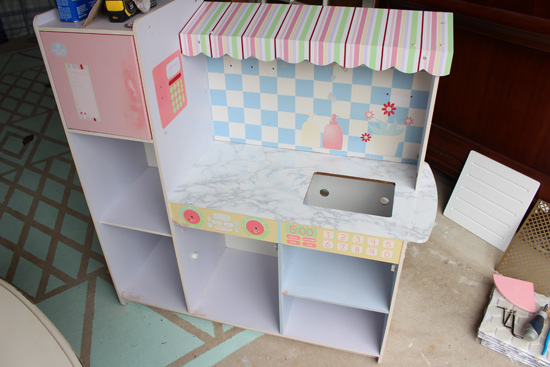
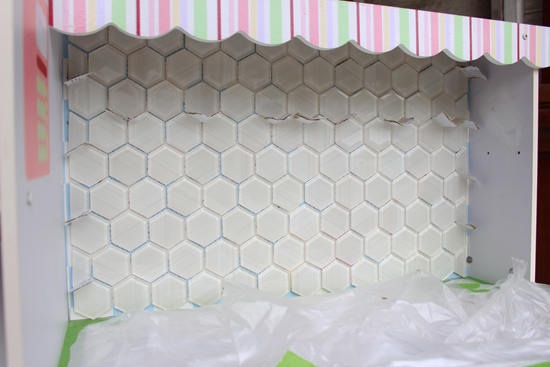
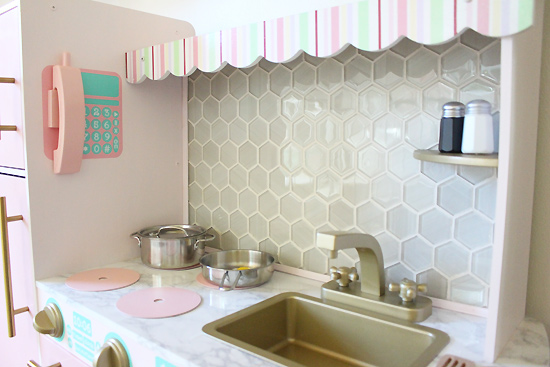
- Added a tile backsplash with gold glitter grout
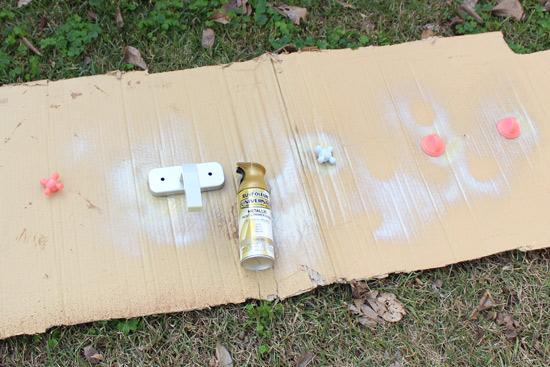
- Spray painted faucet, sink, and oven knobs gold
- Made new oven, microwave, and fridge doors with 3/8″ plywood

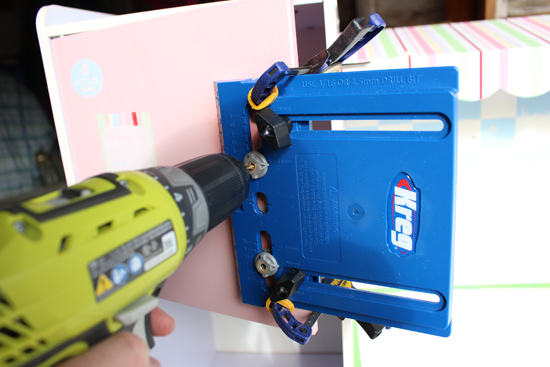
- Drilled holes for new cabinet pulls
- Cut a window in oven door using the oven shelf as a template and a jigsaw

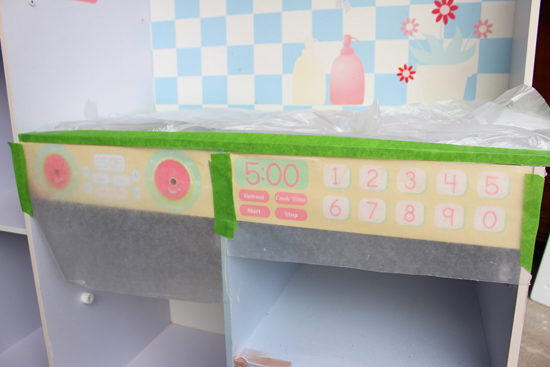
- Traced oven controls, microwave controls, and phone buttons on wax paper
- Painted the entire structure light pink and doors a slightly darker pink (colors listed below)
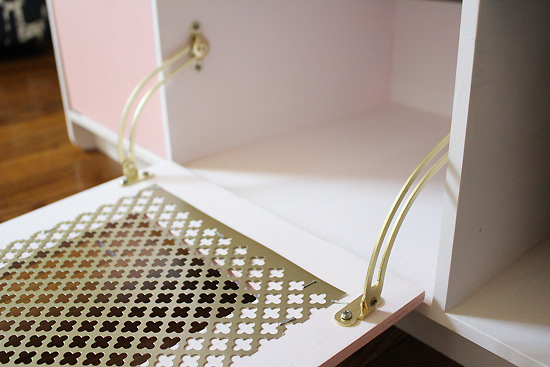
- Installed new gold bar pulls, pivot and piano hinges, and plastic friction catches on doors
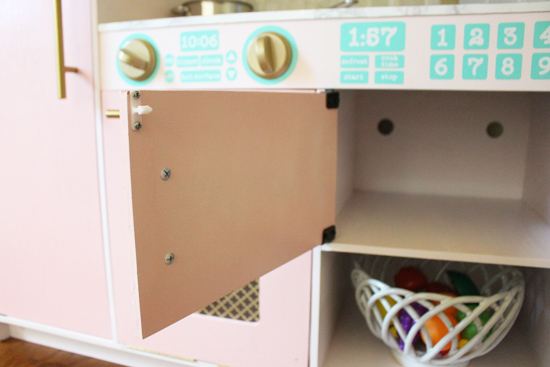
- Cut, painted, and installed thin trim around tile backsplash
- Cut new oven/microwave/phone buttons on sticky vinyl with electronic cutting machine
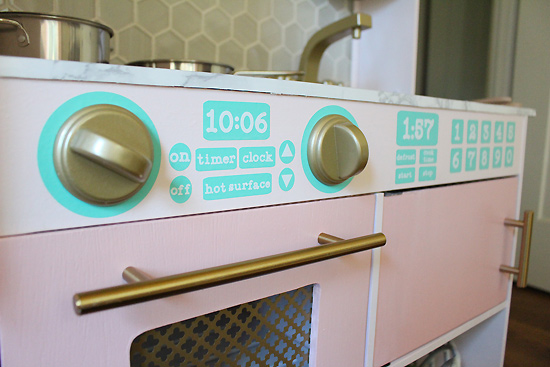
- Added a metal grate and friction lid supports to oven door
- Painted old CDs and glued to counter for stove burners
- Top-coated EVERYTHING with the same matte finish I used on my bar cart
- Loaded her up with play food from Grandma Deb (my mother-in-law)
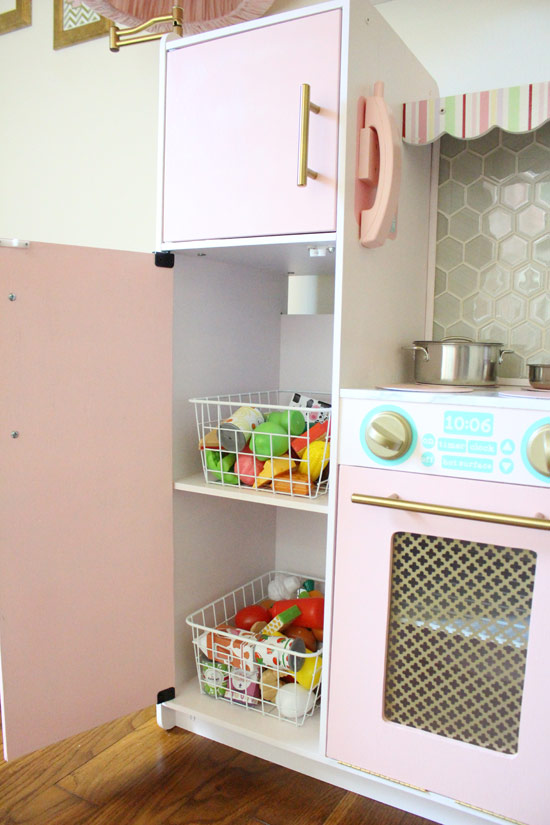
And now it’s ready for (hopefully) many years of entertainment for my little nugget!
It was SO fun working on this project with my little girl in mind. Maybe even more fun than working on something for myself. Oh the joy Mary Helen brings! What projects have you completed for your kids? Did it take them 1.5 seconds to tear it up like it took MH to unload all of the food onto the floor? I’d love to hear about your labor-of-love projects in the comments!
Check out the source list below for where I got all of the pieces and parts to makeover this project. Thanks for Checking In! ~Chelsea
What and Where I got it all:
Paint (main) – Behr Strawberry Yogurt
Paint (doors, phone, stove burners) – Krylon Ballet Slipper
Paint (oven knobs, sink, faucet) – Rust-Oleum Universal Metallic in Pure Gold
Top Coat – Black Dog Salvage in Clear Matte
Cabinet Pulls – Amazon
Pivot Hinges – HardwareSource (SKU 286442)
Plastic Friction Catches – USKnobs.com
Hexagon Tiles – Lowe’s (currently on sale for $3.99!)
Glitter Grout Additive – Amazon (You can read my review of this grout additive here.)
Metal Grate – M-D Building Products
Play Food – KidKraft
Pots & Pans – Melissa & Doug


Very cute project. Your daughter will love it. And, great way to recycle.
Question…what is the blue drill guide in one of the photos? I’ve never seen or used one of those before. What does it do?
Hi Sophia! I was using a cabinet hardware jig from KREG. You can adjust the holes to the same width as your hardware to make drilling so much easier! It’s really an advantage if you’re drilling a lot of cabinets at the same time. I also used it when I installed cabinets in my laundry room project. So you can click over there for more pictures of the jig in action! ~Chelsea
This is awesome!! I love it and great job, it looks so vintage & chic. I also love the gold & glitter details, I just simply love gold 🙂
Thanks for sharing!
Thanks, Lauren! I’m definitely going through a gold phase myself right now! I want to buy anything and everything if it comes in gold. ~Chelsea
I love your project & would live some assistance with projects I have at home that Im in dire need of.
I bought a playhouse kitchen for my 1 year old granddaughter from a Secondhand store. She used it along with the other 3 grand kids over the years. They played with it everytime they came over. I bought play food and utensils to add to the fun. You’ll be so glad your mom spotted it and you fixed it up. It’s darling!
Thanks, Lorraine! I’m sure your grandkids will remember playing with that play kitchen for many years! What fun! ~Chelsea
What a fun little kitchen! I think you did a great job refinishing it.
Oh.my.gosh. This is absolutely the cutest little kitchen. You did such a great job refinishing it. So stylish and fun.
This is such a cute makeover! I LOVE the “new” play kitchen!!
Great job on redoing it into something to stylish.
XO! Vanessa
this is so cute! can i have pink cabinets and gold hardware in my real kitchen? 🙂
I scored this same play kitchen at a yard sale for $15! I’m planning to revamp it for my 19 month old son.
Did you have any trouble with the paint adhering to the slightly laminated paint\wood already there?
Hi Wendy! How fun There are a few small spots where the paint has chipped away mainly inside the cabinets where they drag the baskets in and out. But I think that’d be expected with anything with 2 toddlers! Ha! I’d love to see a picture when you’re done. ~Chelsea
Great, I’m hoping the new paint will go on easily. I’m really looking forward to working on it for my little guy….I’m thinking of adding chalk board paint on one side, some contact paper with leaves on the backsplash and some new knob pulls. Thank you for the inspiration…I’ll be sure to come back to post a before and after ?
Hi again, ☺
I completed the remodel but I’m not sure how to share the photos here…thoughts?
Ooo! Send them to info {at} checkinginwithchelsea.com!