
Glitter Grout Review
If you checked out my latest post on my daughter’s play kitchen ‘renovation’, I mentioned I added a tile backsplash with gold glitter grout.

You may be thinking that’s a lot of work and effort for a play toy. I had the same thought. BUT, I really wanted to try out some glitter grout that I had seen and shared on Facebook a few months ago. I like glitter and shimmer, but I could never see myself using it in an actual kitchen or bathroom. The problem in using it for my play kitchen is that it comes from overseas and costs big monies just for shipping. And would obviously take a while to be delivered. So I searched for alternative methods and found these glitter flakes made specifically for adding to grout.

At $15 it’s a little steep just for funsies, but I HAD to try it out.
Of course, before I could use the glitter flakes, I had to install the tile itself. I only used (4) 12×12 mesh-backed tiles sheets in total. The first pieces I installed were 2 full sheets that mostly filled the space left to right and sat on the counter. Since this isn’t the typical tile backsplash installation, I didn’t use the typical thinset and notched trowel. Instead, I opted to just use construction adhesive.

I put a little dab of it on the back of each of the small tiles then stuck it on the “wall”. It had enough stick to hold itself up there. Though, every few minutes I’d go back and evenly push it to make sure it was sticking well and make sure the adhesive was making good contact with both the wall and the tile.

For the next set of tiles, I had to pull out the good ole wet saw. I turned the 2 sheets of tiles upside down and lined them up with the appropriate spacing between them. I marked on both ends the height I wanted to cut them at. Then I used a yardstick to connect the marks and give myself a straight line to cut along. (I used the same technique and wet saw for my fireplace hearth.)


The second row of tile sheets stuck to the wall just fine, but since they didn’t have a counter to rest on, they slide down a little not leaving the proper spacing between them and the next row. So I tore up a few pieces of cardboard to serve as impromptu spacers.

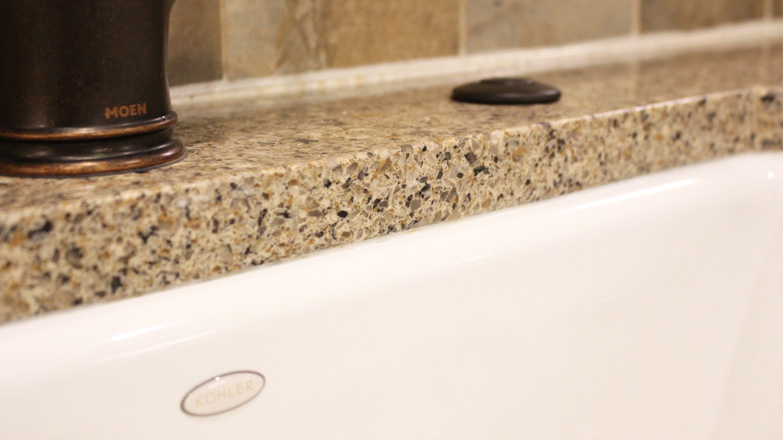
Again, since I wasn’t using thinset, I didn’t have to wait as long for it to set up before I could grout. I already had (a lot) white grout leftover from grouting my fireplace hearth last February, so I whipped up a batch in a bucket.
The instructions on the glitter flakes assumed you were using the same brand of grout. And premixed grout at that. So I had to make it up as I went. According to their ratio, I over-glittered my grout. Not that you could tell in my bucket.

The only thing I can see wrong with adding too much glitter is you don’t have enough grout for it to stick to and therefore not enough grout for your joints. But that didn’t seem to be a problem for this particular scenario.

The problem I did find, however, is that it is NOT glittery NOR shimmery!!

No matter what angle I looked at it-straight on, from the right, from the left, upside down-there was no glimmer of shimmer or anything to indicate I paid extra for this grout job.

So, my review of glitter grout, or at least this particular glitter additive, is a big, fat, thumbs down! And I’m so sad about it! Like I said, I wouldn’t use glitter grout in normal circumstances, but how fun would it have been for a little girl’s room like this?!
Have you used these glitter flakes before? Or something similar? Did it work better for you? Or would you use it in your own kitchen or bathroom? I’m just not that brave! Comment below to let me know! And don’t forget to see my post on the full play kitchen updates!
Thanks for Checking In! ~Chelsea


6 Comments
Mary
I have just purchased taupe glass subway tile 3″ x 6″ for my kitchen remodel and would love to have some silver sparkle in my light taupe grout. I am having a hard time finding premixed taupe sparkle grout. Does anyone know where I could purchase it?
Chelsea Lipford Wolf
There’s some glitter grout you can order from Home Depot. Maybe the Raw Sugar or Starlight color would work for you! https://www.homedepot.com/p/Custom-Building-Products-Fusion-Pro-554-Raw-Sugar-1-qt-Designer-Series-Grout-FPD554QT-4/ ~Chelsea
Phillys
Even though the glitter is supposed to work in cement grout, I would imagine the opacity conceals most of it. Transparent grouts (epoxy or acrylic?) that would probably give better results.
Chelsea Lipford Wolf
Interesting. Thanks Phillys! ~Chelsea
CAT I AM
The trick to actually seeing the glitter and not wasting your investment is to initially do the grouting as you normally would….without adding the glitter to the mix. After your initial application of grout…where you have enough of it in the joints …. mix the most minimal amount of grout possible with glitter added to it and stir it up…. does it look sparkly? then you’re ‘good to go’. take a moistened sponge or an makeup brush and dip it into the sparkly…I find a make up brush works better as you can use the soft bristles to push it into the initial grouting you just did. Use a small piece of your moistened sponge to smooth the grout lines. Allow to set before removing excess. there. You now have ‘sparklies’…..Glitter is ‘FOREVER’.
Rhonda Chesnutt
Thanks trying this with aqua glitter and wave motion white tiles. Any thoughts about adding this to the sealer?