Checking In With Chelsea

DIY ideas, crafts, and tips for your home

subscribe and never miss a thing!

Receive Free Email Updates

  • About
  • Videos
  • Projects
    • Indoor Projects
    • Outdoor Projects
    • Craft Projects
  • House Tour
You are here: Home / Indoor Projects / Inexpensive Window Treatments

Inexpensive Window Treatments

December 18, 2019 By Chelsea Lipford Wolf 2 Comments

Warm up White Walls with Window Treatments

Dress Up White Walls with Wood Window Shades

If you don’t like how blah white walls can look, dress up them with wood-tone window treatments to warm up the whole room!

Add Wood Tones

I haven’t been loving our dining room lately. It feels so incomplete and blah! But after staring long enough, I realized it’s too white! Ha! We have one window in there which I love. But it has white curtains on white(ish) walls and white faux wood blinds.

So while I was painting the trim I just installed around the window, I decided to ditch the white blinds for a wood-toned window shade*! And I love it so much better! Just the warmth this room needed!

Bamboo Cordless Roman Shade in Driftwood Gray

(I used my own tutorial for the trim! I’ve slowly been adding trim around the windows as I update each room in our house and this dining room window was the last one!! Yippee!)

When I shared baby Lucy’s nursery back in May, I actually shared these same shades! I stalked and stalked Kohl’s while waiting for the price on the shades to drop to a more reasonable price point back then. But somehow I stumbled upon the exact same shades on homedepot.com* this past week and couldn’t order it fast enough! Their price is a reasonable $36.99 all the time! (Depending on the width you order, of course. Ours is 31′ x 64′.)

Another reason these are the bomb.com is they are cordless. All you have to do is push the shade up and it stays up. Then you pull it down to lower it! No cords or strings for little kids to get tangled up in.

So if you’re in the market for a warm, cordless Roman-style shade, I’ve got you covered*!

Tall, White Drapes

Drapes or curtains? What do you call them?? Either way, these from IKEA* are so versatile and LONG!

If you have 8 foot ceilings like me, you’ll need to hem them! But with curtains you want to hang them close to the ceiling so it makes your room feel larger!

I washed and dried mine before hemming them to make sure they wouldn’t shrink on me later! But if they do shrink on you, they’re pretty easy to stretch back out! Check out my Instagram Stories today to see what I mean!

I’m going to live with our window like this for a little bit and if I still don’t like it…look out! I’m going to dye these white curtains! I’m thinking maybe a denim color?? Time will tell!
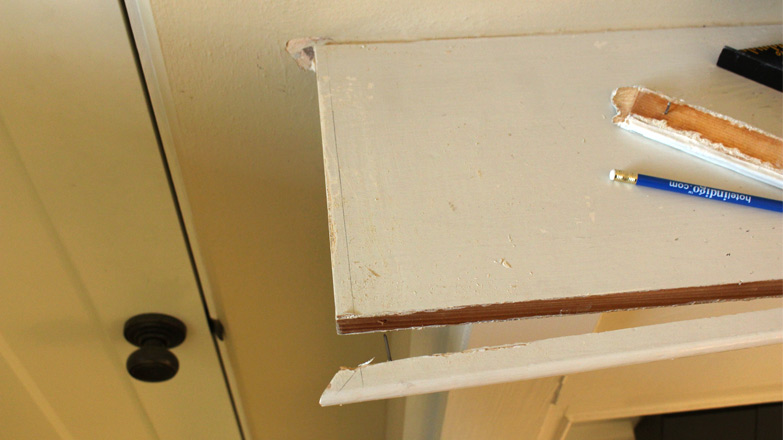
Add Trim

I already mentioned how I added wood trim around our windows. But I thought I’d mention it again! I believe it cost us about $50 to trim out each window. So not the cheapest of these 3 options, but still pretty inexpensive in the grand scheme of home updates. Plus it just elevates the whole room!

Hope these simple, inexpensive (read: cheap) updates inspire you to warm up a room in your house, even if you already have more colorful walls than we do!

Thanks for Checking In! ~Chelsea

*This post may contain affiliate links*

Subscribe for Free Updates!

Stay up-to-date on Chelsea's latest projects, tips, useful resources and more.

Previous Post
Cherry-Picked: Gifts for Neighbor, Hostess, Teacher
Next Post
DIY Kid Height Keepsake

Related Content

Completed Girls Bedroom Makeover Pink PanelingPink Girls’ Shared Bedroom Evolution1950s Ranch Kitchen Before Renovation1950s Kitchen Renovation IdeasTips for Selling Your Stuff OnlineHow to Make Big Money Decluttering Your HomeMoodboard for Calm and Cozy Family Room DenCreating a Calm and Cozy Family Room

Comments

  1. sharon m bachman says

    March 8, 2021 at 3:03 pm

    Thanks for info on rug grippers.
    Really enjoy you and your dad together on the Homeowner show!

    Reply
    • Chelsea Lipford Wolf says

      April 1, 2021 at 10:00 am

      Thanks, Sharon! ~Chelsea

      Reply

Please Leave a Comment Cancel reply

Your email address will not be published. Required fields are marked *

Welcome!

I’m Chelsea. DIY
enthusiast who loves
sharing my victories
and mishaps!
Learn more
here.

CHECK IN WITH CHELSEA ON INSTAGRAM

Ask me how I know😑Whether you’re doing a smal Ask me how I know😑Whether you’re doing a small patch or a whole room, this drywall sanding hack will keep the dust at bay and keep the rest of your house looking good😎
.
.
#drywall #diyhack #tipsandtricks
A Spring Break to remember! Thanks to CeeCee and P A Spring Break to remember! Thanks to CeeCee and Pop Daddy for bringing the Wolfpack along on vacation! A long travel day ahead of us but it’s always worth it to spend time with family and get some r&r.☀️😴 Happy weekend!
9 years!✨Brandon and I will be celebrating 9 yea 9 years!✨Brandon and I will be celebrating 9 years of marriage this week. And how perfect we were invited to a wedding tonight walking distance from our home.🥰Sometimes reality is better than the movies and this weekend is one of those times. Enjoy, friends!☀️
What else do you use paper plates for besides eati What else do you use paper plates for besides eating?? Spray paint onto a paper plate and dab a small paint brush to do spot touch ups! Life hack when you’re working on a project but don’t need to paint the whole surface!👏🏻
.
.
#lifehack #diyhacks #spraypainting #painttips #paintprep #paintpro #shutters #craftsman #1940style
Didn’t mean for this to be #ASMR but here we are Didn’t mean for this to be #ASMR but here we are!🤷🏼‍♀️ I bought this orchid 15 months ago to use the flowers in our hair for my sister’s wedding. I’ve already repotted it once and it’s bloomed 3-4 times! Time to do it again with a pretty new pot that matches our new kitchen cabinets!🤩
.
.
Steps to repot an orchid:
1-large pot without drainage holes
2-plastic pot slightly smaller with holes
3-trim if needed so plastic pot is at or below outside pot
4-add layer of orchid specific potting mix (it looks like bark!)
5-add orchid, fill in around roots with more bark- don’t forget to add some mix under the leaves!
6-to water, soak bark and fill up outside pot, rinse the leaves too!
7-let sit for 5-10 minutes, then drain and dry the outside of your pot.
8-set in place and enjoy!🌷
New laundry, who dis? Our laundry room was a BLANK New laundry, who dis? Our laundry room was a BLANK slate after the kitchen renovation left it reconfigured too. So Dad and I tackled simple projects that make this space functional and of course visually pleasing too!👏🏻The full project airs this weekend on @todayshomeowner!
.
.
I love that the cabinets and hardware match what we have in the kitchen since the spaces are right next to each other! Synergy!
.
.
What do you love about your laundry room?
Load More... Follow on Instagram

Indoor Projects Outdoor Projects Craft Projects
Facebook Pagelike Widget
  • Contact
  • FAQs
  • Advertise with Chelsea
  • Media
  • Today’s Homeowner

Search This Site

Receive Free Updates Via Email

Copyright © 2023 Checking in With Chelsea • All Rights Reserved