Fancy Window Woodwork
When you think of necessities for a newborn, window trim in the nursery doesn’t really come to mind, does it? But I just couldn’t help myself!
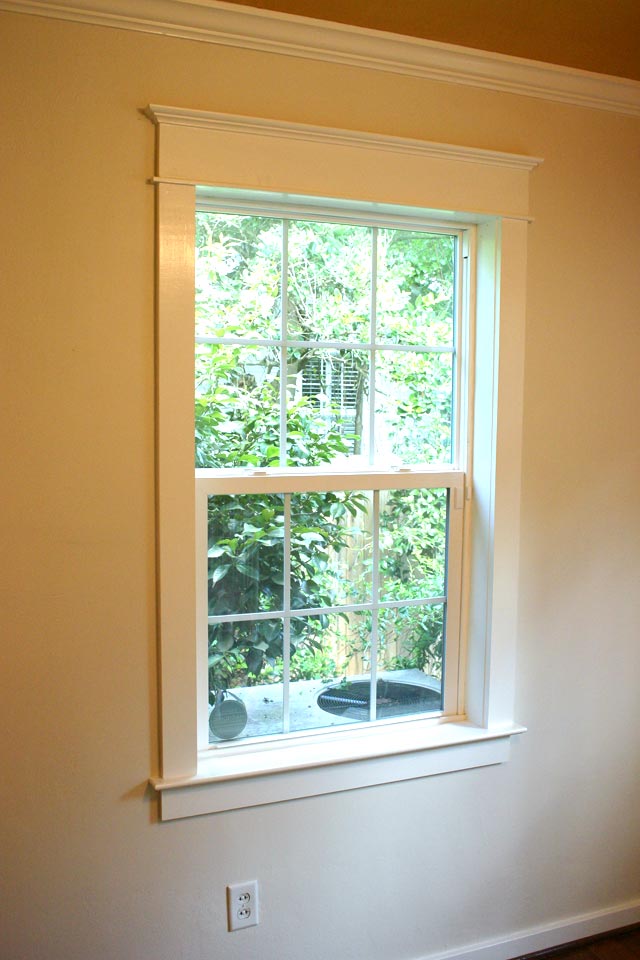
In my defense, it’s part of my overall to-do list for our house, adding trim to the windows one room at a time. And I had this in mind when I was painting the room, adding gold to the ceiling, and when we hung crown molding. All that’s to say, I left green paint showing where the trim would cover it, I dripped gold paint on one of the stools and didn’t bother to clean it up, and we did some test shots with the nail gun into the other stool while trying to hang the crown…so even if we decided not to trim the windows, we’d have a lot of work to do to make the current stool and area surrounding the windows look decent again. Plus it’s easier to add trim now while the room is “under construction” than later when there’s a napping babe in there.
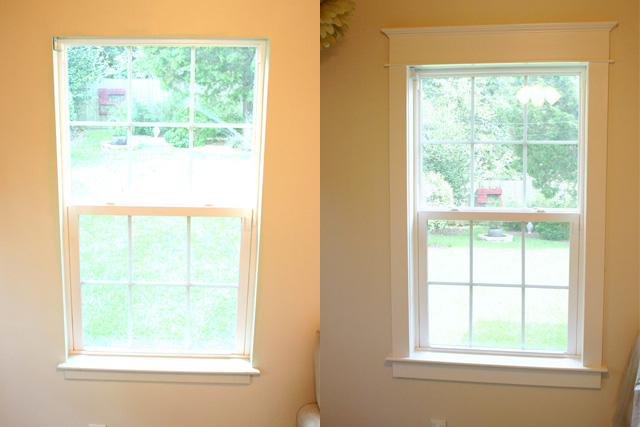
So Brandon and I got to work and were able to complete both windows in one weekend. For a full how-to, check out the posts from when we installed trim in the living room, cut and installed bed molding at the top, and puttied, caulked, and painted to finish it off.
It really came in handy that I had everything already written down for me! 🙂 We pretty much just followed right along with my previous posts.
We first started by removing the current window stool and apron.

You can kind of see the green paint left behind to the left of the window.
One thing we did differently than in the living room was to prime AND paint one coat of the trim color before installation. Whereas before, we had only primed it. That was a huge time saver. SO much easier than having to cut in around the already-installed trim twice.
We made good progress installing the square components of the trim before we took a break.
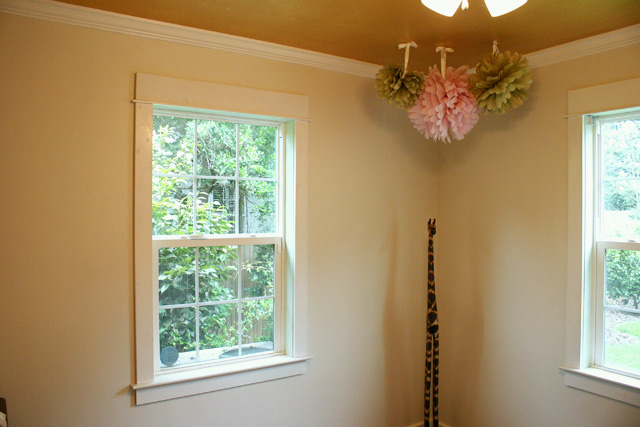
Just like in the living room, I was tempted to leave it as is and not do the final step of installing the decorative bed molding at the top. But we carried on because who likes to stop short of greatness?
Once the bed molding was in place, we puttied the nail holes, caulked all of the gaps where the trim met the walls and each other, and then painted one final coat!

We did have to paint the drywall return between the trim and the window itself a second time since it was white paint covering green. But that was minimal! Especially considering the results!
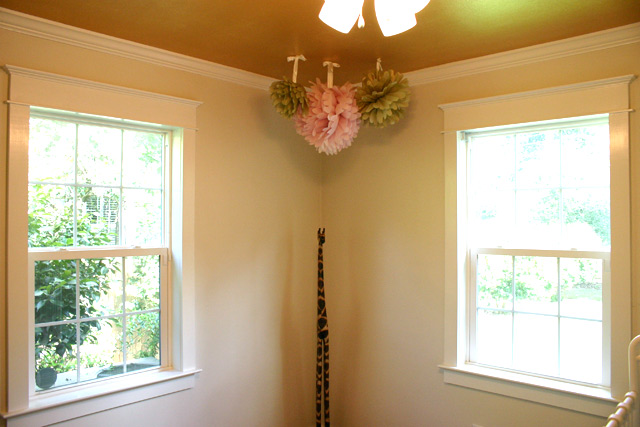
Seriously, why do I get so much joy out of a nicely trimmed window? I think it’s because it’s a cheap way to make my house look nicer. Can’t really make it any bigger (without big dollar signs), but I can make the inside count! And that’s what I’ll do!
Thanks for Checking In! ~ Chelsea


