Does Homax Porcelain Chip Fix Work?
My Review of Homax’s Porcelain Chip Fix in a Sink
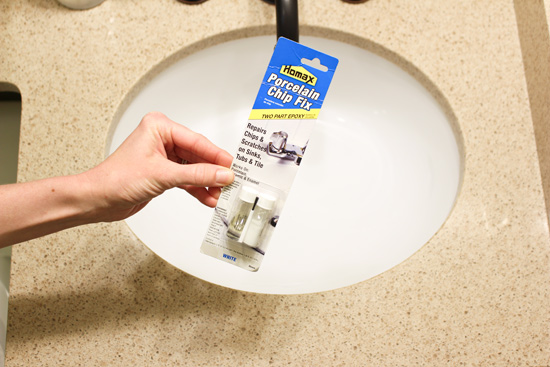
In short, it didn’t work for me the first time. But I always like to give the benefit of the doubt, so I applied it a second time a few weeks later. (Results are pending for my second trial run. This review reflects the initial application.)
Maybe I did it wrong? Or possibly I cleaned it too aggressively after it cured? I don’t know but here’s how it all went down.
Clean and Prep
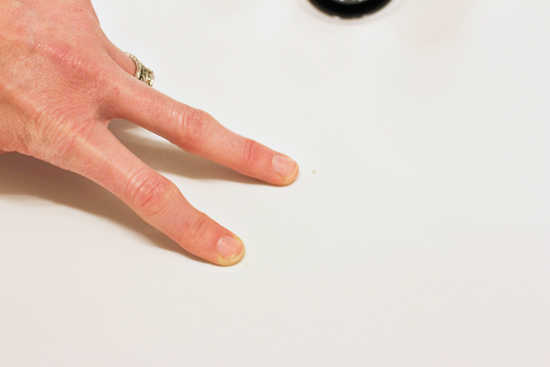
There are 3 very small but very noticeable (in person) chips in our bathroom sink. No matter how hard I scrubbed or what product I used they would not get clean. I guess it’s chipped through the pretty white coating and now it’s just the insides of the bowl showing.
The first step on the packaging is to sand the spots to be fixed and then clean the area.
Mix Chip Fix
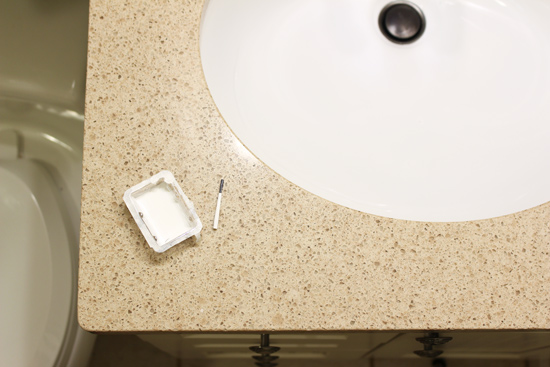
While it’s drying you can mix up the Chip Fix*. It can be mixed right in the plastic packaging. Then you let it rest before applying with the included brush.
Apply and Let Dry
To apply, brush a light layer of the epoxy mixture into the chip. Just like with spray paint, it’s better to do a few light coats than one big layer at one time. The directions on the package instruct you to freeze the remaining portion between coats. Since my spots were so small, my second go-round using this product I used a toothpick instead of the brush to give me more control over the amount of epoxy applied in the cavity.
Cleaning After Application
Here’s where things got hairy for me. I searched the package up and down and could not find a dry time listed. All it said was to wait 5 days before using a non-abrasive cleaner.
To me that means you can use your sink as normal, just don’t clean until 5 days have passed. So we did use our sink after a few hours and everything seemed fine. It wasn’t until after our cleaning lady came a few weeks later that the chips were back!?Boo!
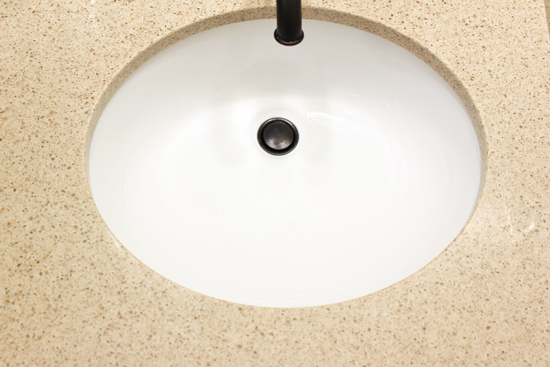
I was totally on board with this product in the few days after I applied it. But before I could get this post written, my opinion had changed. Again, maybe it’s because we didn’t wait the proper time to use the sink. But isn’t it a flaw of the product if that isn’t included in the directions?
Second Time’s the Charm?
After looking on the product’s website, they do have dry time of 24-48 hours listed in the directions. So maybe I have old packaging? Or they updated the website but not the packaging yet?
I re-applied it this week with a new package. And so far so good. We haven’t cleaned it yet which will be the real test for me. We are letting it cure for 48 hours, so I will post an update in a few weeks to re-review it.
To recap, as it stands now, it’s inexpensive (~$5) and worth a shot if you have spots that are bothering you! I’m hopeful the second time around will work better for us than the first. And I hope this little review helps you if you’re trying to fix the chips in your sink. If you find something that works better for you, please let me know in the comments! Or let me know if this brand worked better for you than it did the first time for me!
Also, don’t forget to watch my latest episode all about making my small bathroom look and feel bigger! Good stuff for any small room!
Thanks for Checking In! ~Chelsea
*This post contains affiliate links*



4 Comments
Susan Harris
Duroc made a better chip cover but I can no longer find this company or their product. I used the same one you did with your same results. It didn’t last
Chelsea Lipford Wolf
Hmm haven’t heard of it! Sorry you had the same results! 🙁 ~Chelsea
Joe
I’m curious to know if the second fix lasted after the 48 hour wait time.
Chelsea Lipford Wolf
No it did not. 🙁