DIY Lighted Marquee Numbers
Create DIY large lighted numbers to celebrate any birthday or anniversary using dollar store foam boards and cafe lights.

The fundraiser at my kids’ school was celebrating 20 years. So I volunteered to make these DIY lighted numbers as part of the decor for the event! Sure we could have rented them. But that would have cost around $300. Possibly more. Instead I only spent around $30 since I already had cafe string lights on hand!
What to Buy
- (6-7) pieces of 20″x30″ foam board per number
- white duct tape*
- small utility knife*
- hot glue gun*
- glue sticks*
- white cafe lights*
I actually created these the same time as my rattan oval mirror frames and they use many of the same materials!
Print Large Numbers
You’ll first need to print out your large numbers on regular paper, if you’re not confident in your free-hand abilities of course.🙋🏼♀️ I created my numbers in Photoshop by setting my canvas size to roughly 4 feet tall and 3 feet wide. Then printed in Acrobat Reader using the ‘Poster’ setting so it printed it over multiple pages. You could also send to Office Depot or Staples and have it printed in large format (like a blueprint) for less than $5.
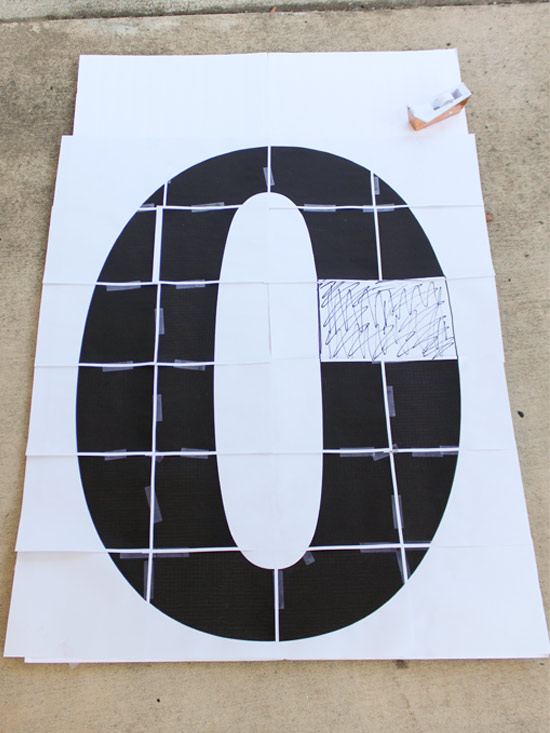
Once you have your number printed you’ll want to tape enough foam boards together to be equal to or greater than your number’s size. I used 4 for each of my DIY lighted numbers.
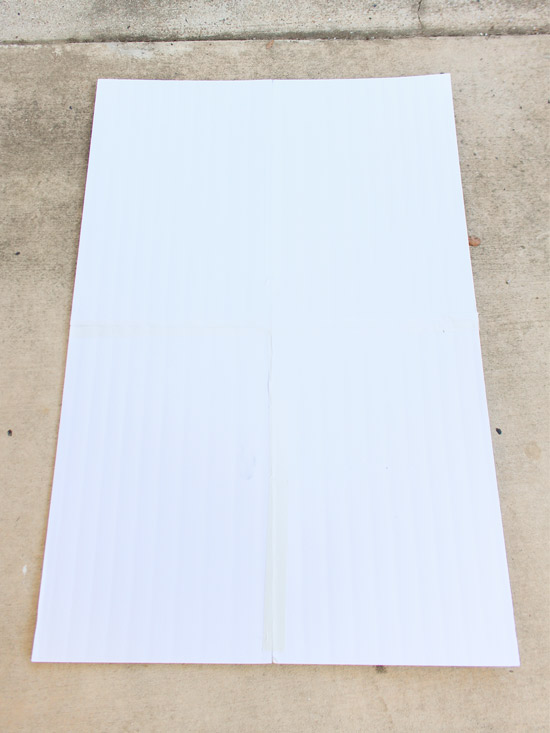
Use white duct tape on each seam, front and back.
Cut Foam Board
There are 2 ways to handle the next step–cutting the foam boards. One way is to cut out your number and then trace it onto the foam board. This is best if you are new at precision cutting with a utility-type knife.
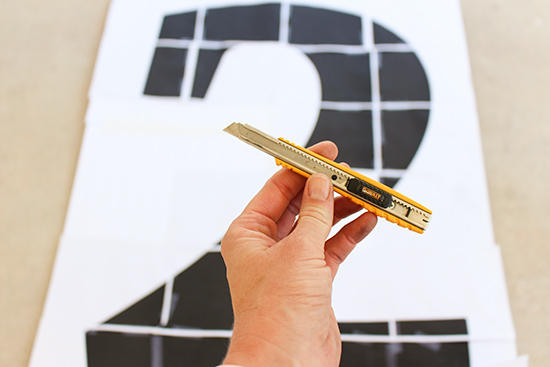
Another way is to tape the number onto your foam board and cut the outline of the number, scoring the top layer of foam board as you ‘trace’ the number with the knife.
Either way, you’ll want to make multiple shallow cuts with a new blade so you aren’t ripping through the foam board. It also allows you to be more precise if you aren’t bearing down on the knife as you cut.
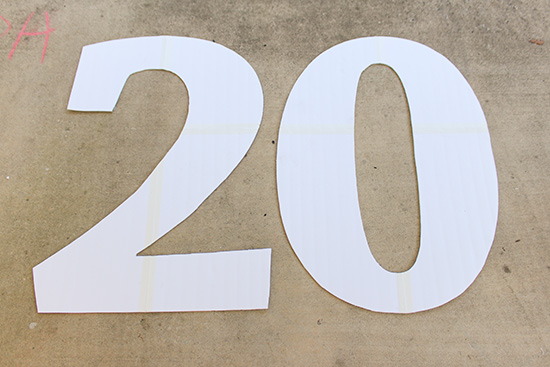
Set your cut numbers aside. Then on a new piece of foam board, measure and mark along the short edge at 6.5 inch intervals. Using a straight edge, cut along your lines so you end up with 3 pieces that are 30 inches long and 6.5 inches wide.
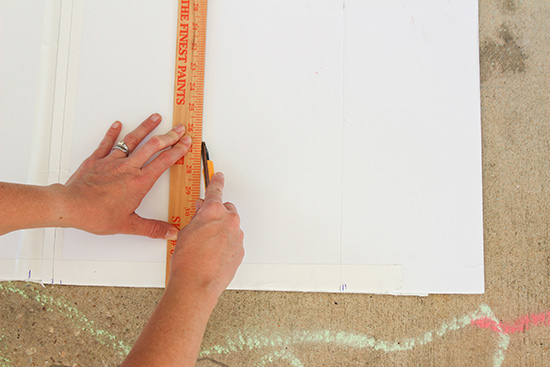
Repeat 2-3 more times, depending on the size of your DIY lighted numbers.
Glue Sides on Large Numbers
Starting with the straight edge of your numbers, apply hot glue along the bottom edge of your number and press the 6.5 inch wide pieces into the glue. This creates the 3D effect.
Cut the excess with your sharp knife, when necessary.
When you get to the curves of your number, you’ll need to create relief cuts in your side pieces before attaching. Score the foam board repeatedly across the whole 6.5 inch piece without cutting all the way
through.
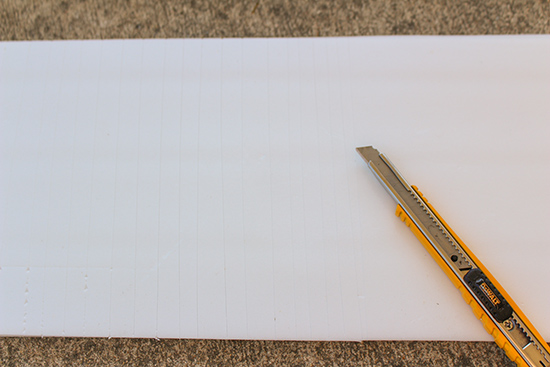
It was hard to capture in a picture, but the cuts are .25 or less inches apart. The spacing doesn’t have to be precise and the cuts don’t have to be pretty.
You can actually use this same trick to make wood bend slightly too!
Again using hot glue, attach the curve pieces to the side of the number base turning the relief cuts to the inside of the curve.
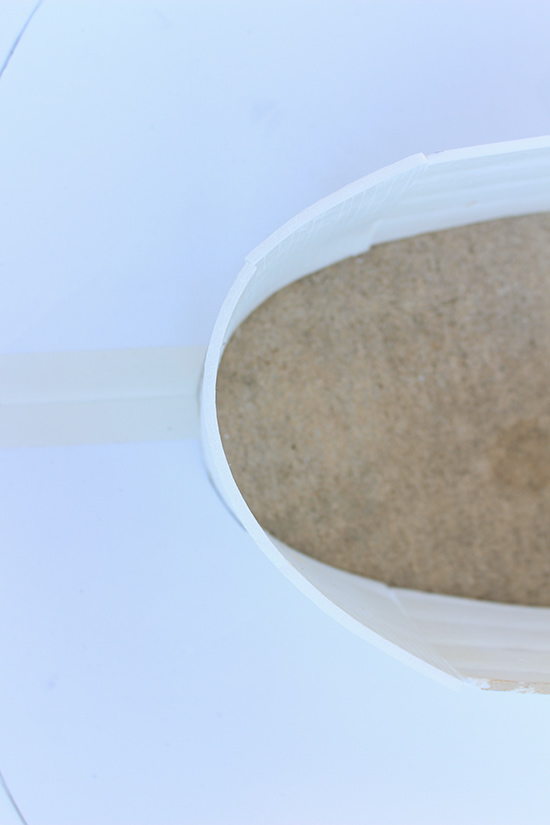
When the relief cuts are turned to the outside, it bends instead of gradually curving. In the picture below, the relief cuts were turned to the bottom when they should have been turned up to the inside of the curve.
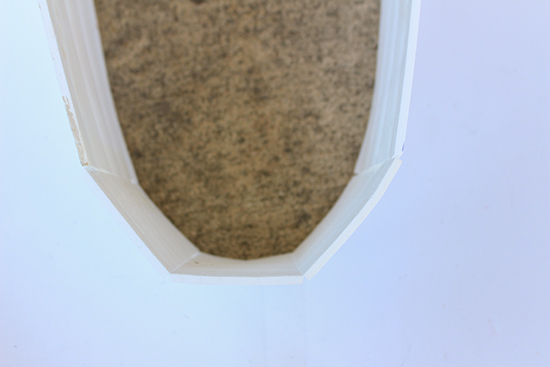
You can use tape and/or hot glue to butt your side pieces together so there won’t be a gap between them. Continue attaching the sides until your DIY lighted number is full-on 3D!
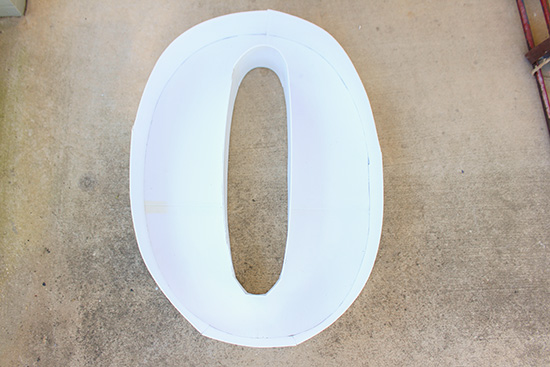
I’ve seen large numbers like this with small balloons filling up the middle. But I wanted mine to glow with lights.
Attach Lights to DIY Numbers
To attach lights, you’ll need to remove the bulbs from your string lights.
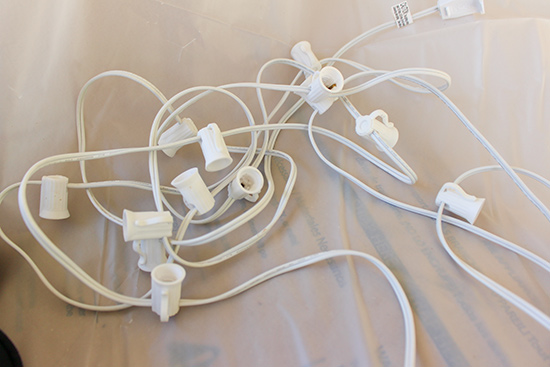
Then (depending on how many bulbs you have on your strand) you’ll want to cut Xs every 8-10 inches in the middle of your number. My string lights had 20 bulbs, but I only used about 13 per DIY lighted number.

It doesn’t have to be precise. Once the lights are in, it’ll all glow nicely together and hide the imperfections.😊
Poke a bulb socket through each hole from the backside. Screw in a bulb from the front. As long as the Xs you made are smaller than your bulbs, the bulbs will hold the socket in place!
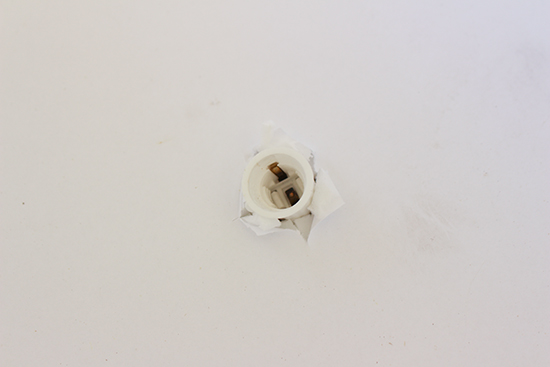
Then…wait for it…plug in your DIY lighted numbers!!

My husband turns 4-0 next year. And since I already have a zero, I just need to make a 4 to celebrate his birthday! I can also use that 4 for Lucy’s 4th birthday in May! I may get carried away and end up making all the numbers 1-9.🤪
You can easily unscrew the bulbs and move your light strand between numbers so you don’t have to have 10 sets of cafe lights tied up when the numbers aren’t in use. And with the same steps you can create any letter of the alphabet too. Possibilities are endless and I love that!
Thanks for Checking In! ~Chelsea
*This post contains affiliate links. I will earn a small commission without increasing the price for you!*


2 Comments
Deana Brannan
This is really a cool idea!! I’ll have to share and try it out myself!!
Could you possibly do a post about your FluidMaster Bidet lid? I really want one, but I really don’t know about any reviews. Plus I’ve got to get an outlet installed in my water closet. Sure would appreciate any feedback. And I watch and listen to your programs!! And tell folks about y’all‼️ I finally found out when it comes on in Mobile!!!
Billie
Those numbers look GREAT, you saved a LOT OF MONEY by making them yourself. Why spend money when you can make items yourself, plus you can use your numbers over and over, make them once, pack them where they will be in great shape when you need them, then store them where you can fine them.