DIY Fabric Window Valance
How To Make A Fabric Valance for A Window
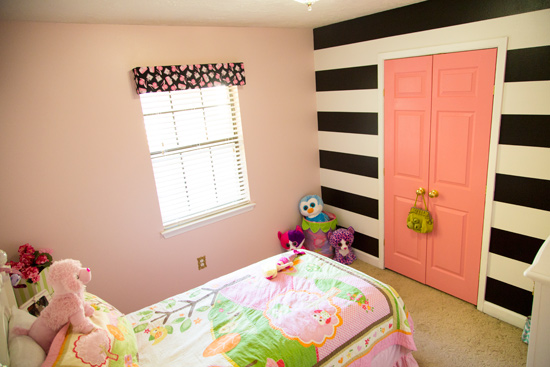
Lately I’ve shared a few decorative interior projects like a trash can cabinet and dining tabletop makeover, so I thought sharing this old project I’ve never shared before would be timely! Creating a simple fabric-covered valance to go over a window is an easy way to add warmth and style to any space!
Materials
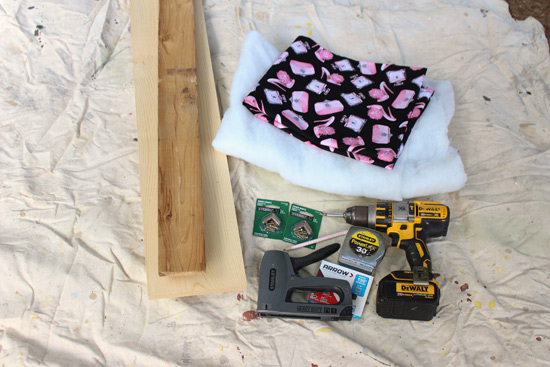
- circular or miter saw
- drill
- corner braces
- fabric
- batting*
- stapler*/staples
- nail gun or hammer/nails
- 1×4
- 1×8
Depending on how wide your valance is going to be and how wide your fabric is manufactured, you could easily get away with only half a yard of fabric! Leave a comment if you need help figuring how much fabric to buy!
Wood Frame
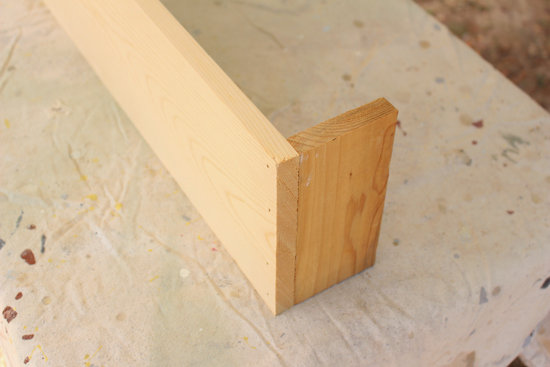
First, cut the 1×8 a few inches wider than your window opening. If you have molding around your window, make it a few inches wider than the outside of the molding. Then cut (2) 1x4s to the same width as your 1×8, usually about 7.5 inches. Not the length of the 1×8 you just cut.
To assemble together, lay the 1x4s on edge and set the 1×8 on top. Then attach with nails through the front of the 1×8.
Adding Fabric
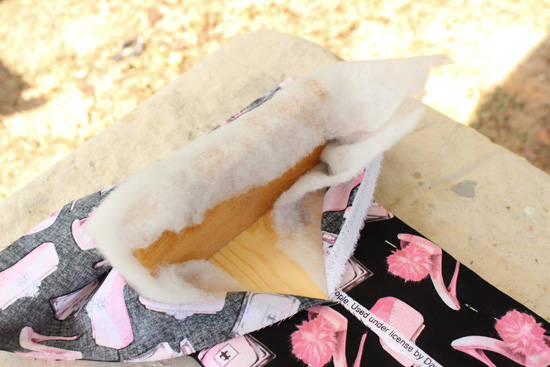
Now lay your fabric on a flat surface, lay the batting on top of it and then the wood frame on top of the batting, 1×8 down. Cut the fabric and batting with sharp scissors, leaving a little overhang on all sides so you have something to staple.
Then go around the frame, stapling the fabric in place like you’re wrapping a present.
Brackets
Once it’s all assembled and stapled the way you want, measure the distance between the 1x4s (roughly the length of your 1×8 minus 1.5 inches). Then cut an additional 1×4 to that length. This is what will attach to the wall.
Using small corner braces, attach the new 1×4 to the fabric-covered valance, flush with the top.
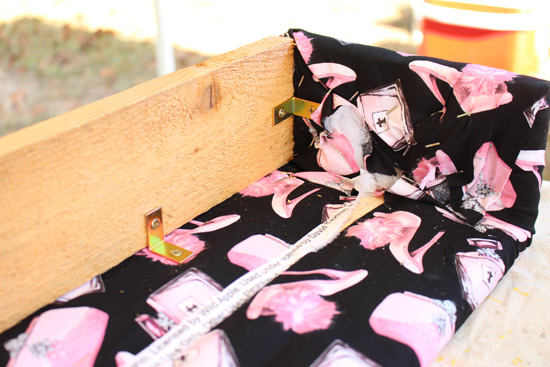
Attach another 2-3 braces on the wall above the window, making sure they are level with each other. Then set your assembled valance on the wall brackets and attach the braces to the 1×4 on top.

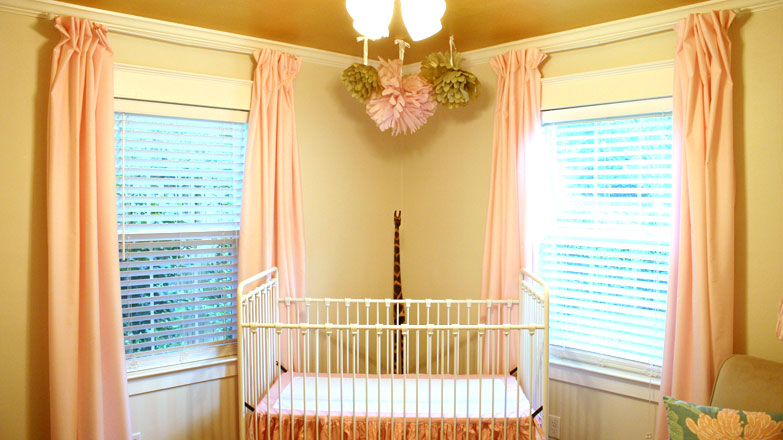
It’s a fairly quick, inexpensive, and lovely detail to add to any room, especially if you don’t want floor-length curtains. I made this for a room makeover we showed in an episode of Today’s Homeowner. To watch that episode and see all of the other project details click here.
Thanks for Checking In! ~Chelsea
*This post contains affiliate links*


2 Comments
Elizabeth Falkenthal
How do you clean it?
Chelsea Lipford Wolf
Hi Elizabeth! I’m sure an upholstery brush on a vacuum would do just fine! ~Chelsea