DIY Burlap Roman Shades
We’re only 11 days into July, but it’s already been so, so busy! Between Independence Day festivities, taking care of baby girl, and my duties at the Today’s Homeowner headquarters, I haven’t gotten much done around the house save the usual laundry, cooking, and cleaning.

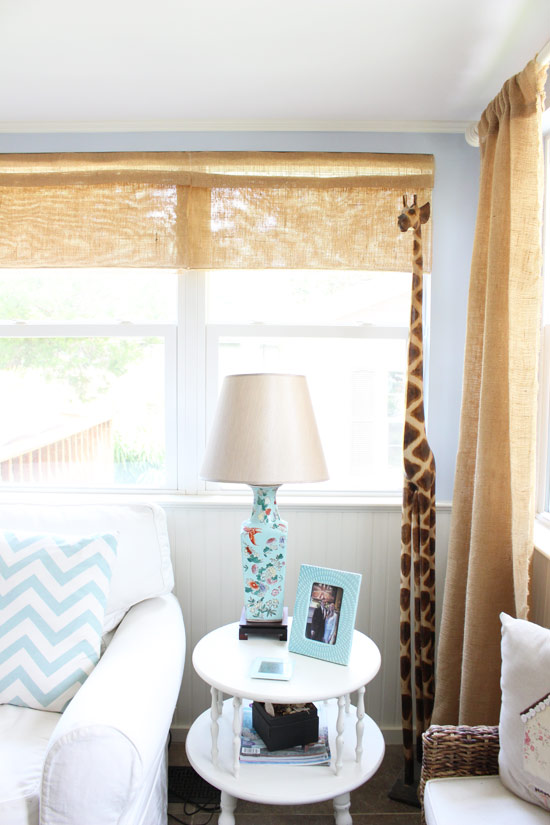
However, I was able to piece a few table runners together to create some much-needed shades for our sunroom.
One of the things I’ve slowly been working on which would be a BORE to blog about, is cleaning out some of the junk in our guest room/home gym.
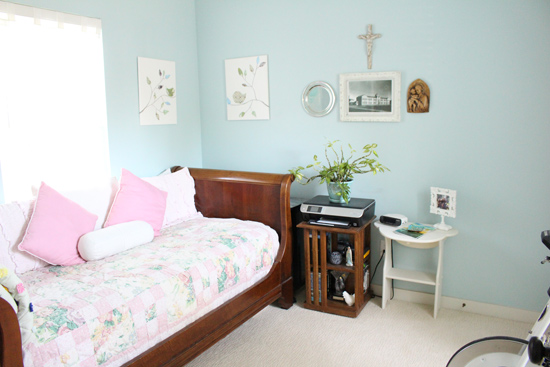
But I guess if you think about it, this post is about cleaning out this room. Because, well, I found a ton of burlap table runners tucked at the end of the footboard while doing so. They were used for one night at our wedding reception back in 2014.

I tried selling them on Craigslist for a while, but no one wanted them… I forgot how many I had but some were 120 inches long while others were about 106 inches. They were all 14 inches wide.

One of the many ways I’ve seen Roman shades made includes sewing a pocket for a dowel rod in several places on the back of the shade so it would have structure and perfect folds when it was pulled up. So when I found these table runners, a lightbulb went off and I thought I could sew similar pockets by overlapping two table runners and stitching them together to create the necessary dowel rod pocket.
After verifying that I would have enough burlap to make 4 shades of the same size, I got to work. The first step was pinning two lengths of table runners together, with 1 inch overlap. (After stitching, there was approximately 3/4 of an inch in between.)

Then I measured and cut the two pieces to 31 inches, the width of my windows divided in 2.

I repeated this process until I had 4 runners sewn together, one on top of the other. Then I repeated it again until I had my 4 panels complete. I left the right and left edges un-hemmed to go with the rustic burlap vibe. They won’t be getting so much use that they’ll come unraveled anytime soon.
Next I fished my wooden dowel rods into my new pockets. They’re 1/4 inch diameter and I cut them to 29 inches long. They could easily be a tad shorter or longer. When I created Roman shades for Mary Helen’s nursery, I also subtracted a few inches from the overall length, so that’s where I came up with that number.

To hang my shades, I bought some pre-primed 1x2s. Although them being pre-primed was not necessary, it was the cheapest option!

I cut them 1/4 inch shorter than my window openings which is 62 inches. Then I laid two shades on the 1×2 side-by-side. I lined them up so that the height of my windows (44.5 inches) was at the top of the 1×2. That way the curtains would sit right on top of the window seal when closed. (I corrected it after this picture, since I originally lined it up at the bottom, which added almost 1.5 inches to my length.)

To attach the burlap to the 1×2, I stapled it in several places along the top of the 1×2.

Then to keep the white of the 1×2 from showing through the burlap on the front, I wrapped the excess around, tucked it in the gaps under what I had just stapled, and stapled it some more. Then I cut off any extra after that.
Now, to make my shade open and close, I hand-sewed small plastic rings about 1 inch from the edge at the bottom and top dowel rods on each side. I used this same technique with MH’s shades. The placement of the rings up or down determines how big your folds will be. I had used a purple thread for the other stitches since it matched the walls in our sunroom. But for the plastic rings I used a thread closer to the color of the burlap to conceal it.
I tied some drapery cord onto the bottom rings and looped it through the rest of the plastic rings. At the top, I attached some eye hooks on the bottom of the 1×2 at the same spot as my plastic rings, about an inch from the edge. Then I pulled the cord through them so that the cords from both sides of the shade came out onto one side, just like your store-bought blinds would do. The shade on the right of the window opening had the cord come out on the right and the left shade’s cords came out on the left.

Once all of the rings and cords were in place, I used a 3 inch screw and attached the 1×2 to my window frame. I just screwed it through the bottom in the center into the frame above. I was planning to attach another screw on either side, but it started splitting the wood since the eye hooks were so close to the edge already. Again since those won’t be getting much up and down action, the one screw seems to have sufficed.
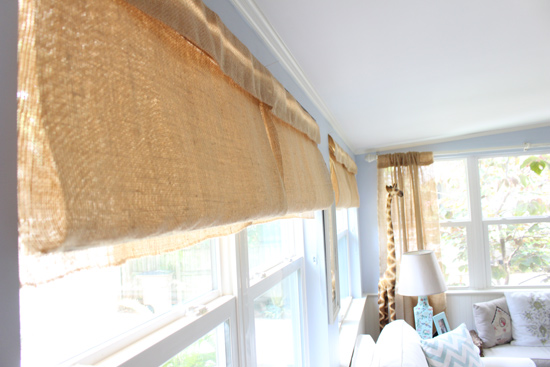
To keep the shades up when we want them up, I attached a clear plastic cleat on either side of the window openings to wrap the drapery cord around.

Here’s what the shades look like when they’re down in the daylight. For our purposes, they aren’t meant to block out the sunlight, just create privacy and reduce glare for daytime TV watching.
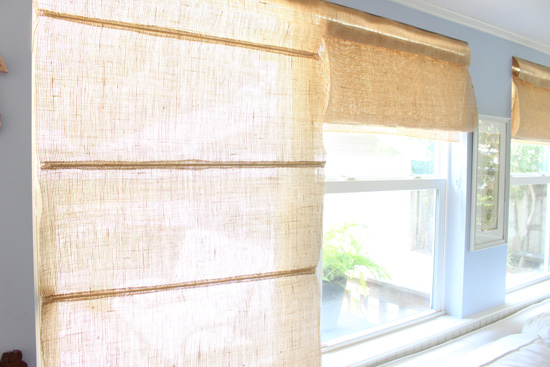
My favorite part about this project is that I got to use up so many materials I already had around the house. In addition to using up A LOT of the burlap table runners we had on hand (the rest are going to Goodwill soon!), I also already had the plastic rings, drapery cord, and thread. The only items I purchased were the 1x2s, plastic cleats, dowel rods and eye hooks. And those are pretty cheap!
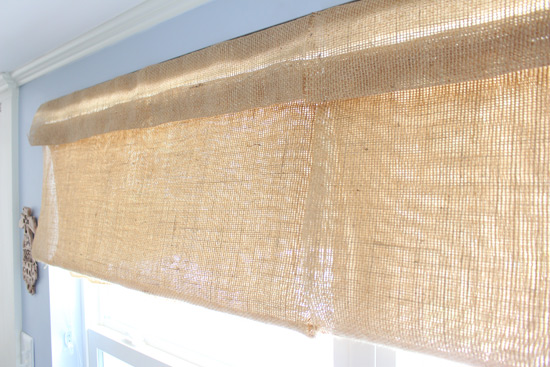
While they do serve a functional purpose, I’m most excited about how much they warm up the sunroom. We already had burlap full-length curtains on the other set of windows, but adding some warmth in the back windows makes a huge difference! And since we spend most of our waking hours at home in this room, it’s definitely worth any investment in creating homey vibes. 🙂

Thanks for Checking In! ~ Chelsea

4 Comments
zan
I just saw one of my friends posted a DIY Roman shades project on Instagram and I thought “how cool”. So glad you explained how you made it.Turned out wonderful and looks nice in your sun room. Lovely decorated sun room by the way!!
Lora
This is really creative to use your table runners. I still have some things from my wedding that I keep hoping I’ll figure out a purpose for, eventually. I love how the space is looking, and the burlap has a nice, breezy, casual feel!
Shani | Sunshine & Munchkins
I wish we had a sun room, but unfortunately, that’s not really a thing in Utah. Oh well. I love the way your shades turned out! Isn’t it fun when you get to use up what you already have to make something new? p.s. I love the giraffe!
Sarah @ Making Joy and Pretty Things
I LOVE this! I’ve never considered making roman shades, but I have a stash of burlap and that seems like the perfect use. They add the perfect rustic vibe to your gorgeous room!