Colorful Kitchen Island Update
How to Make Your Kitchen Stand Out

Did you know you can move your kitchen island? That’s exactly what Dad and I did in an episode of Today’s Homeowner to give the homeowners a little more space in front of the fridge.
Open It Up
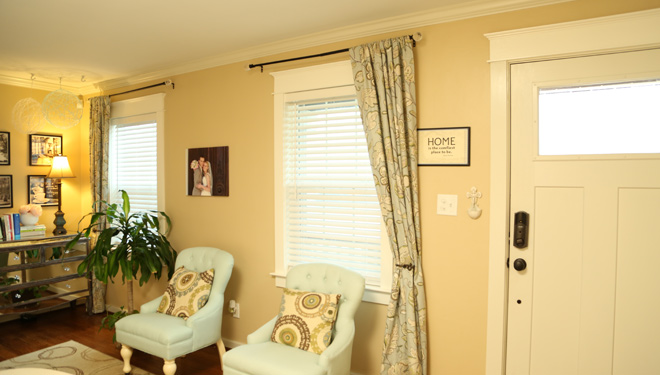
Tight refrigerator access wasn’t the only thing closing in this open floor plan home. The first thing guests saw when they walked in was a long half wall that made it super awkward to open the door and let guests in.

And since it wasn’t load-bearing, it was pretty easy to eliminate. We carefully cut the drywall where the half wall met the full wall so we wouldn’t have more drywall repair than necessary.
Then we removed trim and such and knocked the drywall down with a sledgehammer. Once the wall was down, the homeowners had enough flooring leftover to patch the void left from the wall.

The result was a much more accessible front door and entry. Yes, it’s a tad awkward walking into the dining table, but I think it’s much better than the before where the homeowner had to hide behind the front door in order to open it and allow guests to walk in.
Island Time
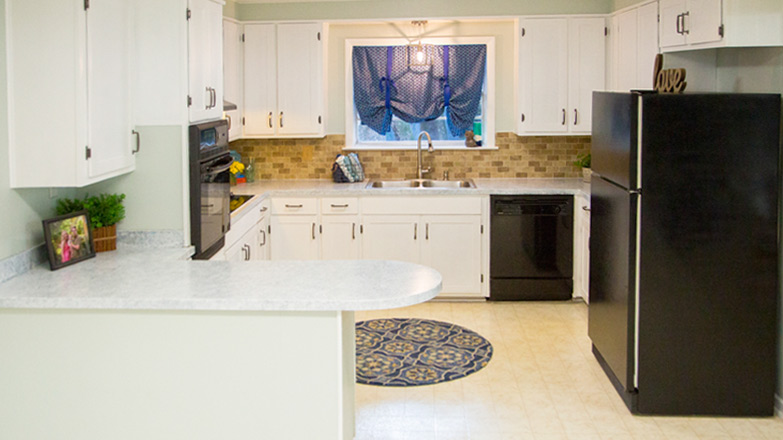
One of my favorite things to do around the house is eliminate frustrating situations that you encounter often. For these homeowners, it was a tight squeeze between their kitchen island and their fridge. They couldn’t walk passed the fridge while it was open which meant constantly opening and closing it to prep dinner or unpack groceries. Not bad the first few times you have to do it. But the frustration, at least for me, would build having to do that multiple times a day every day!

Our solution was to move the island a few inches. Now there are many different ways an island can be ‘installed’. This particular one was just glued down, a little. After removing the shoe molding around it, we all rocked it back and forth and the glue came loose.
Another scenario would be for 2x4s to be screwed into the subfloor and the island cabinet screwed to them. The screws would then be covered by the toe kick at the base of the island. This is what we anticipated, but were relieved it was even easier!

To reinstall the island, we made sure it was square to the other kitchen cabinets before using construction adhesive again to secure it to the subfloor. Something that big isn’t going anywhere unless you really want it to!
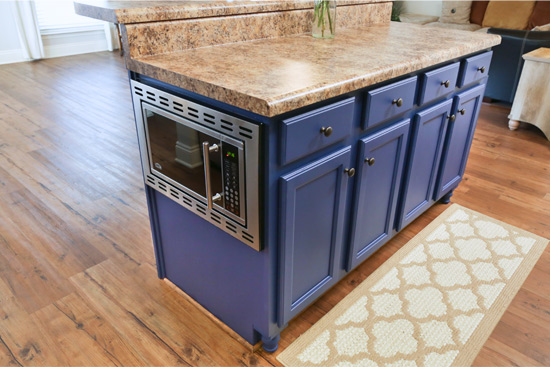
Oh, and in case you didn’t notice, we also upgrade the color on this island. With an open floor plan like this, the island was kind of the center of attention. So we made sure everyone who visited knew it with a fresh coat of navy blue paint!
Upgrade the Appliances
While we were tearing up the island, we also cut a hole in the side of it to relocate the microwave. The old microwave was over the range which isn’t ideal for proper ventilation. Plus the 3 young kids in the house couldn’t access it on their own.
We got a smaller microwave with a trim kit, built a shelf in part of one of the island cabinets, and ran an outlet from the existing outlet in the island to power it.

In its place above the stove, we installed a stainless steel range hood to improve ventilation.??
Hide The Ugly
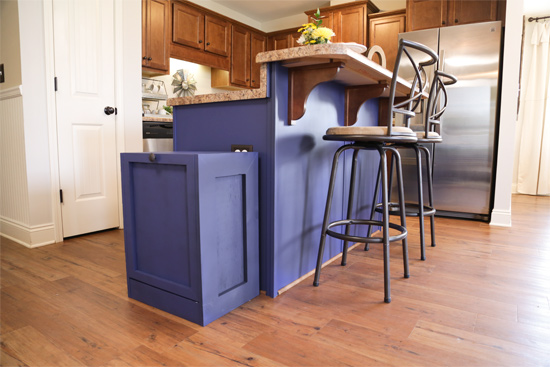
On the other side of the island from the microwave, I built a cabinet to hide the trash can. This was especially important since the trash can would be that much closer to the living area after moving the island.

You can watch my episode on that DIY build here!
A few small changes and we transformed not only the looks of this space, but drastically improved the function and minimized the frustrations! And because the living area is even more open, the kitchen, and therefore the island, really stand out! In a good way, of course!
To see all of the transformations and the how-to, watch the full episode on todayshomeowner.com!
What are your thoughts on a below-waist microwave? Inconvenient or worth getting it off the countertop or above the stove? Share in the comments!
Thanks for Checking In! ~Chelsea


One Comment
Brian C
I love this site, Chelsea.