How to Repair Drywall, Caulk & Grout a Tub
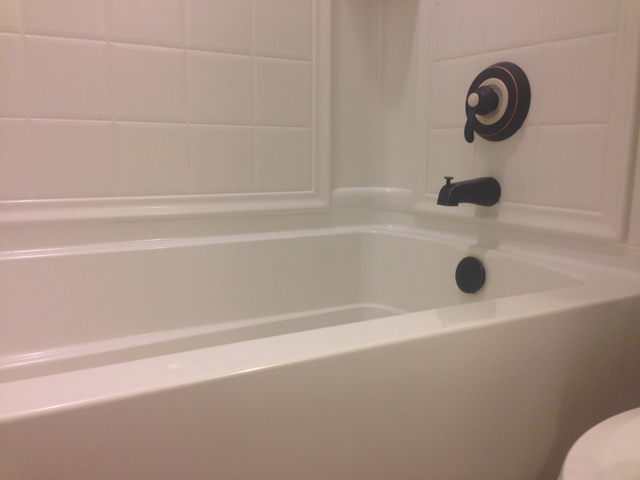
Long time, no see! I’ve been very busy creating some fun projects as a guest blogger for BLACK+DECKER. You can click on over to see the planter box and, my favorite, the DIY Ladder Bookshelf I built for them.
But in between those projects and a few more I’m still working on, I was able to correct some issues in my bathroom I mentioned a few months ago when I updated my shower curtain.
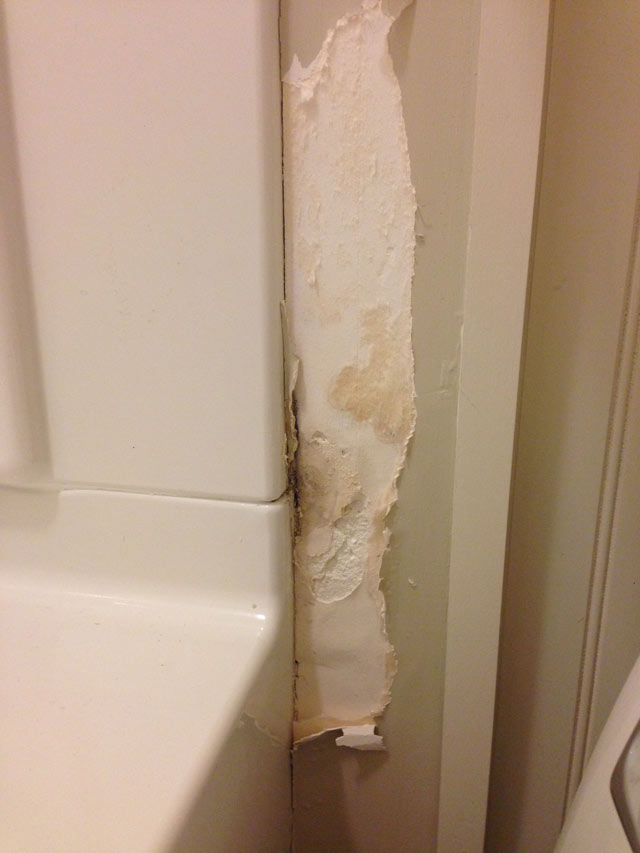
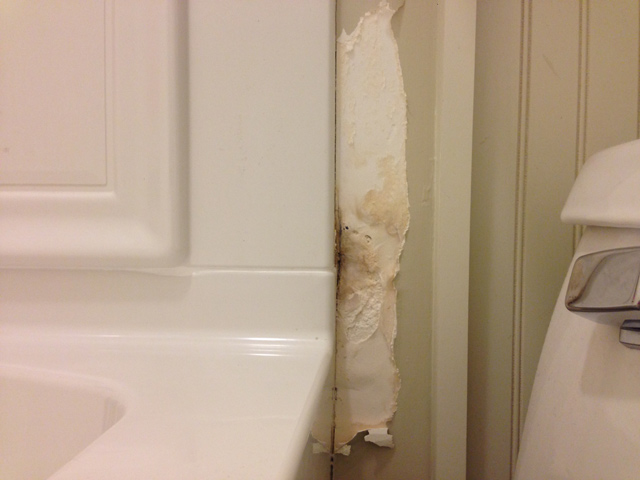
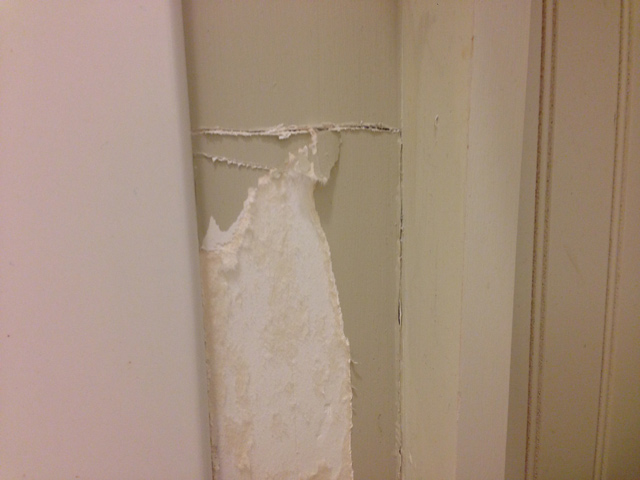
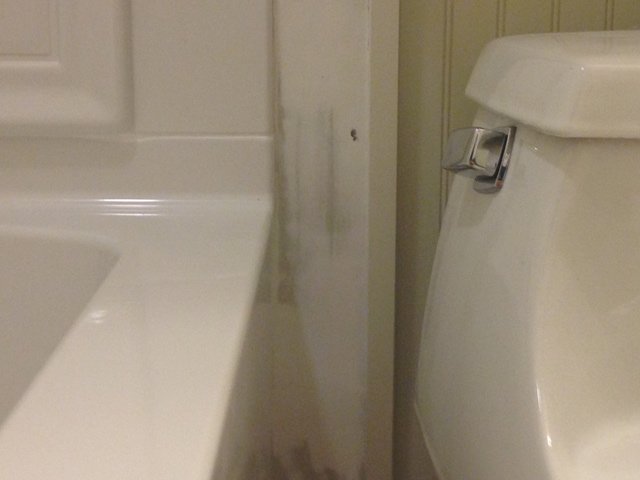
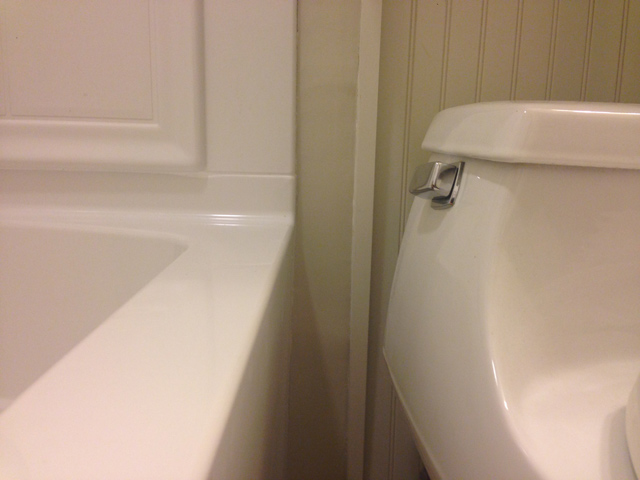
Like this wet piece of drywall from a lack of caulk.
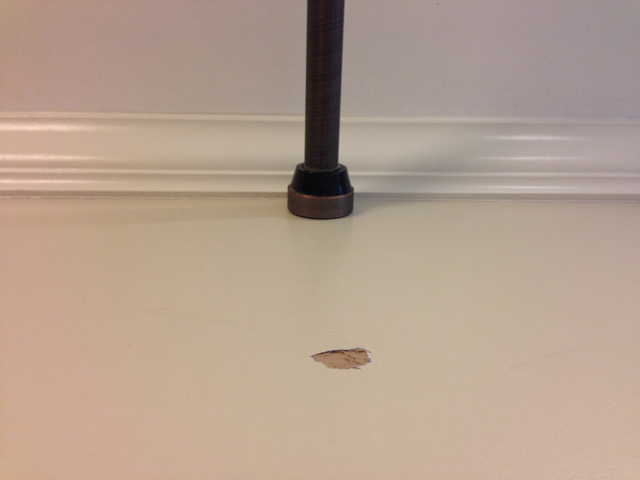
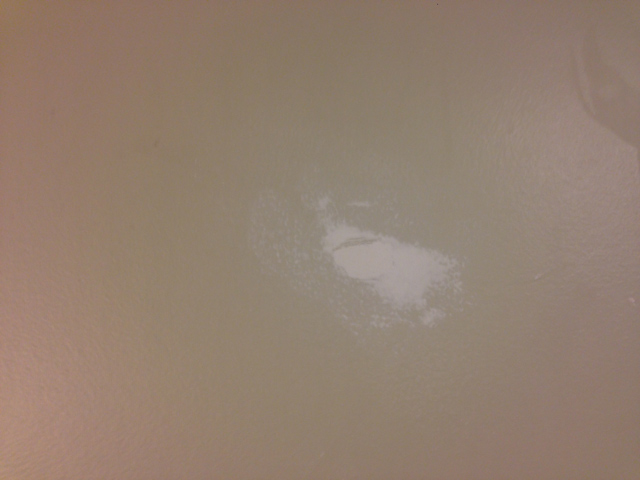
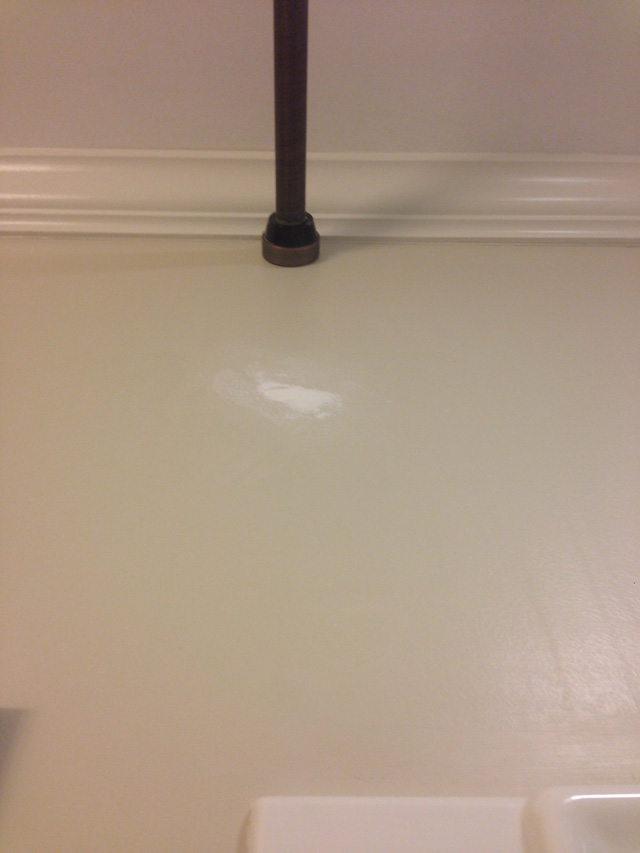
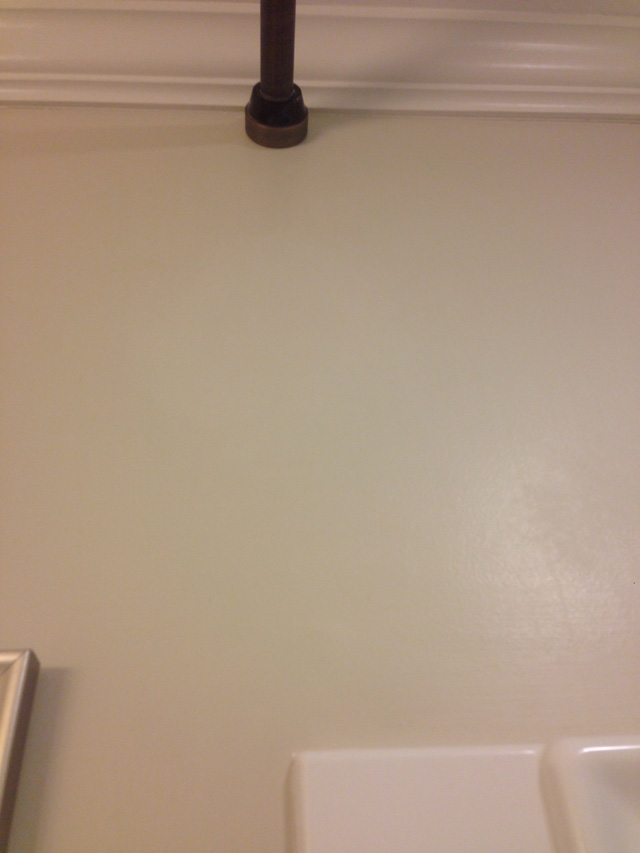
And this little divot from relocating the curtain rod.
Well my husband went out of town to finish up his SCUBA diving certification, so I hit it hard starting on a Saturday morning.
Remove Old Caulk
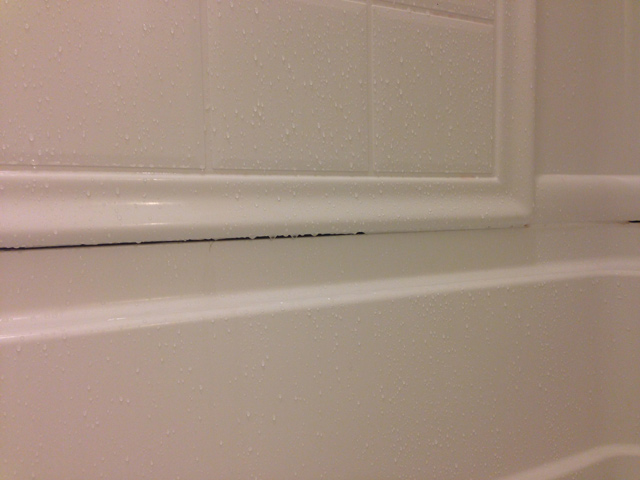
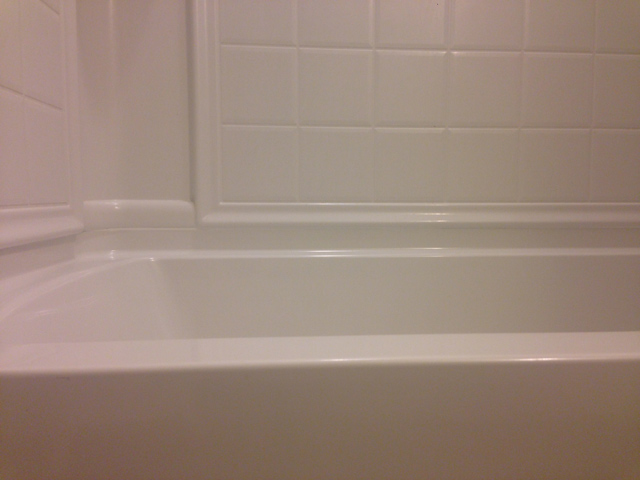
The first order of business was to remove and clean some moldy caulk around the bathtub.
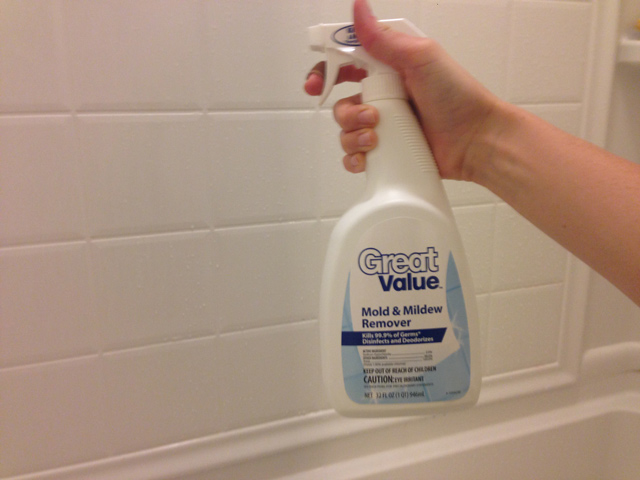
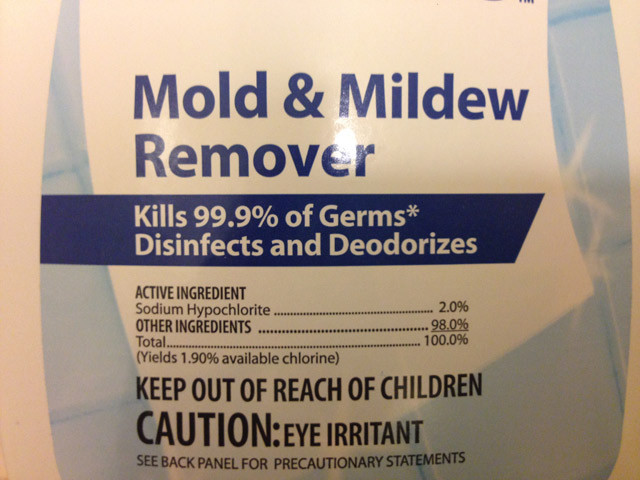
Since I had a little bit of mold brewing on the caulk, I wanted to make sure I killed the mold before reapplying caulk. Otherwise it’d keep coming back and ruin my new caulk! So I bought a cleaner that kills 99.9% of germs. This is important because a lot of cleaners will clean the mold stain, but not kill the source!
The directions were simple. Spray, wait 5 minutes, and wipe away. I let the caulk joint sit for 24 hours drying. Then I moved on to my next repair! Tackling that water-damaged drywall!
Remove Damaged Drywall
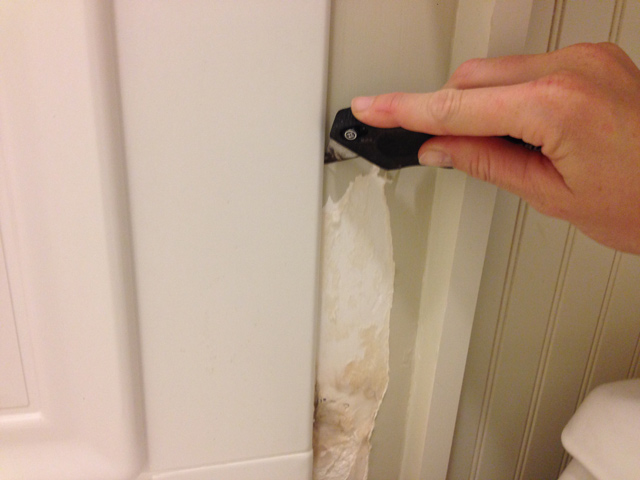
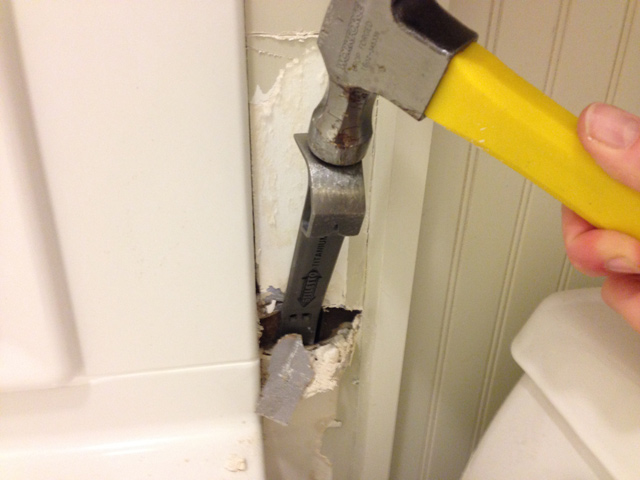
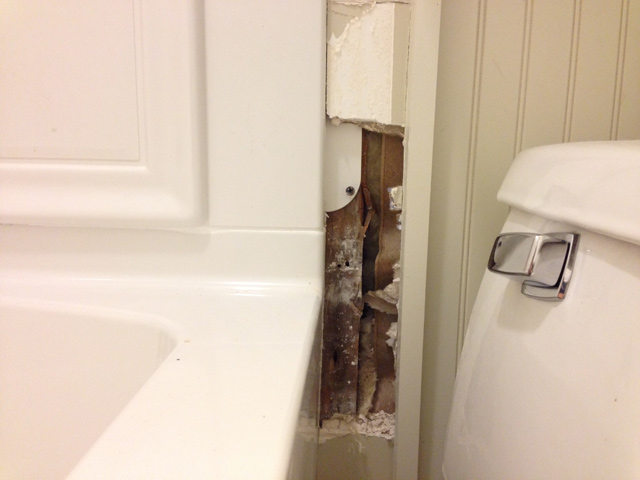
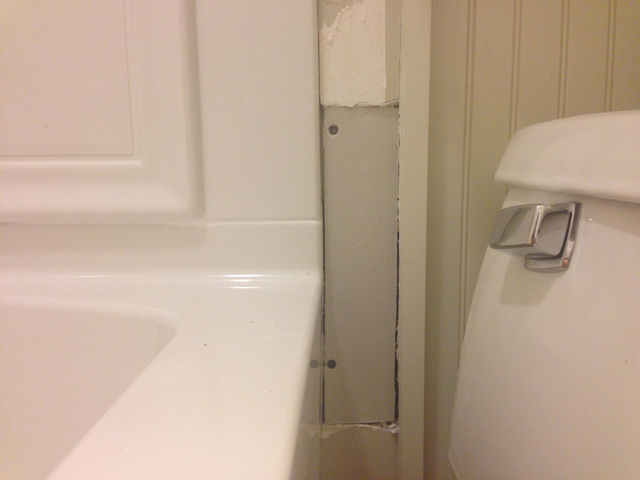
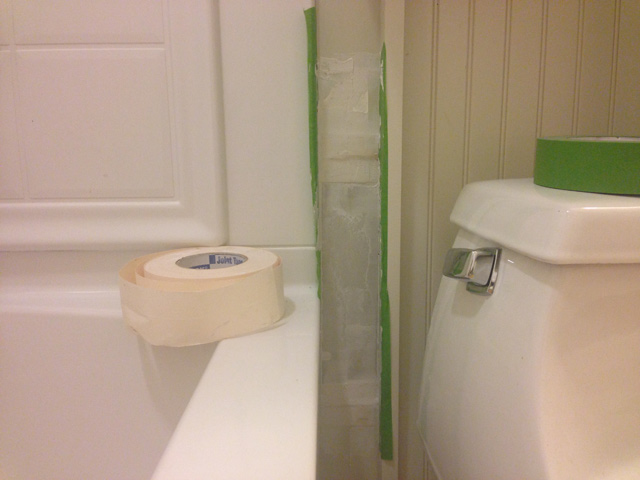
I started by removing the drywall. Using a utility to score above and below the badly damaged area. I also scored along the bathtub and the bead board’s trim.
Then it was time to bring out the heavy artillery, or my tiny crowbar and hammer.
I used them to pry out the bad stuff but still leave a mostly-straight line.
Replace Drywall
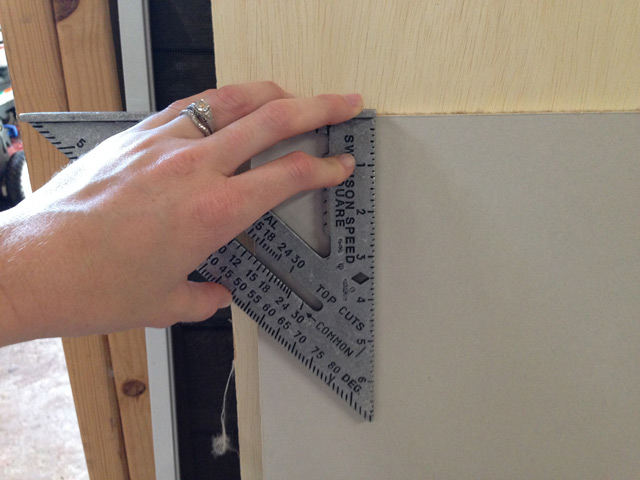
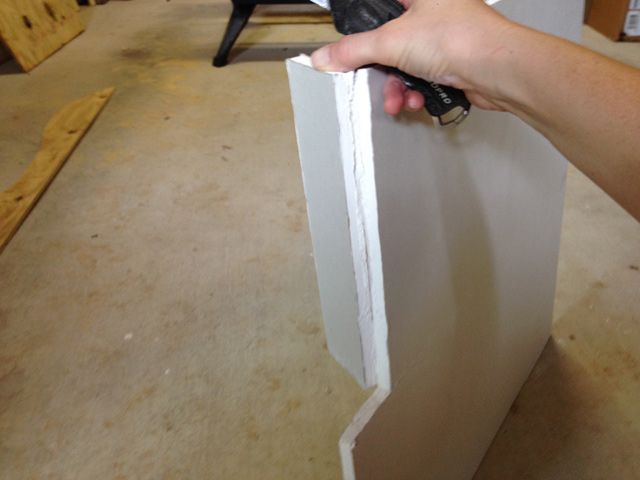
With the drywall out of the way, I measured the hole I needed to fill and headed out to my shop to cut the new drywall. I bought one of those 2 foot x 2 foot drywall squares you see in the drywall aisle at the home center. It was perfect for this job!
Again I used my utility knife to score along the cut line. I took 3 passes with the knife, going a little deeper each time, so I could get it as straight as possible. When all that was left was the paper backing, I bent it backwards and scored from the back with the knife.
Two drywall screws was all I needed to secure it to the stud.
Apply Joint Compound
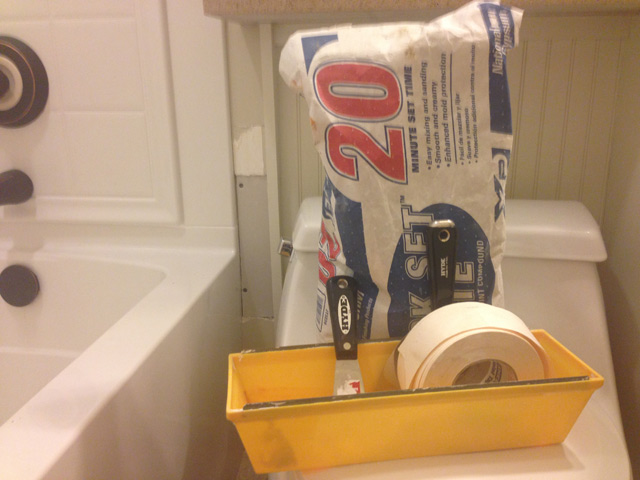
Then I got my materials ready for the 3-coat drywall mud process.
On small repair jobs, my dad likes to use “quick mud” on the first 2 coats and then switch to regular joint compound. So I did the same. The 20-minute mud only takes 20 minutes to dry before you can sand and re-coat.
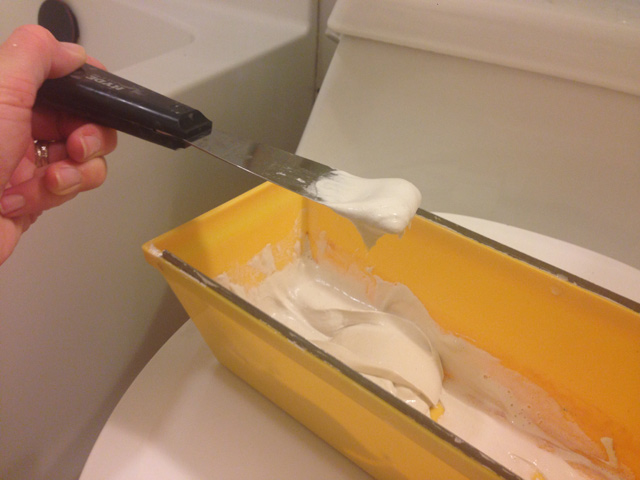
The down side is that you have to mix it up yourself, whereas the regular compound comes in pre-mixed buckets. I mixed a small amount in my tray and checked that the consistency was a little thicker than pancake batter.
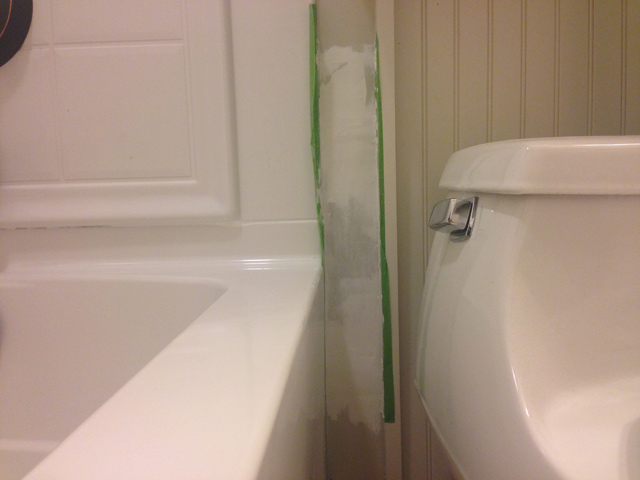
I first put a layer of mud on the 2 seams, then cut a piece of drywall tape to size for both seams and placed it in the mud, centered on the seams. I applied another coat over the tape, trying to make it as smooth as possible.
And since I still had some drywall mud in my tray, I turned around and applied the first coat to the divot in the wall from moving my shower curtain rod.
It was much easier than the tight space between the toilet and tub!
Mix Grout
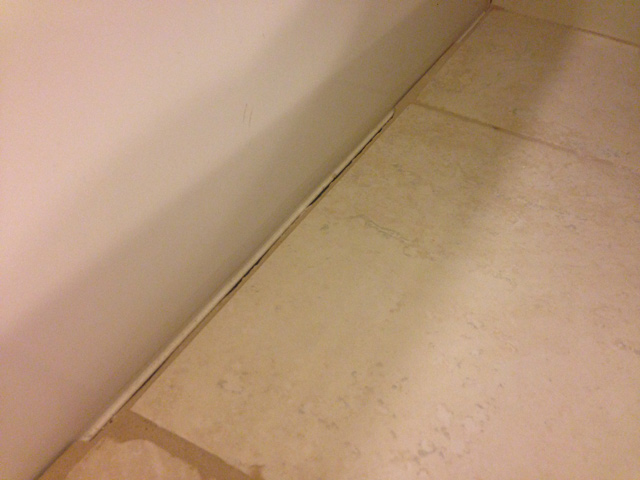
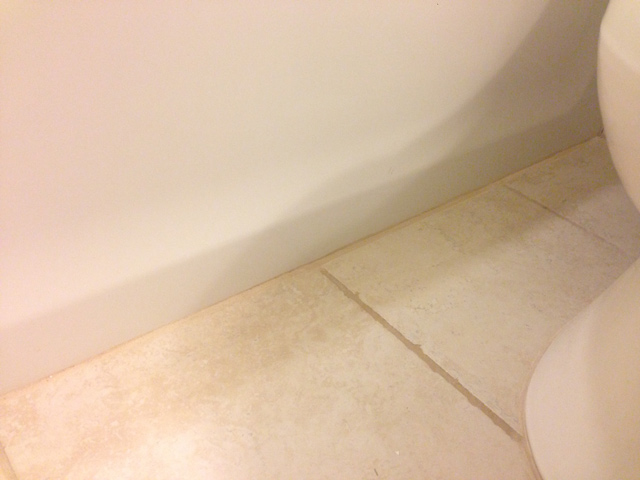
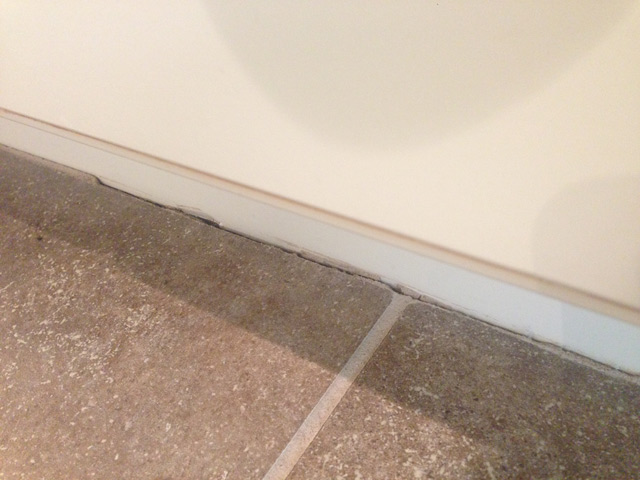
While those 2 spots were drying, I turned my attention to ANOTHER repair needed in the bathroom, grout. I guess with the fluctuation in weight of the bathtub the grout cracked.
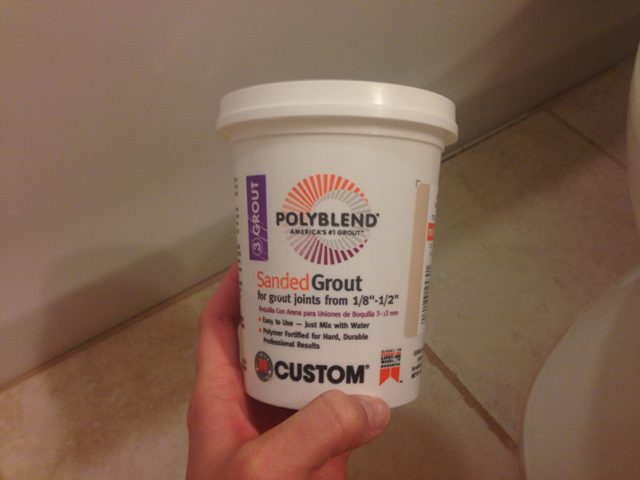
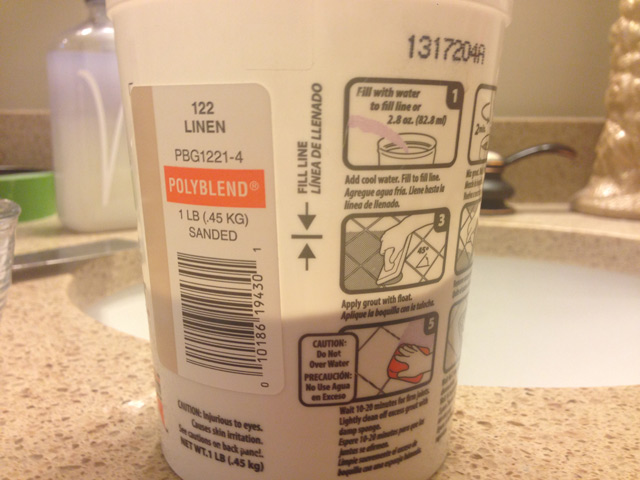
I had previously removed the chipped pieces. And I brought one of the pieces to the home center to match the color. Then I realized I bought my original grout from Home Depot, so maybe I would remember when the color when I saw it. While I was in the tile aisle, I saw the perfect thing for this small job, a 1 lb. tub of grout with room to mix water in the tub itself.
It actually is the same color and brand as my original grout! Score! (If you’re wondering, it is PolyBlend’s Linen.)
With the fill line on the outside of the tub, it was easy to add water for the right consistency.
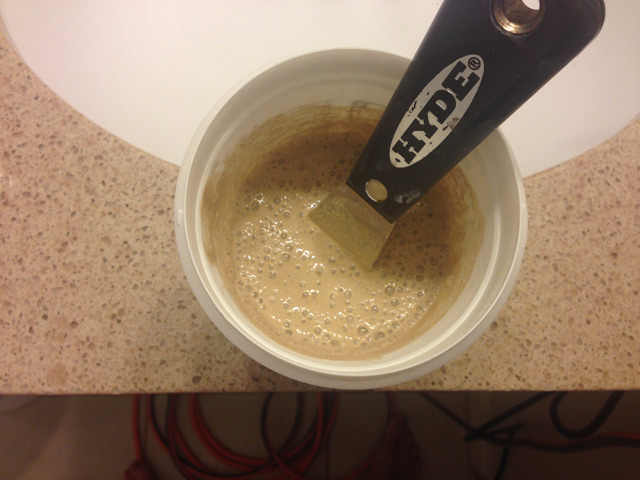
The directions call for you to mix in the water, then let it sit for 10 minutes before mixing again and applying.
Apply Grout
After the wait and re-stirring, I applied it with my putty knife since it was such a small and confining area. It required a little more working than perhaps a grout float would, but it got the job done. Of course I kept any weight off of the few nearby tiles while it dried. I think the results are worth the $5 price tag of the grout tub!
You can see it’s not a perfect match. Perhaps it’s due to the 2+ years of wear, tear and staining the older grout has on the new grout. But way less obvious than missing grout!
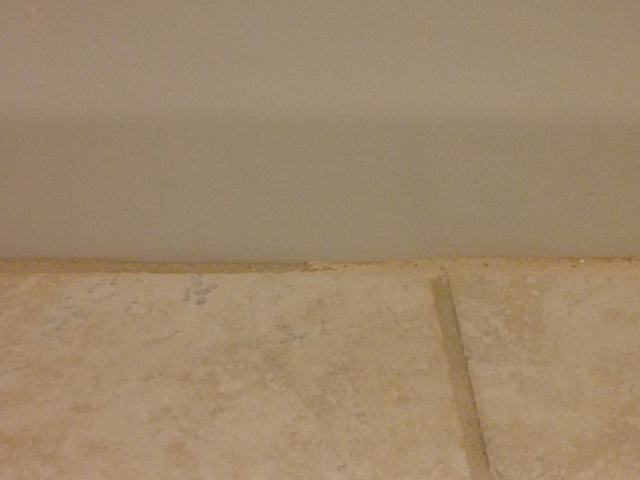
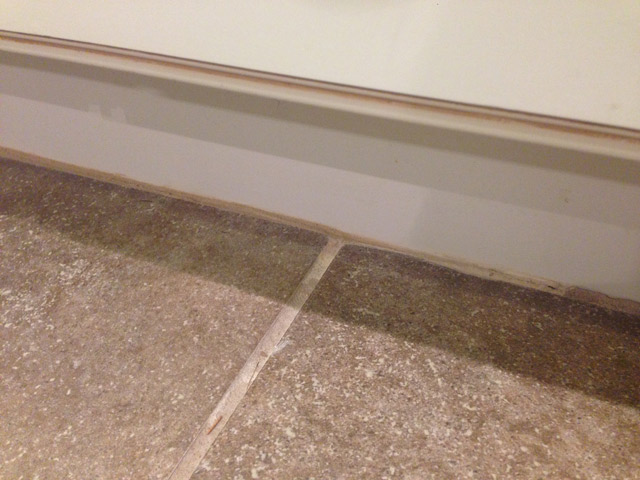
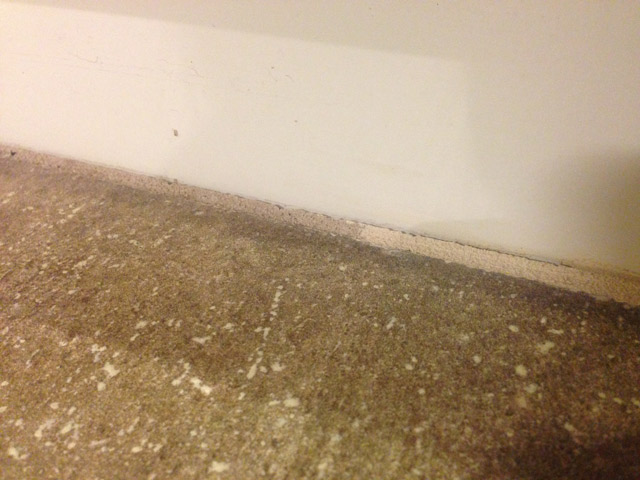
Double-repairing once again, I headed into the kitchen where I had noticed a spot where the grout was also missing, up against the cabinets.
I knew for sure the grout would not match, but it’s so inconspicuous to anyone but me, I didn’t hesitate to use what was leftover in the grout tub. So 2 repairs for the price of 1. 🙂
Sand Drywall Repairs
By this time, the first coat of drywall was dry enough to sand. I used the small edge of sanding block to get in that small space. Once the smoothness was to my liking, I vacuumed up the dust with a wet/dry vac. Don’t forget to vacuum the wall, too, if you’re doing a repair to your drywall.
Then I mixed up another small batch of quick mud and applied another thin coat to both the wall by the toilet and the damage from the shower curtain rod. The second coat is always a relief. It makes you think that it might actually look OK in the end. Because the first coat definitely doesn’t do that!
Apply New Caulk
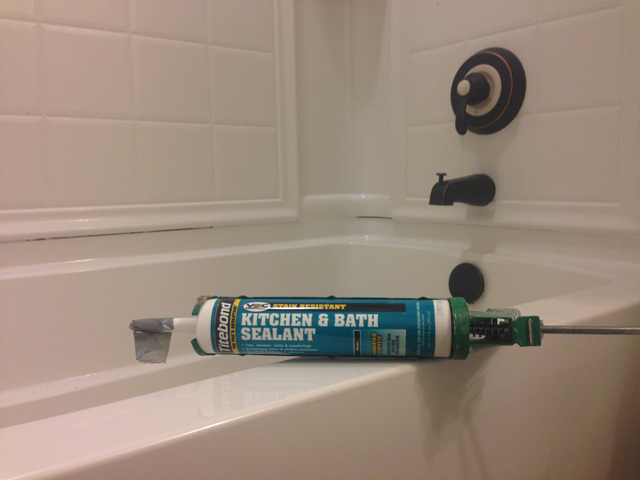
With the grout complete and everything else still drying, it was time to call it a day! But I woke up on Sunday ready to finish the drywall and caulk. Since it had been 24 hours since I had sprayed my mold and mildew remover, I started with applying the caulk. I used a silicone sealant.
It’s easy enough to wipe up with a wet rag while it’s still wet, but don’t let it dry too much or you’ll have to get out the denatured alcohol to clean up.
It only took me about 20 minutes to apply and, again, the results are worth the ooey-gooey-ness that comes with any caulk job!
Sand Drywall, Again
And then there was one! I moved on to sanding the drywall again and re-coating for the third and final time. This time I used the regular 24-hour drying joint compound (the one in the green and white bucket).
Fortunately the shower rod repair didn’t require a third coat, just a little sanding before it was ready for paint.
Touch Up Paint
So come Monday morning, everything was dry. I took my sanding block to the wall once again and called it complete! After vacuuming the dust, I dug out the wall paint and covered my beautiful repair. I spread it on in long strokes and then followed up by daintily jabbing the paint brush on the wet paint. This more closely mimics the look of a paint roller to blend it in with the original paint job.
It made a bigger difference when I used the same technique on the shower rod repair area.
I’m very pleased with all of the repairs I made to my tiny bathroom over the course of one weekend! Although, in my opinion, it’s too soon after my remodel to have to do such things. I guess that’s the life of a homeowner! Hopefully these repairs will last longer than their predecessors!
And just for fun, here’s the evolution of my drywall repair in one JPEG!

Anyone else tackled small repairs lately? They aren’t as satisfying as doing something new for your space, but necessary nonetheless! Who else smiles every time they walk by one of their repairs and realizes it’s not an eye sore anymore? Share in the comments below!
Thanks for Checking In! ~Chelsea




My bathroom area needs to have drywall repaired. Normally, I tend to avoid doing this work as I’m afraid what I might do might make it worse, and I tend to do that. The instructions you displayed actually make this seem like a nice weekend project to repair my drywall.
What was the green tape that you put on wall? It looks like two drywall tapes were used on wall.
The green tape is a type of painter’s tape called FrogTape. I used it to protect the trim and tub from the drywall mud. Less scraping when I was done! Hope that helps! ~ Chelsea
Hi Chelsea! This is exactly what I was looking for. The same thing happened to my drywall because of a bad caulk job. So novice question did you remove ALL of the caulk first? (Tiny bits of it just don’t want to scrape off deal in the crack) How is it holding up?
I had to go back and look at my pictures to see! Ha! Is your caulk moldy? That’s the only reason I was removing mine. I only removed what was easy to remove. Don’t fret if it won’t all come out! But definitely treat it for mold before reapplying new caulk. The drywall repair has held up really well! So I guess it was the lack of caulk that was getting it wet in the first place. I’m also paranoid about making sure the shower curtain is covering that area when I shower! Hope that helps you out! ~Chelsea
It does!! Thank you so much for replying!
Thank you so much for this. This is exactly the type of repair that I am doing right now on my bathroom.
Where did all the photos go 🙁 I was going to show my husband this to repair some drywall in our bathroom (exactly the same spot as was in the photos and everything) and all the photos have blue boxes with questions marks.
😩😩 I hate when that happens! I’m seeing them on my end. Maybe try restarting your browser or computer/phone? Hope that helps, Chelsea