A Place To Hang My Keys
Back when I first bought my house, it had this large, beautiful cedar tree in the front yard.

But unfortunately its beauty didn’t make up for the fact that it was dangerously close to my house and roofline. So when it was time to replace the siding, the cedar tree was removed with the help of some heavy machinery.

And if anyone ever says I’m a hoarder, I get it from my Dad. Because he insisted we save that tree trunk behind my shed. And save it we did for close to 2 years before we finally figured out what we wanted to do with it, build a headboard that could be a new family heirloom.
We chronicled the whole trip to the sawmill and building of the headboard on this episode of Today’s Homeowner. We think it turned out pretty great!
But I’m not writing to spill the gory, I mean glory, details of the headboard. I made a little lagniappe with scraps from the sawmill.
This handy key rack for the back door.

I thought it had a cute boat shape on its own, so there was no cutting required. To get the hooks attached (I used cup hooks found in the hardware aisle at the home center), I eyeballed where I wanted them to end up. Then I found a drill bit slightly smaller than the diameter of the screw on the end of the hook, to make sure it would get a good bite, and drilled the three holes all the way through.

From there I screwed in the hooks.
Since there was a small gap from the end of the screw tip to the back of the wood plaque, I utilized it to attach the whole thing to the wall. I found some way-longer-than-I-needed nails that fit snuggly into the holes I drilled for the hooks. With a dab of glue on the nail heads, I inserted them into the back. 2 nails were more than enough to support the key rack, so I put one on each side and none in the middle hole.
Then I was ready to put the nails in the wall. Again, I eyeballed where I wanted the key rack. I held it up to the wall and put pressure on it so the nails would leave a mark on the drywall. I grabbed the drill and a bit slightly smaller than the nails and predrilled a hole where the marks were on the drywall. Once that was done, I placed the nails in the holes and used the hammer to tap on the front of the key rack to nudge them into the wall.
This picture was taken after it had been installed for a few months. When I took it off the wall one stubborn nail didn’t come off with it. So please forgive my poor photographic illustrations for this particular post.

I immediately put it to good use and hung my keys! It works much better than the window ledge where I previously kept my keys. It kept getting scratched and looked dirty all of the time. Yuck.
Have you ever built a project using only scraps? My dad once built a whole house using leftover materials from other jobs! Do you keep your keys in the same spot all the time? Or do you always lose them like I would without my key rack?

You May Also Like
Final Window Trim Roundup
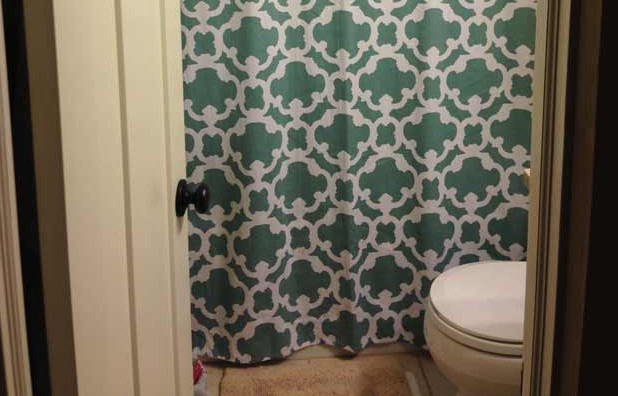
How to Make a Floor-to-Ceiling Shower Curtain