Happy New Year! I’ve got lots of great, easy (and some a tad more difficult) projects planned for this year. So I hope you’ll keep Checking In with me throughout the year for some inspiration and downright how-to information. But for now, your regularly scheduled program.
It seems storage and organization are always trending topics this time of year. And for good reason. It’s always nice to have a catalyst to start fresh, whether it involves getting rid of stuff or organizing what you’ve got. So that’s why this month’s project falls into that category. But I’m not going to give you any tips on how to organize. Just a fun way to make utilitarian storage a little more cute.
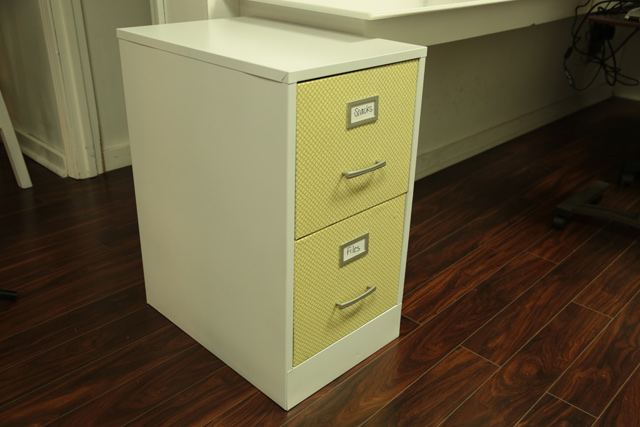
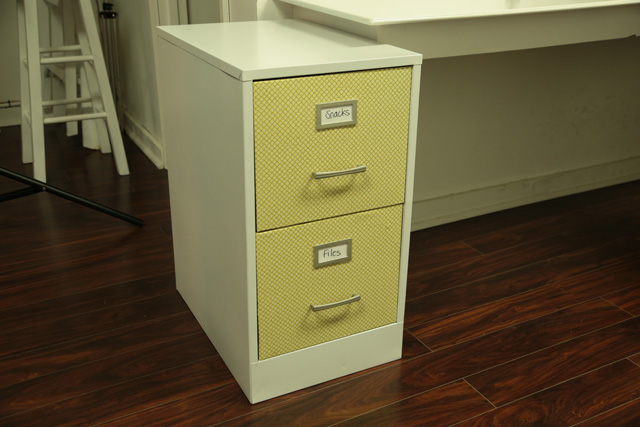
Exhibit A:

Toni, a local photographer, and I took her old, mundane filing cabinet and transformed it with simple tools and materials.
Items We Used:
- screwdriver
- sandpaper
- dust mask or respirator
- Mod Podge
- foam brush
- cabinet pulls
- scissors
- straight edge
- lightweight fabric
After taking off the handles, label holders, and lock, we lightly sanded the entire surface (220-grit sandpaper) to get rid of a few rust spots and just general grime. Then we drug the cabinet outside and spray painted it white with several light coats. (Most spray paints these days can be applied to almost any surface, including metal. Check the label on your can to be sure, though.)
But we left the drawers inside since we had other plans for them. We did, however, spray paint the old label holders with a satin nickel hammered spray paint to match our new drawer pulls.
Before we attached our new hardware, we spread a nice, even coat of Mod Podge on the face of the drawers. Then we quickly laid a piece of scrap fabric on top, making sure the pattern went in the same direction on both drawers. While the glue was still wet we used a ruler to smooth out any bubbles before cutting the excess fabric. Another idea is to use scrapbook paper or wallpaper scraps. The same installation instructions apply.
We wanted the fabric to wrap around the sides of the drawers, so we also spread glue on the edges and pressed the fabric in place.
Mod Podge is great for a project like this. It adheres to almost anything but won’t make colors run on fabrics or papers like other glues can. Plus you can put a coat on top to protect it from stains and other wear and tear.
You don’t have to wait for the glue to dry to finish the makeover either. We snapped the label holders and screwed in the new drawer pulls next.
Once the spray paint on the sides of the cabinet was dry, Toni and I were ready to transport it back to her photography studio in lovely downtown Mobile, Alabama!

Toni’s a woman after my own heart since she’s planning to keep snacks in one of the drawers. Who needs files anyways? 🙂
Of course I couldn’t leave without a few photos of the filing cabinet…and myself!

Ha!
Don’t forget to watch the video above for the nitty gritty details. Hope everyone has a blessed and prosperous 2016!
Thanks for Checking In! ~ Chelsea


This is great!! I’m so doing this to my file cabinet
I did this file cabinet makeover but my file cabinets had these weird drawer pulls that made pushing them back into the fabric problematic. I cut a hole in the fabric but it was not precise enough and ended up looking a little rough in the middle around the drawer pulls. Additionally, I think I could have benefited from more specific directions about how to secure the edges or at least a close up while you did this on the video. We can’t see what you are doing for 1/3 of the demonstration. I am pretty happy with how they turned out. Definitely an upgrade from the brown metal file cabinets! Thank you for the inspiration.
Good feedback, Catherine! I’ll keep this in mind for future videos. ~Chelsea