The Armchair Reimagined
I hope everyone had a great Thanksgiving break with family and friends! My husband and I survived our first road trip with baby Mary Helen up to Indiana and back to visit his side of the family.
Speaking of the baby, my latest project is all about rehabbing a piece of furniture that came out of her room at the beginning of its transformation. Exhibit A:
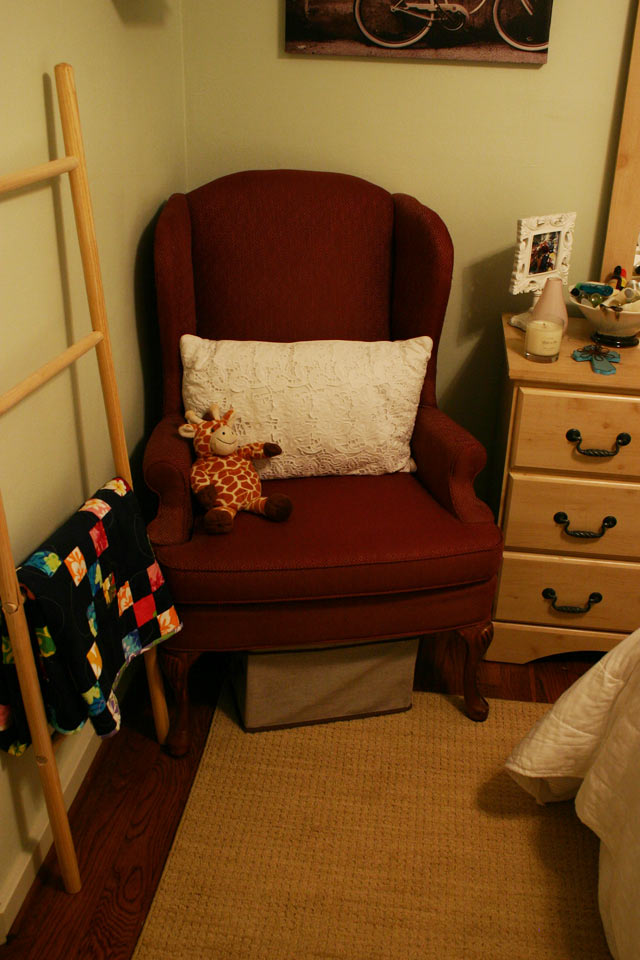
This lovely, over 20-year-old wingback armchair was inherited from my parents after they remodeled and refurnished their living room. I bought a slipcover for it at one point, but it didn’t fit very well and was returned.
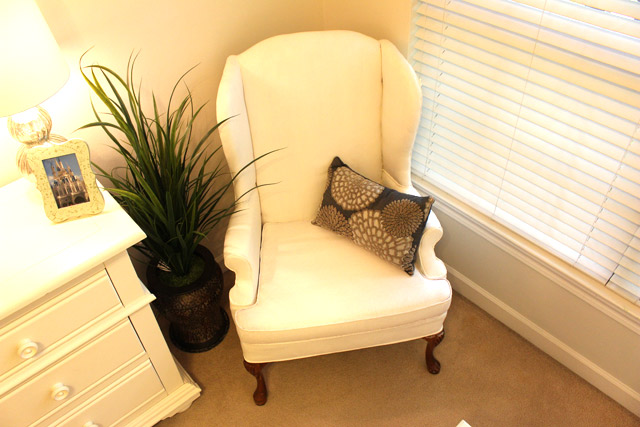
When we moved everything out of the guest room to make way for baby, my sister Emily then inherited the chair. But before it was relocated to my parents’ house for her room, we decided to do something crazy…paint it! And I’m not talking about painting the wood legs. We went all out and painted the upholstery fabric!
I experimented with painting fabric a few months ago when I painted an outdoor rug. And it’s still holding up well, so why not try it out on a chair?!
We figured that since reupholstering the chair was out of the question (and budget) for now, we didn’t have anything to lose. It can still be reupholstered down the road if it didn’t turn out well.
Of course before the paint comes the prep! A previous kitty cat pet used this chair and its matching partner as scratch poles. So there was some “fringe” on the back that needed to be trimmed.
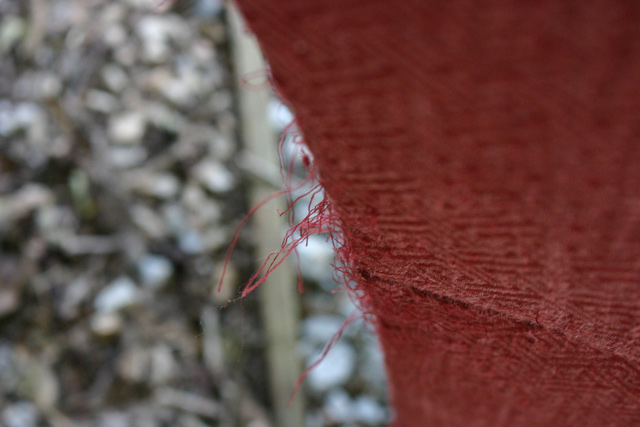
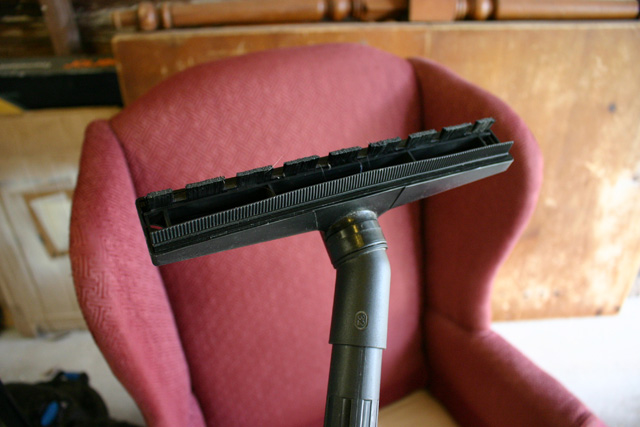
Nothing some decent scissors couldn’t take care of. Then we broke out the upholstery brush attachment on the vacuum to clean the fabric the best we could. It was dusty in the crevices from being out in the shop for a few weeks before we got started.
Now comes the fun, “magic” part. The trick to painting a chair, or any fabric, is using an additive in your latex paint. In particular, we used what’s called “fabric medium”. There are a few brands out there you can pick up from a craft store or online. It helps the paint soak down into the fabric instead of sitting on top and becoming crusty.
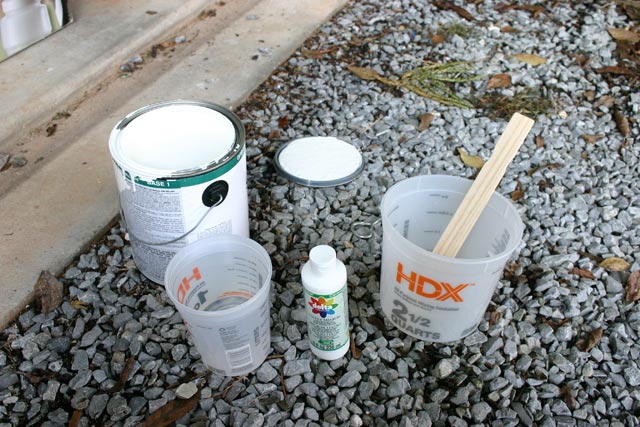
We also added some water to the mix to dilute the paint down even more. Mix 2 parts paint with 1 part water and 1 part fabric medium. The fabric medium we used came in 8 ounce bottles. So we mixed that with a cup of water and 2 cups of paint. We weren’t sure how far the paint would go, so we only made a little at a time.
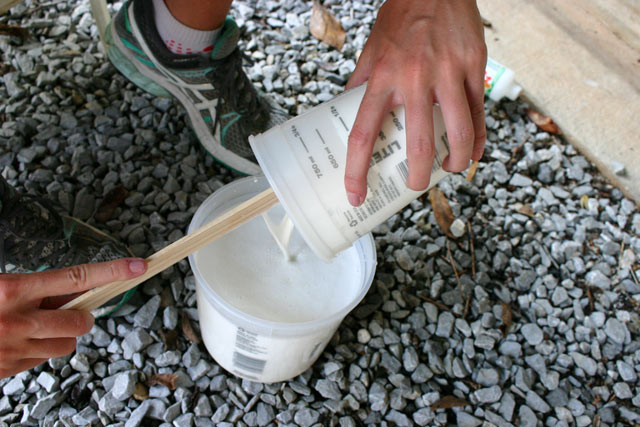
If your paint doesn’t have primer in it, you can follow these same steps with a stain-blocking latex primer in the place of paint for your first coat or two. Then follow it up with a mix of your paint with more fabric medium and water.
Before applying your paint (or primer) mixture with a regular paint brush, lightly mist the fabric with water. Again, this will help the paint soak down into the fibers of the fabric.
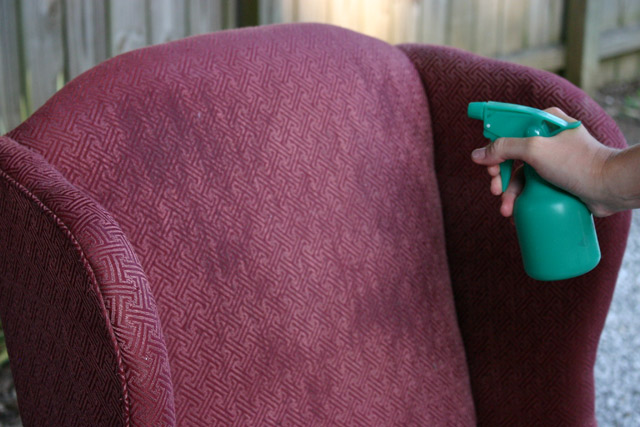
Emily and I got the cheapest paint available which did not have primer in it. And it didn’t even dawn on me that we were painting white over a dark maroon without priming.
So about 3 coats in, we still didn’t have much coverage. It was more of a haze.
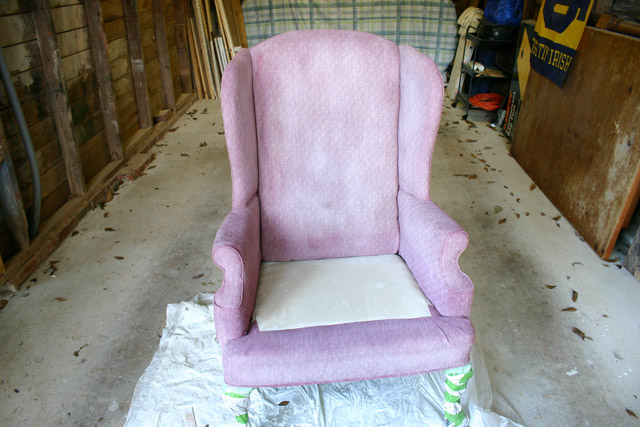
Nothing like adding work to a project to teach you a lesson on primer! One I probably already learned before, albeit not very well. 🙂
I added some primer to our already-made-up paint mixture for the 4th coat. It “stuck” much better!
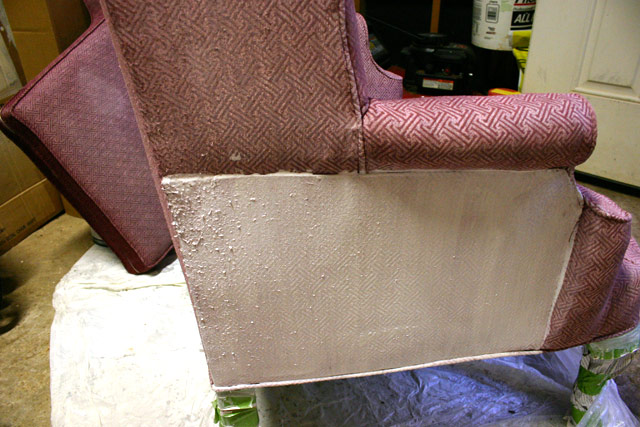
Once we were back on track, we painted another 3 coats (sanding between coats) to get nice, even coverage on all of the fabric surfaces.
Between each and every coat, we sanded the entire chair with 220-grit sandpaper. This helps soften up the fabric and eliminate any fibers that raise up after painting.
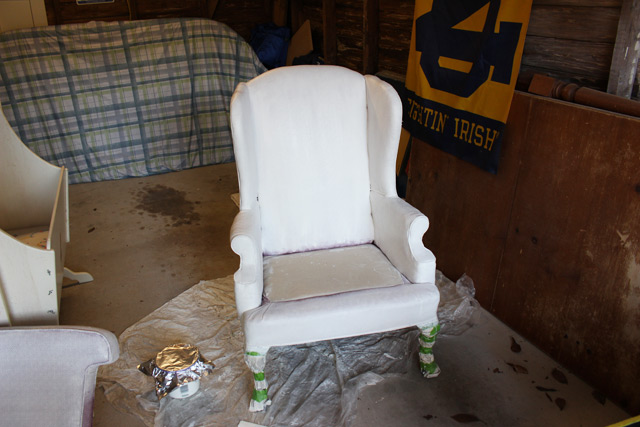
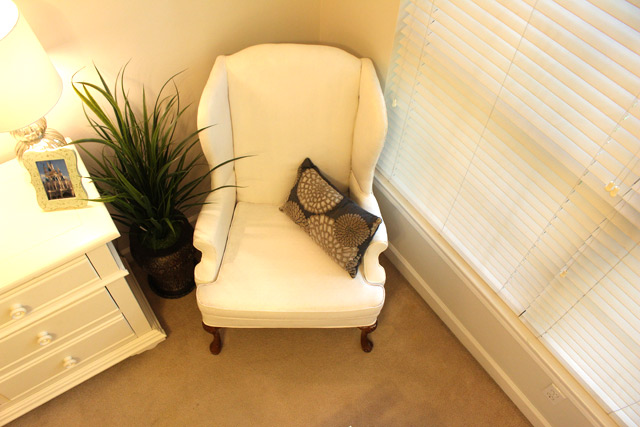
Then we moved it into its new space in Emily’s room. It looks great tucked in her corner!
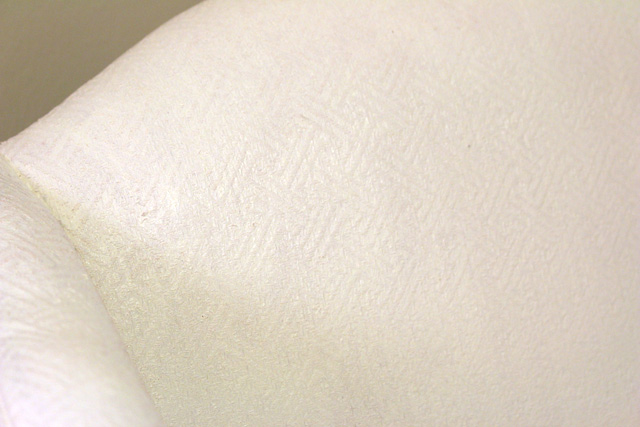
The upholstery fabric on our chair had a pattern when we started.
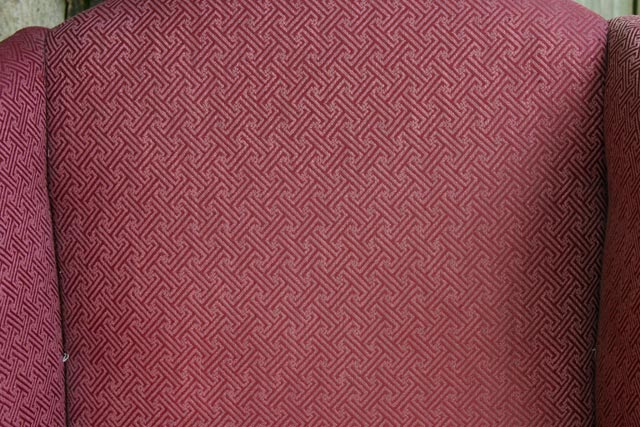
And since it’s a heavy duty upholstery fabric, the pattern isn’t just printed on there. It’s sort of raised. So that means the pattern will still be evident after all the painting is said and done.
So if you don’t like the pattern of your furniture, this won’t help you. But if changing the color of your chair is what you’re after, then this is a great option!
I must say you can’t expect a painted chair to be a cozy one you’ll want to curl up in. While the fabric isn’t crusty, it’s still pretty stiff. Our chair has the shiny look of leather, but isn’t buttery soft no matter how much it was sanded between coats. That being said, our fabric before painting wasn’t soft so you get what you pay for.
I think it’s perfect for an occasional chair to finish up a room or sit on while you put on your shoes. And if all you get in the end is a nice-looking chair that you don’t want to sit in, that’s not too bad, right?

Are we crazy or is this something you’d do too? Don’t forget to comment below! Thanks for Checking In! ~ Chelsea



2 Comments
Leann
I would try it; although, I have never heard, until now, of painting furniture.
Mary
Glad to read about your project and see how great it came out. Furniture painting is in the back of my mind to try. I have used chalk paint on our kitchen cabinets, bathroom vanity and several wood pieces. Since it has such a great “tooth” I will give it a go on fabric. Love this stuff. No priming or prep required and it wears like iron. Much cheaper than new cabinets. So wish me luck & you go, girl, with everything that you dream!!! MC