Framed with Pink and Gold
I’ve mentioned a few times in various posts my desire to hang a gallery wall somewhere in my home. I just never found the right spot to do so. (Even though I’ve been collecting frames and mementos to be a part of it for over a year now…)
Well, with things falling into place for the nursery, the perfect opportunity presented itself! I give you this blank wall.

Back in July I was in Atlanta and couldn’t resist a trip to IKEA. There I picked up a few frames for this wall, not sure at the time what would go in them. I also picked up the lamp shade that was the catalyst for the curtains and other shades of pink for the room.
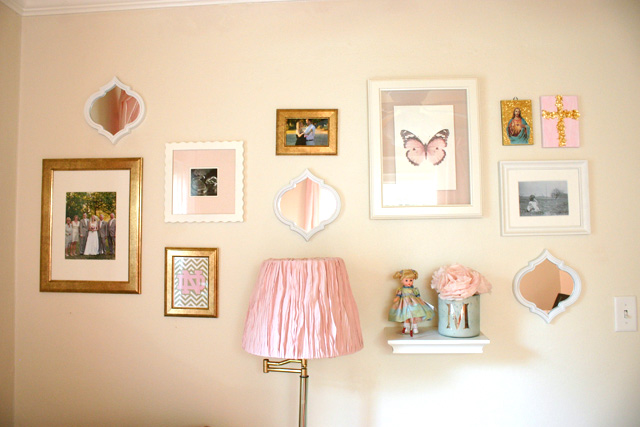
And the lamp shade is where I started my gallery wall. Since it’s in the middle of the wall, I incorporated it into my “design”.
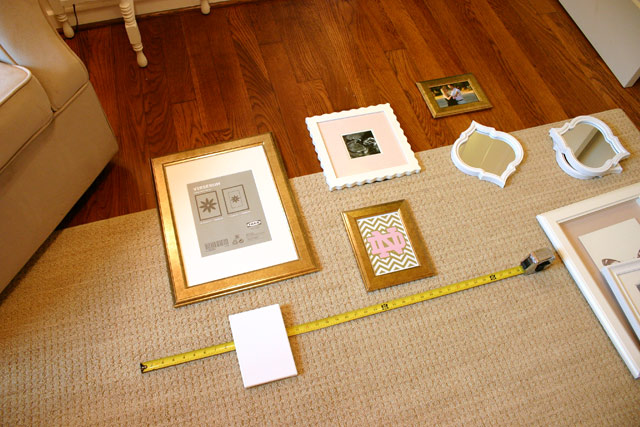
Fortunately, while my mom was over helping me decide where to hang the curtains, she also helped me lay out my frames.

When it comes to curating a gallery wall it helps to have a “theme”, or something that is carried through out the collection. Mine revolved around the colors pink, gold and white. Of course there are a bajillion ways to figure out the structure of your gallery wall, though it also helps to have some consistency, like spacing. You want everything to be similarly spaced apart, even if it’s not a wall of matching frames. So go big or go small with your spacing, but try to keep it consistent.
Mom and I roughly laid out the frames, not concerning ourselves with exact measurements. I just wanted a general idea of where everything would look good.
So when it came time to hang everything up, I got out the tape measure. The lamp shade was put in place and I measured from the corner of the wall to the top of the shade. Then that measurement was used to determine the spacing for the items to its left, mainly the big gold frame and the square white one.
I hammered small wire nails, very slowly, to hang everything on. A few bent as they were going into that awful plaster, but nothing to sweat about. I did realize that it helped to hold it between my forefinger and thumb as long as possible while hammering. Then reduce to one finger to support it a little longer. It just helped to keep it straight and not bend when it hit the hardest part of the plaster.
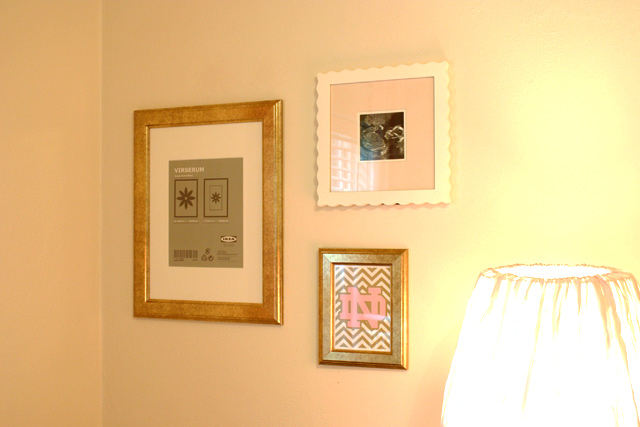
Once those 3 frames were hanging, I filled out the rest of the left side before moving onto the right side of the shade. Again I measured the wall between the right edge of the lamp shade and the light switch to determine the spacing for my frames.
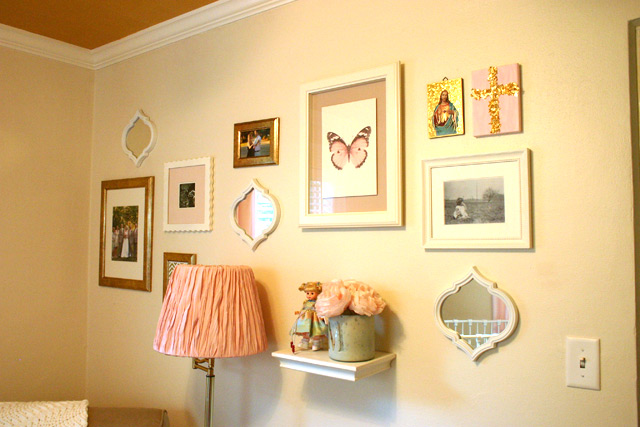
I went left to right as I was hanging the frames (and floating shelf), eyeballing some and measuring others until everything was off the floor and on the wall!

You can see the big gold frame is missing a picture and there’s a blank canvas hanging on the wall. I waited to see how the frame would be oriented on the wall before deciding which picture to put in it. After a quick order on Walmart.com, I had a picture from our wedding day with all of our parents. Not only does the coloring in the picture look good in the room and on the wall, but how fitting for the room of a child that’s a physical representation of the 2 families merging together!
And since I was anxious to put the wall together, I also waited to paint the canvas. Then I ended up moving it to the other side to keep Jesus company.
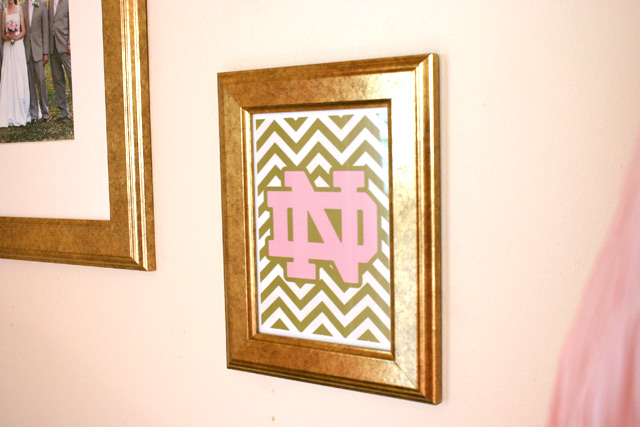
I love how personal a wall like this can be! One of the first things I had for the wall was a version of the University of Notre Dame logo over gold chevron stripes that I photoshopped and Instagrammed a few weeks ago. Since her dad is an alumnus and a HUGE fan of Notre Dame, it’s inevitable that our daughter will also cheer on the Irish with great pride.
And of course we had to include the prettiest picture we have of our daughter so far. At 20 weeks gestation, it’s the day we found it he/she would be a she!

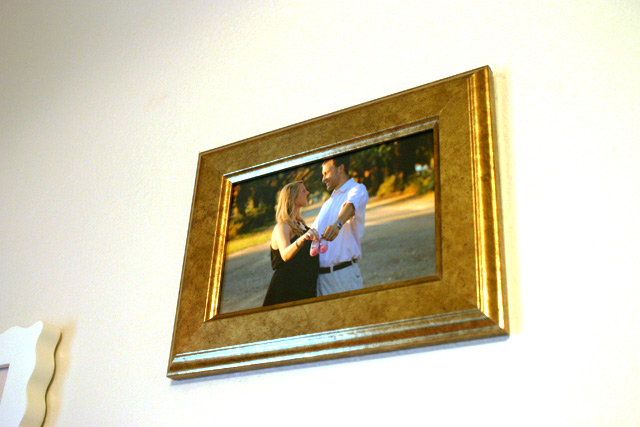
My sister graciously took some maternity photos of Brandon and I to commemorate this special time. So I let Brandon choose which one to go in the gold 5×7 frame near the top of the wall. He chose wisely!
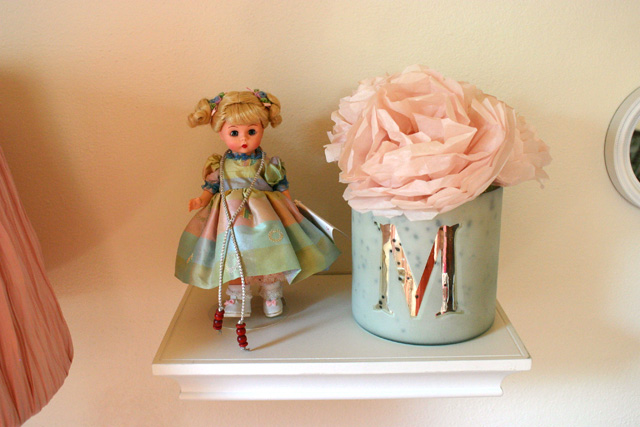
Sometime last year, after we were married, I created some peony-like flowers out of tissue paper for a vase we received as a wedding gift. They were the perfect shade of pink for the nursery. But I loved them so much in our living room I didn’t want to relocate them. So I made 3 more for the candle holder turned vase with the first initial of our daughter’s to-be moniker. I set the vase on the floating shelf with one of my old Madame Alexander dolls for a little 3D visual interest.
(I’ll be posting about how I made the flowers in a few weeks, so keep checking back!)
My FAVORITE part of the whole entire wall, though, is this sweet image of my beloved maternal grandmother at the tender age of 1-ish. It makes me sad that Brandon never had the opportunity to meet this sweet woman, but her name will live on since we’ll be naming our daughter after her!

I also have a post planned on how I made the pink and gold cross canvas. But that’s some of the light-weight content I’ll be sharing while I take “maternity leave”. Don’t want to leave you without something pink and shiny to read about while I’m recovering and bonding postpartum!
I’m sure I’ll get plenty of time staring at this wall during that time too while sitting in the glider with my daughter. So it’s a good thing I kind of like it! 🙂
I’m currently almost done with a skirt for the crib using the leftover fitted sheets from making the curtains from flat sheets. So that will be coming up within the week. You can apply the same process to create a bed skirt for a regular human-sized bed, so don’t miss it if you’re in the market.
Thanks for Checking In! ~ Chelsea


