DIY Christmas Topiary
Whether you’re looking for a last-minute Christmas decor project or saving up ideas for next year, I love the way these DIY Christmas topiaries turned out!
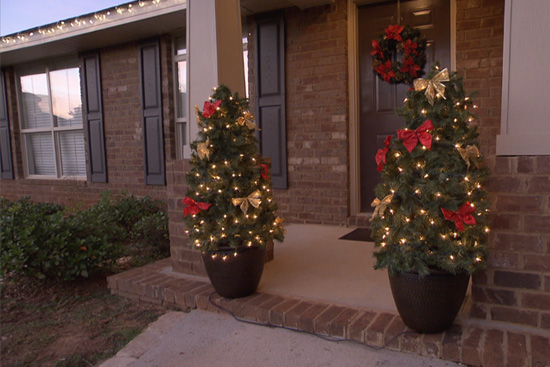
Maybe you saw this video on Facebook in the fall? I mostly followed the same steps but exchanged the fall leaf garland for Christmas green garland.
In all honesty, most of my Christmas decorations were purchased on sale the days after Christmas the past few years. Like 50-75% off kind of sales! So if that’s the way you like to shop too, here’s what you’ll need to complete this project next year. (You can also pin it to save the how-to for later!)
- (2) medium-sized planters*
- (2) tomato cages*
- (2) rubber bands
- cutting pliers or bolt cutters*
- artificial garland* (We used 36 ft on each topiary.)
- Christmas lights*
- red or gold bows*
I guess I should mention I made these as part of a special Christmas episode of Today’s Homeowner. The homeowner, Liz, and I worked together to create our masterpieces. 🙂
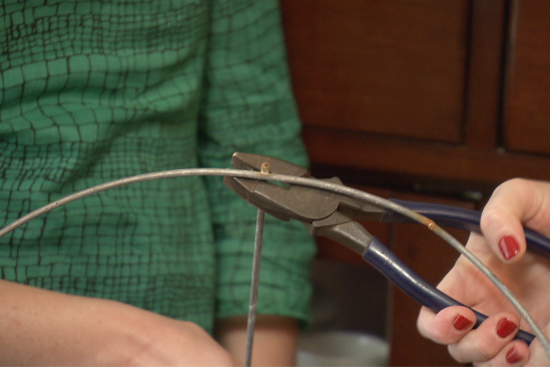
The first thing we did was use some lineman’s pliers, to cut the top (and largest) ring off of our tomato cages. The wire is pretty thick, so you may need to borrow some bolt cutters to get the job done if your cutting pliers aren’t sharp enough.
Then we were able to squeeze it down into our planter so the next ring sat on top of the rim. At this point the tomato cage is technically upside down.
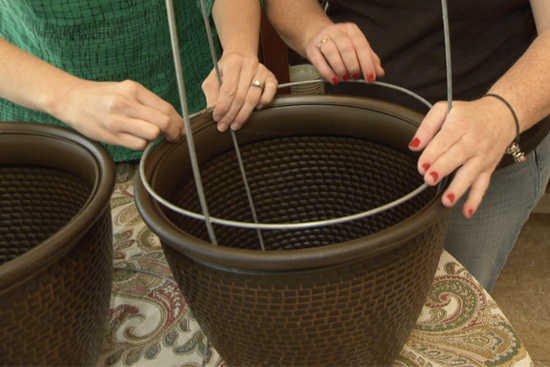
We used the rubber bands to gather the stakes at the now top of the cage together to create a tapered frame before we started wrapping it all in garland. For this project we used (3) 12-foot lengths of garland for each topiary. They were $3.98 each, so not bad for not being on sale! And for whatever reason I wanted to start wrapping the garland from the bottom of the frame. To each their own though!
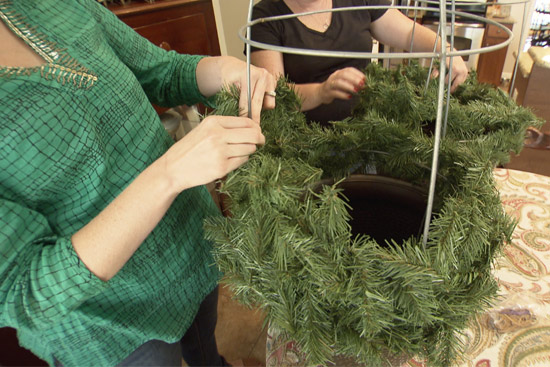
But the next step is adding lights. And for that I’d definitely recommend starting at the top and working your way down so your plug is at the bottom and closer to an outlet when you’re done.
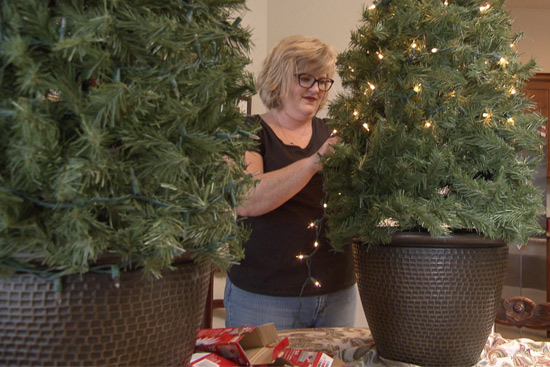
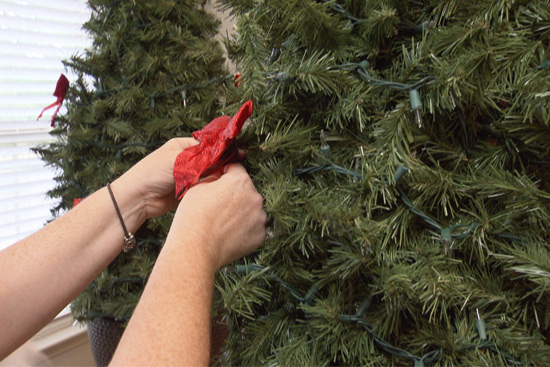
Once the lights were installed and evenly spaced, we added some quick little red and gold bows to make these topiaries even more festive! You could add ornaments or really anything you’d normally add to a Christmas tree if you wanted!
My mom has had a store-bought topiary similar to these for several years that I love! She uses it inside, but we thought these would be perfect on either side of the front walkway!

Just make sure your lights are rated for outdoor use if you’re putting your topiaries outside.
To see Liz and I in action (aka in video form) making these beauties, watch the how-to video over at todayshomeowner.com by clicking here!
Thanks for Checking In! ~Chelsea
*This post may contain affiliate links*


5 Comments
Sylvia
Love It! I did see the video on FB last year! I went and bought 2 tomato cages but couldn’t remember how to make the darn tree! I’m so glad that I found your page! I am going to try it out tomorrow… Thanks! Merry Christmas!
Chelsea Lipford Wolf
Yay! Glad you found me too! Hope you love your trees! Merry Christmas! ~Chelsea
m
love you Chelsea!
Anita Reetz
Those are really pretty, Chelsea! Thanks for sharing and Merry Christmas!
Chelsea Lipford Wolf
Thanks Anita! Merry Christmas to you too! ~Chelsea