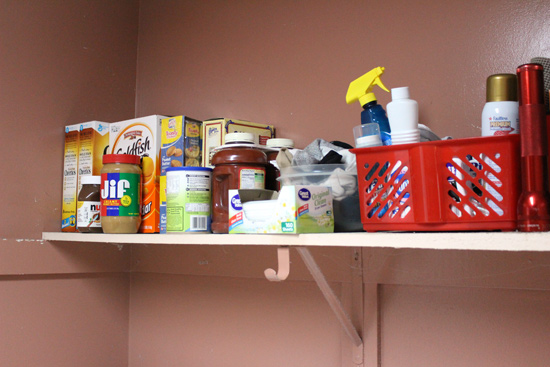
A big issue I planned to correct when I started this laundry room project was a lack of storage. With 4 kids living in the house and the laundry room’s proximity to the kitchen, it serves as overflow for big box store food storage like cereals, chips, and snacks.
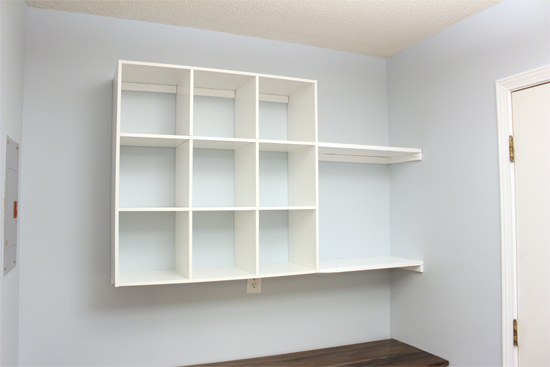
I already added a little storage on the wall opposite the washer and dryer by hanging a cube organizer.
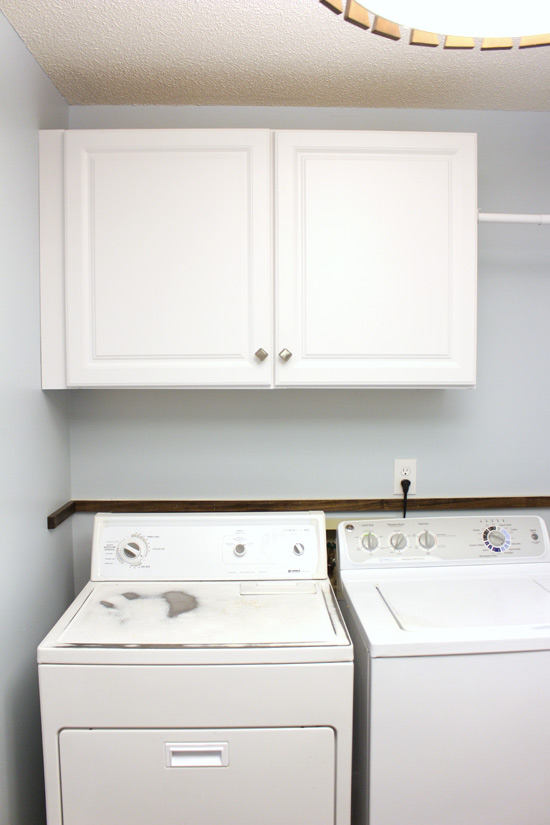
But nothing compares to good old cabinetry! So that’s what happened above the washer and dryer.

Nothing fancy or special, but boy is it an improvement over the shelf that was there before!

Cabinets can be a bit pricey, even for the pre-finished style that we went with here. Fortunately about the time we decided to get cabinets, Home Depot was having a sale on cabinets in stock. Which made following through with the purchase so much easier. We went with 2 wall cabinets in satin white 30″ tall by 24″ wide. I briefly toiled with getting 1 cabinet that was 36 inches wide for a little less cost-wise. But I knew those 12 extra inches would be worth paying a little more! And more visually appealing, too. Don’t quote me on this, but the total for the 2 cabinets was right at $200.
If that’s all you’re able to put into a room upgrade, I say it’s worth it. Slap a new coat of paint on the walls and add cabinets and you’ll certainly notice the difference in the look and function in a small space like the laundry room!
Now about how I got these cabinets on the wall! While I was at the Depot, I also picked up a 30 inch piece of ‘filler’. It has the same finish as the cabinets and is about 3 inches wide. It’s attached to the side of the cabinets so you don’t have a small gap between the cabinet and wall. Just makes it look more polished.
So that’s where I started, by attaching the filler to the left side of the left cabinet. (After removing the cabinet doors from both cabinets.)
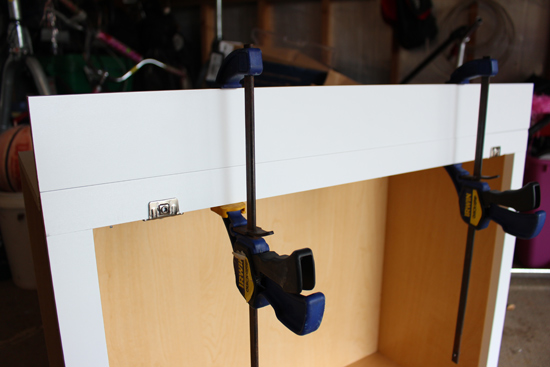
Making sure it was flush with the cabinet box, I secured it in place with a few clamps. Then from the inside of the cabinet, I used a nail gun to shoot a few 2 inch nails. A lot of times the filler is added after cabinets are on the wall. But I didn’t want to deal with cutting it to size and thought it’d work just as well in this particular instance to install it ahead of time.
One thing to note if you’ve never bought cabinets before, the bottom and the top of the cabinet are the same. So you don’t have to look for a left-swing cabinet or a right-swing cabinet. You just buy one and flip it upside down to get it the way you want it. So when I said my ‘left cabinet’ just above, I only meant the one I had mentally set aside as being the left cabinet. 🙂
Before I even brought the cabinets inside, I measured and marked where the top and bottom of my cabinets would be on the wall. Then I drew a level line the entire distance so it’d be easy to level up the cabinet before driving a screw in. On that note, I also marked where the studs were ahead of time, too, using a stud finder. These cabinets aren’t lightweight on their own and certainly will only get heavier with stuff inside, so attaching them to studs is of utmost importance!
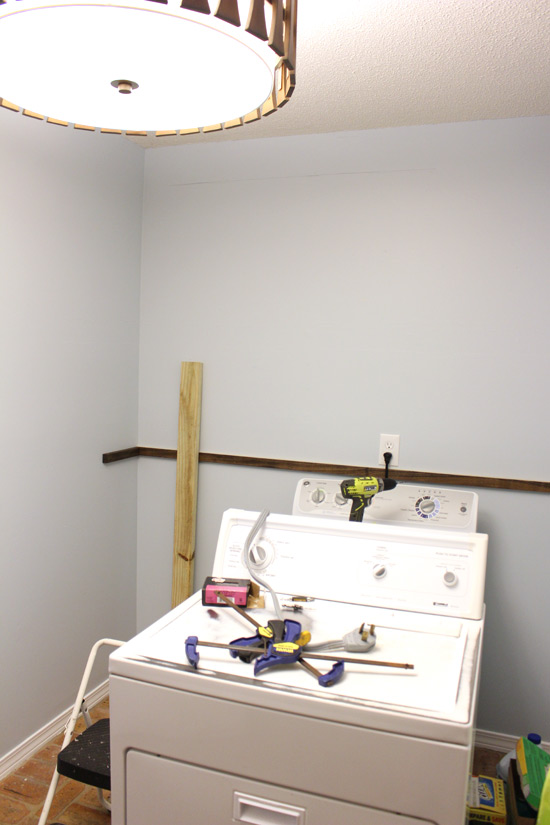
Lastly I had a 2×4 on hand to help prop the cabinets in place and therefore require less strength to hold it up against the wall while the screws were being driven in.
Now you’re probably wondering how a pregnant lady hung cabinets all by herself. The answer is I didn’t! The homeowner, Patrick, came over on his lunch break to be my muscle. The 2×4 definitely came in handy since I knew I wouldn’t be able to contribute to the heavy-lifting. (He’s blocking the 2×4 in the picture below, but it’s there!)
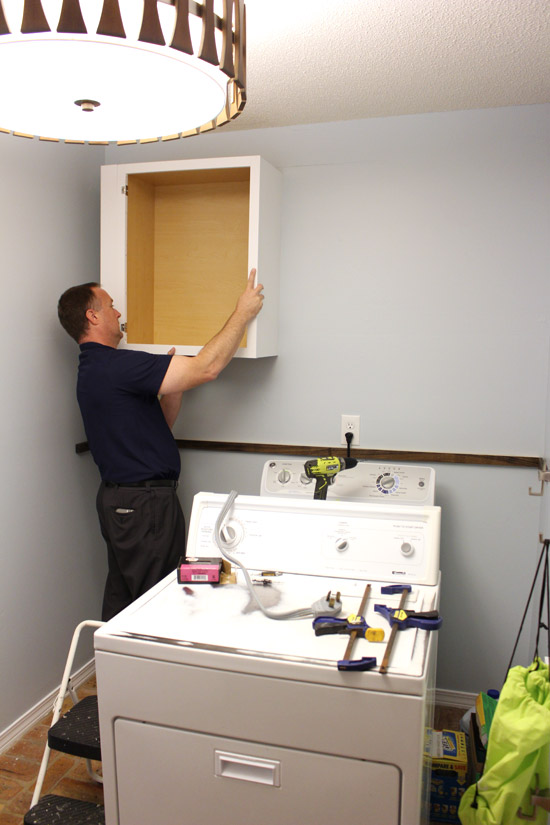
He hoisted it up, then I helped move it into place and make sure it was level before driving in the 3 inch screws through the top into the studs. I followed that up with a few screws in the bottom lip of the cabinet and one on the inside.
After a huge sigh of relief from both parties after the first cabinet was secure to the wall, we got ready for cabinet #2. Repeat the process, only this time making sure it is flush with the previously-installed cabinet. Having a few shims on hand is great. Especially if you have wavy walls. We clamped the two cabinets together before attaching #2 to its studs. Then I went back and shot a few nails through the least-visible side (the left cabinet) to keep them attached together.
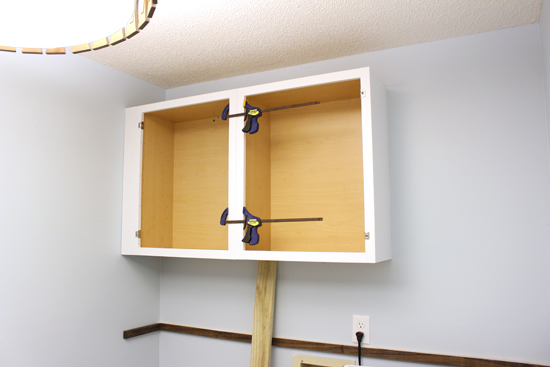
At this point I was able to reattach the cabinet doors. The door on the right needed to be adjusted a little to line up with its left-side counterpart.

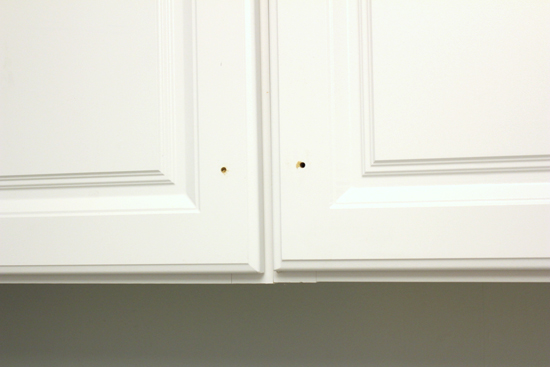
A great thing about buying pre-finished cabinets is you save a step or two in not having to paint or stain. But you still have to drill holes for hardware. That is, of course, if you’re adding knobs or pulls! I received this jig from KREG as swag from a conference I went to in August. This was the first time I had an opportunity to use it!
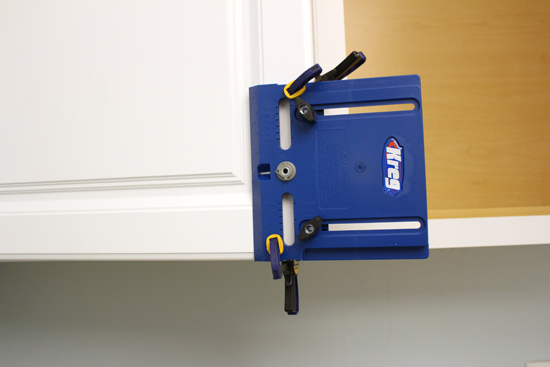
It’s great if you’re drilling holes for a bunch of hardware at once since you can set your hole and then attach the jig to each cabinet door. It’s not a huge deal to measure and mark when you’ve just got 2 holes. But since I had it, I used it!
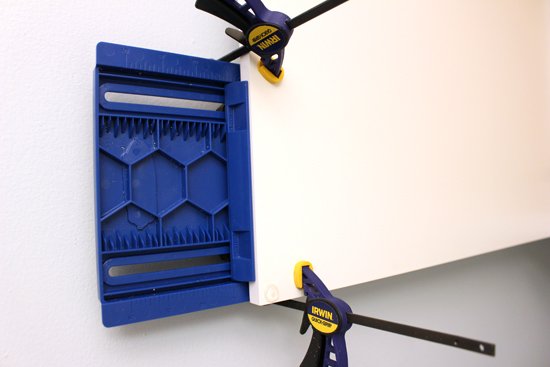
Easy peasy! And I had holes perfect for the shiny cabinet knobs we picked out when we ordered the pulls for the laundry sorter.
They are from the Carolyne collection, a new line from Amerock, and provide just a touch of flair to the white cabinets.
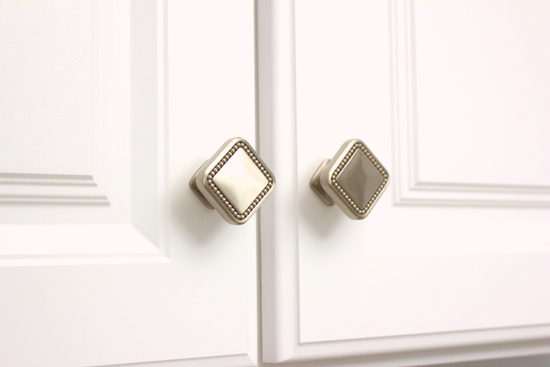
**Amerock graciously provided the hardware for this project though all opinions are 100% my own.
The last touch I added to these cabinets was installing a clothes rod between the right cabinet and the adjacent wall. In case you were wondering, that’s why we didn’t have cabinets across the entire wall. I wanted to add in hanging space that wasn’t really there before.
I determined the height of the rod by holding a clothes hanger and reaching up without stretching. And that’s where I screwed in the rod. Seems to make sense, right? 🙂

Now that the homeowner has had these cabinets in for close to a month, I’ll have to grab a picture of it full of stuff! But until then, I hope a closed-door ‘after’ will suffice!
So do you have cabinets in your laundry room? I don’t, but would love one down the road! Could you see yourself DIY-ing a cabinet installation of this size? This was my first time and I thought it was pretty easy! Definitely a great way to save money is installing them yourself!
Thanks for Checking In! ~Chelsea




I am looking for help with a kitchen nook since I have a galley kitchen and the dining room isn’t that much bigger. I would like to have some info.on how to go about putting one in. One of your fathers shows showed this this year in a young couples house. They sell similar ones but they are so cheaply made and the wood is so thin. I would like to have storage in it also with slow hinges because I do not have enough room for all my pots and pans and tupperware. I thought about putting one of those half circles to hang pot and pans from the ceiling but that would be in the way. Thanks