
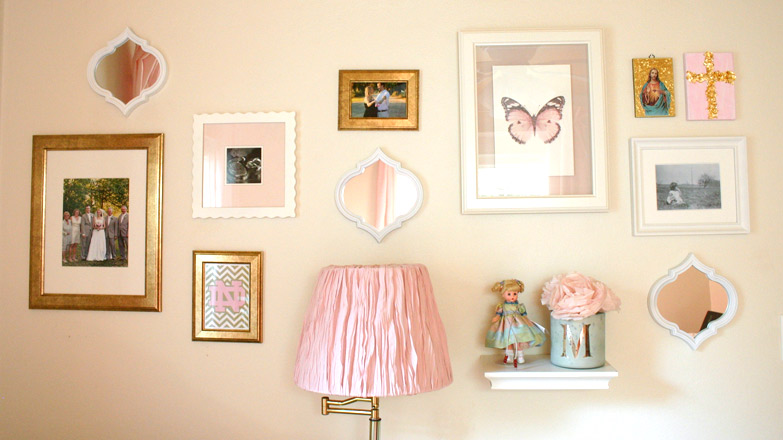
Footstool with the Fur
Since I’m only 39 weeks pregnant, I thought it was time for a little post about the new nursery in town. Fit for a baby BOY!
My husband and I went back and forth about where to let the new little one sleep during his first months at home. We contemplated our room until he slept longer at night at which time we could move him in with his big sis. But co-sleeping didn’t work out too well for us with Mary Helen. Babies make a lot of noise in their sleep!
So instead, I cleared out all of my “junk” from our guest room and turned it into a quick nursery.

I haven’t put nearly the effort into this room as I did for Mary Helen. And mommy guilt gets to me every now and then about that. But I know he won’t even notice and it doesn’t mean he’s loved any less! (The TV is for MH to watch my old VHS tapes while I’m tending to a newborn☺️.)
So far the only projects completed in here, besides moving in hand-me-down furniture, are a window seat Dad and I built between the two closets and this furry footstool.

What to Buy
- table or tabletop*
- wooden dowel*
- 3″ foam*
- compass*
- double-ended hanger bolt*
- white fur fabric*
The best part about this project? It started as this $5 end table I picked up at a thrift store.

It may look a tad familiar. I had 2 of these end tables. One I covered in marble contact paper. And this one has been hanging out in my garage ever since.
Knowing how much more comfortable it is to have a foot rest while nursing a baby in our glider, I had to have something. I’ve seen fur footstools in magazines and on Pinterest and always liked them, but never had a reason to get one. And now I still don’t have a reason since I made my own! 🙂
To start, I removed the legs to make sure I could cut them down and still reattach to the tabletop. I wanted to use the bottom part of the legs since they were rounded.

I used some adjustable pliers to delicately remove the threaded rod from the leg. The other half has more of a pointed screw-like end.

Next I sat in the glider chair and held my legs up at a comfortable height while my husband measured from the floor to my heels. Should have gotten a picture of that! If I’m making it, it might as well fit me exactly!
Then I used that measurement minus the 3″ thickness of my foam to cut the 3 legs on my miter saw. (Just for reference, the finished height is 13″ making my legs 10″.)
Once they were cut to length, I used a 5/16″ drill bit to make holes in the top of all 3. If you are making this stool from scratch, choose a drill bit slightly smaller than your hanger bolts!

And again I carefully used adjustable pliers to twist the screws into the new holes. I say ‘carefully’ because you can easily strip the threads under the teeth of the pliers if you aren’t careful. And that would make it very difficult to reattach them to the brackets.
I knew since the legs were shorter, I’d need to cut the top down as well. So I used my tape measure to visualize the width I wanted.

The easiest way to mark a circle for cutting is with a compass. Just like in grade school math class! But the school compasses aren’t big enough for my 15″ diameter. So I picked up this extra large compass from the home center. It was only $7 and I know now that I have it, I’ll be using it all the time!

I set the center point of the compass at half my overall width, 7-1/2″.

Then I set the point roughly in the middle of the tabletop. It didn’t have to be exact since I was cutting a new circle. Wherever the point was would be the middle of the new top.

Best $7 I’ve spent in a while! (OK, besides the $7.20 I spent on the fur fabric for this project.) It was so easy to draw a perfect circle! It was essentially effortless.
To cut it out I removed the leg brackets and used my jigsaw.

Then I set the new top on my foam and traced it with a permanent marker. Fortunately my parents had some leftover 3″ foam laying around that they let me have. This stuff can be pretty expensive!

I used a serrated knife to cut along the line. Brandon and I did the same thing to make the cushion for the bench at the foot of our bed.

The reason my parents were so willing to part with this foam is that it had been left outside during a rain storm. So before I could wrap it up in my fabric, I left it out in the sun for 2 days to thoroughly dry out. Totally worth saving the money I would have spent on it though!
So while it was drying, I shifted the brackets so the legs wouldn’t stick out past the edge of the new top.
I moved each bracket towards the middle by 1-1/2″. If you’re making from scratch, you’ll need to drill holes where you want your legs to be located. In hindsight, I wish I had 4 legs for this stool!

I also tackled painting the legs. I wanted to use a gray wood stain, but I wasn’t sure the legs would take the stain very well. Plus I’d have to go out and buy it. I did, however, have some gray paint leftover from painting my sister’s furniture a few years ago. I watered the paint down 50/50 with good ole tap water for a ‘gray wash’. I used a rag to rub it on the legs, creating a stain-like effect. Then left them to dry.

After it dried a little I realized the wood peeking through was too red for my liking. So I added another coat of watered down gray paint. Once it was dry, I attached the legs to the newly-moved brackets and brushed on some of my favorite top coat. (I used the same stuff here, here, and here.)

And I left everything to dry overnight.
I never thought about how to staple fabric to something round, so I made it up as I went. Luckily this is a very forgiving fabric with the fur sticking out in every which direction.
I first stapled 4 spots opposite each other in a square fashion, pulling tight as I went.

Then I took the center between each staple and stapled it down. Finally, I folded the fabric over itself between those staples and stapled it. It’s not terribly noticeable. But if you’re looking up close, you can see the folds on the side.
I trimmed the excess fabric and flipped her over! I’ve already sat in the chair a few times to test it out and it’s just the right width and height for my big ole feet!

And if Mary Helen or the new baby ever want a pet, they can come in here and pet the stool instead. It’s oddly relaxing! 🙂

Next up in this room is building some shelves, finding a rug, and having a baby! We’ll have to see what order that happens in!
Thanks for Checking In! ~Chelsea
*This post contains affiliate links*

2 Comments
freidia Martindale
My Lil gal and I just love your ideas and the creative ways you come up with things!
Thank you Chelsea : )
Stephanie
This project has the perfect mix of functionality and whimsy. Looks comfy!