Happy New Year! Can’t believe it’s 2015 already!
With another year, comes another January. And January is National Bath Safety Month. As such, Lori and I did a few things in her master bathroom to make it a little safer for her, in and out of the shower.
The first thing we wanted to do was add a grab bar inside the shower. I know what you’re thinking, “Why would a 30-something need a grab bar in the bathroom?” But honestly, it hardly looks like a grab bar!
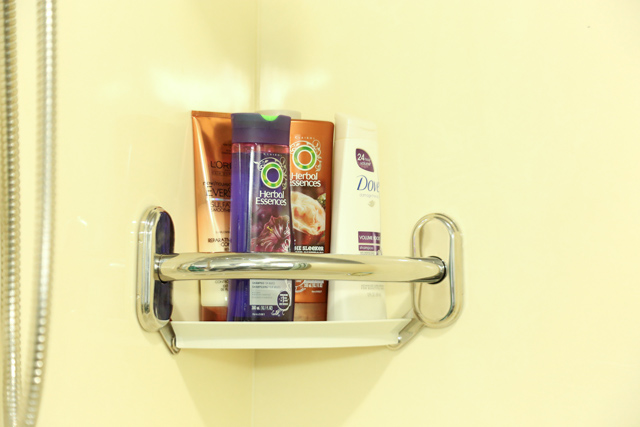
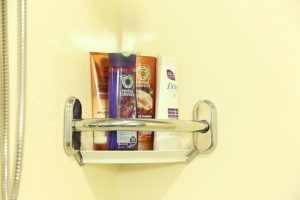 We installed this corner grab bar with a shelf.*
You’ll need a carbide tip hole saw (if you have a marble tub surround like Lori) and a drill after you use a stud finder to find a location WITHOUT a stud. This is because of the unique anchors that come with this corner grab bar and its 16-inch straight grab bar counterpart.
Once the hole is drilled, insert one of the anchor guides, followed by the anchor itself using the included pull tab. Then each mount is attached using a really long screw. Easy, peasy.
The scariest/hardest part is drilling into your tub surround. Once it’s done, there’s no turning back! Ahh!
Luckily for Lori, the first 2 holes went well, so we moved on to drilling 2 more holes to install a straight, 16-inch grab bar at a slightly lower height for when she takes a bath.
Now her shampoo, conditioner, body wash, etc are all less than arms’ length away, so she’s reduced her chances of falling in the shower. But now if she does slip, she’ll have a sturdy bar to grab ahold of. The one at bath height gives her something to hold steady when she’s standing up.
With the shower a little safer, we moved on to the rug right outside of it. It’s so hard to find a good rug these days. And when you find one you like for your bathroom, you don’t care if it’s made for a bathroom or not. And the ones made for bathrooms are typically not very attractive with their rubber-backed undersides.
But that doesn’t mean you can’t make it bathroom-friendly! We flipped over her cute, fluffy rug, applied a few lines of 100% silicone caulk, and allowed the caulk to set before turning the rug back over.
I picked it up in the caulk aisle in the paint department of the home center. If you’re doing more than one rug, you might want to pick up a tube that goes in a caulk gun. We used close to the whole tube on this one rug.
Silicone requires more drying time than your average acrylic latex caulk, so plan for it to dry undisturbed for a few hours. You want it to be more than dry-to-the-touch before flipping it back over and positioning in your bathroom.
And this trick isn’t just for bathroom rugs! You can use it on slippery kitchen rugs or on a living room rug instead of those rug pads.
Lastly, we plugged in a nightlight that comes on automatically with the lights are off by Lori’s bathroom door. That way she doesn’t have to use the bright overhead light in the middle of the night. But it’s enough light to illuminate her path so she doesn’t have to worry about tripping over anything, like her dog Lulu! And they have such cute, decorative nightlights nowadays that it’s kind of fun to pick one out!
Here’s to a safe and healthy New Year for you and your family!
Thanks for Checking In! ~Chelsea
*This post contains affiliate links*



I did like your DIY project. One thing was overlooked was sealing before installing final cover. I think it should be noted on the video that, when screwing the base plate to the wall one should run a bead of calking under the plate to ensure water from getting behind the cover.
Thanks and have a nice day.
Richard
Hi Richard, thanks for your feedback! Perhaps, we could have pointed it out, but the brackets did came with a gasket installed for that purpose. So no additional caulking should be necessary. Thanks for watching! Chelsea
my husband and i both have illness problems that makes us leary of the shower and tub.this will work for both of us.thank you
Thanks for the DIY. I especially like the silicone caulk on the back of rugs. Does it work, rug on rug too? I’m a recent widow and like doing things for myself. Your website will be on my favorites list. Thanks again.
Is this possible to do on ceramic tile? Thank you.
Hi Mary Ann! It’s absolutely possible to install these grab bars on ceramic tile. You’d want to use the same “carbide tip” hole saw we used on the marble surround in this episode to drill the hole in your ceramic. Hope this helps! ~ Chelsea