Hanging standard drapes or curtains may not be the best fit for every room. But some sort of fabric around the windows adds a layer of warmth to a room. Create your own DIY window cornice boards to add that warmth without the drapes!
Materials
- 1x10s*
- 1x4s*
- pocket hole jig*
- jigsaw*
- string
- batting*
- fabric
- staple gun*/staples
- corner braces*
I’ve included affiliate links for all items and tools I used to build this project. I will earn a small commission without any increase to you. I hope it makes it easier for you to get what you need to complete your project! Store pickup is life!🙌🏻
I had some 1x10s leftover from another project, so I used those for the main structure of my boxes. BUT you could totally use 3/4″ plywood as well. Instead of attaching the 1x10s together with pocket holes (see below), you will just cut the height and width needed out of one piece of plywood.
Cut and Connect
To cut the 1x10s to length, I measured the width of our window, from the outside of the trim. Add 1-1/2″ to that number and that’s what you cut. You’ll need two for each window you’re covering.
Next, drill pocket holes along one long side of one of the 1x10s. Mine were 54 inches long, so I really only needed about 5 pocket holes. You don’t need to measure precisely, but it helps if they are roughly equally-spaced apart.
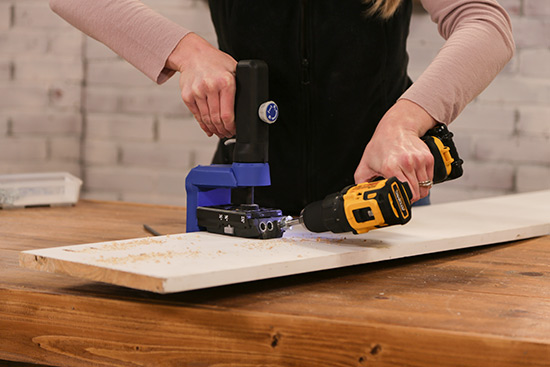
Apply a line of glue before you attach your pocket hole piece with the other 1×10.
Trace and Jigsaw Scallops
Most of the charm of this ‘window box’ comes from the scalloped edge on the bottom.😍 At first I was intimidated by this step, but once I broke it down and took my time it wasn’t so bad!
First, lay your joined 1x10s on a tabletop or wherever. I had mine on a worktable and lined up the bottom edge with the edge of the table. Then I laid out a piece of painter’s tape on my table an inch above my boards. I wanted scallops with a 20-inch diameter which is larger than the 19 inches of the boards. So the tape gave me a place to mark and is the pivot point for my circles.
Now measure the width of your boards and mark the center. Then mark the center of the right side and the center of the left side so you have 3 marks at the top. Also mark 20 inches from the bottom at each of those 3 points.

Now you’re going to tie a string or small rope to a pencil, pen or marker, depending on how confident you are in your compass skills.🤣 I started with a pencil and then graduated to a marker.
Hold your marking utensil on the very edge of the bottom of your board, upright and perpendicular to the board. Then pull the string to the 20 inch mark tightly and put a finger on it. Slowly mark the semi-circle, making sure your marker stays perfectly perpendicular.
Here is your reminder that it’s easier to understand by watching the video above!
Repeat for the other two sections to create 3 overlapping half circles.
The point where the scallops intersect each other should be roughly the same on the right side as on the left.
Carefully cut along your scallop outline with a jigsaw. Fortunately the cuts don’t have to be perfect because we’re going to cover it up in the next step!👏🏻
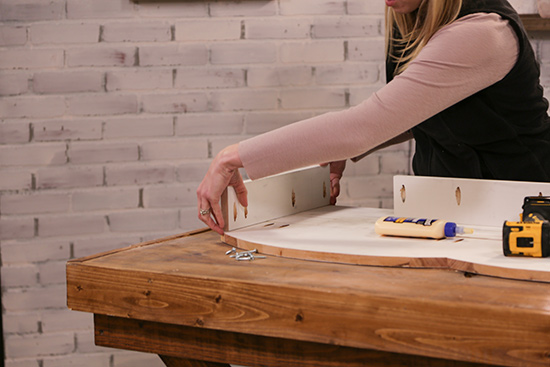
But before we can cover it up, you’ll need to cut (2) 1x4s to the same length as the side of your 1x10s after the scallop has been cut. Mine were about 15 inches. Drill a few pocket holes and attach at a 90 degree angle to the back of your 1x10s on each side.
Upholster Window Cornice
To add a little fluff to the cornice, first staple quilt batting to the front and sides. I used a batting with a medium loft and bought enough to double the thickness. One package covered my two cornices.
The staple gun I linked above in the materials list is the best one I’ve used by far! Worth the extra cost for a smooth stapler that doesn’t cause hand cramps from having to squeeze so hard to trigger.
After your batting is secure, you’re ready for your pretty fabric! One thing I like about a fabric project like this one that’s above eye level and won’t be touched is that you can get away with a cheaper grade of fabric than you would with curtains or a headboard. I think this fabric was $12 a yard and is nothing fancy like upholstery fabric.
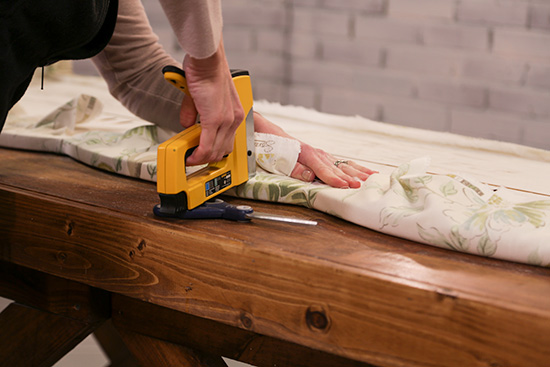
Again, watch my video above for some tricks on stapling the fabric and keeping it tight!
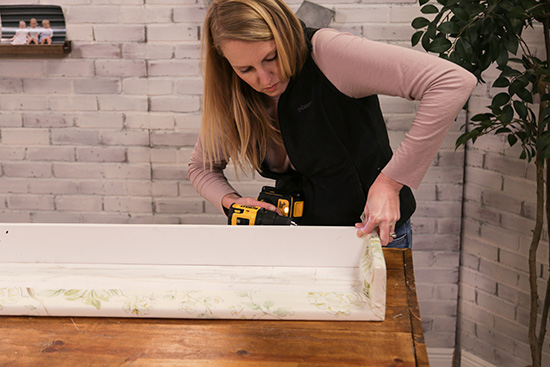
Once the fabric is attached, you’ll want to cut one more 1×4 the inside length of your cornice box. This is what the brackets will attach to hold it on your wall. Drill pocket holes on the short ends and screw together.
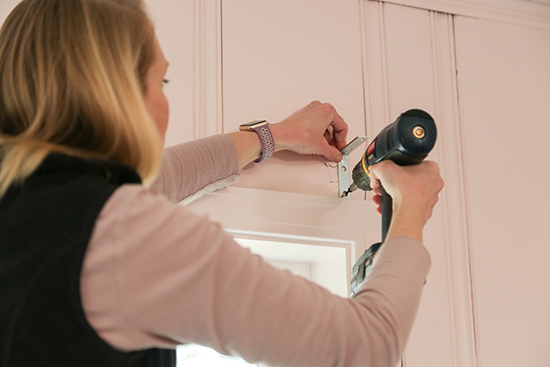
Hang High
You want to hang your new window cornice high up so that it doesn’t block your window. The bottom of mine just barely goes to the bottom of my window trim. Measure the location of your 1×4 support and mark above your window. That’s where you’ll screw the corner braces to your wall. Since my cornice is so wide, I used 3 braces per window.
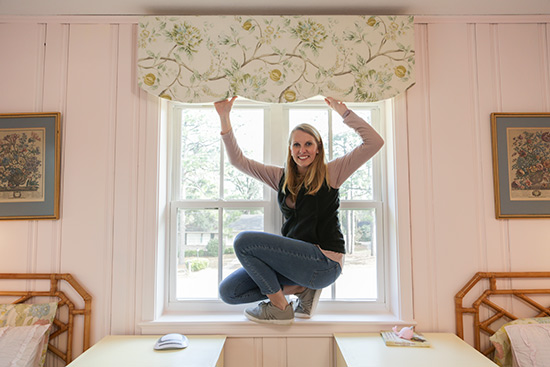
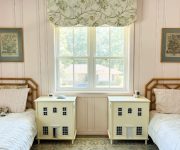
Set the cornice in place and attach with screws to the braces. Pretty little pop of fabric and fun is complete! It instantly makes your room feel taller and larger!
Since we still needed an actual window covering for the girls to sleep at night, I added these inexpensive blackout roller shades* after I installed the window cornice boxes. And I’m a little obsessed. The ‘linen’ is light and pretty when it’s seen. But most of the time they are rolled up under the cornices.
They were 40% off when I purchased them, so keep a look out for a price drop and snag some if you’re in the market for simple blackout shades without a fuss.

Thanks for Checking In! ~Chelsea
*This post contains affiliate links.*

Just gorgeous! I’ve made several for my house too, just love how your fabric turned out!
Adorable!
Beautiful work! Can you tell
Me whose fabric you used in the girls room for the cornice?